Funny thing is, although the name of this craft is a mouthful, it really couldn’t be easier.
A while back I demonstrated one of my favorite t-shirt designing techniques using sandpaper and regular old crayons. Here’s the whole trick: you draw on sandpaper with crayons, and then you iron the sandpaper onto a shirt. Your image transfers, and it turns out looking super cool because the sandpaper gives it a kind of pebbly texture. Believe it or not, regular crayons work great—although well-pigmented ones, like Crayolas, work best—and the shirts wash (in cold water) fine and keep their color well.
So, all you need for this craft is:
- coarse grain sandpaper (I usually use 60 grit)
- crayons
- a t-shirt
- an iron
- a rag
- a piece of cardboard
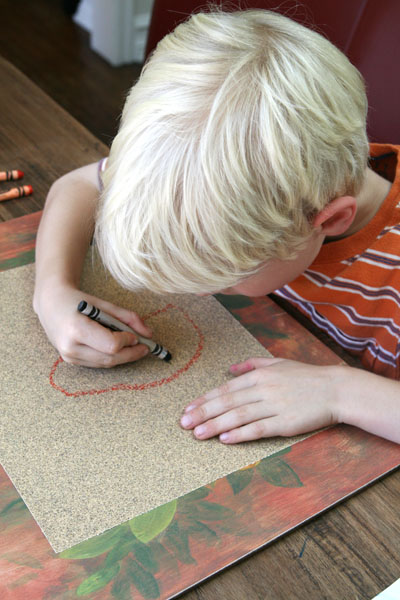
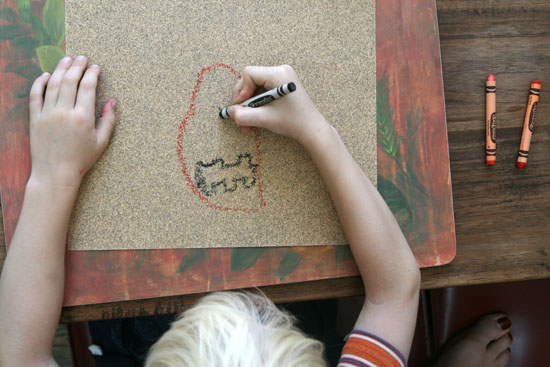
Give your little one a piece of sandpaper and some crayons, and let him or her get to it! They can draw whatever they want.
A few tips to keep in mind:
- Darker color crayons work better. For the pumpkin, for example, I recommend Sunset Orange or Scarlet, instead of regular Orange or a lighter orange.
- Stay away from text. If you are thinking of doing text, make sure it’s done mirror image. For an adult this is more easily accomplished than for a kid, so I usually just avoid text.
- Do keep in mind, though, that your design will come out on your shirt as a mirror image, in case you have anything special in your drawing that needs a particular orientation.
- Press relatively hard and go over your lines and shading. You want to actually leave bits of the crayon on the sandpaper, which will in turn melt into the shirt. Don’t be afraid to really work some crayon into the grain.
- Brush off the blank spots. You’ll inevitably end up with some stray pieces of crayon that have jumped to other parts of the sandpaper. If you don’t brush them off, you’ll end up with some little dots all around the shirt. Not a huge problem, but you might not want excess marks on your shirt.
- Keep in mind that you may use up a half a crayon drawing on the sandpaper; you will almost certainly need to peel it, and you may even get halfway down.
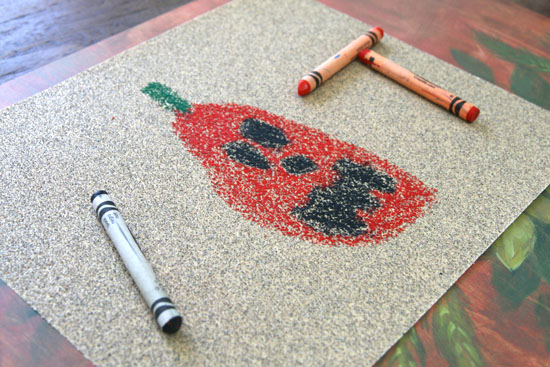
When the design is finished, it’ll look like this:
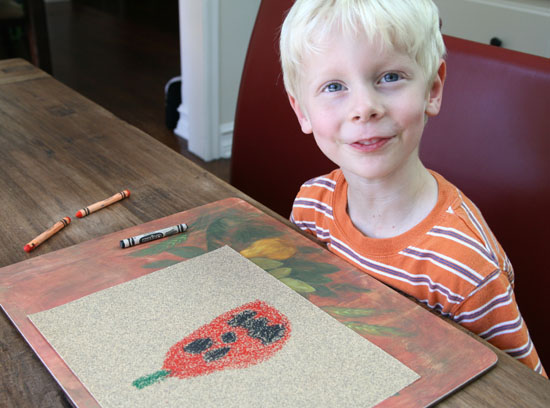
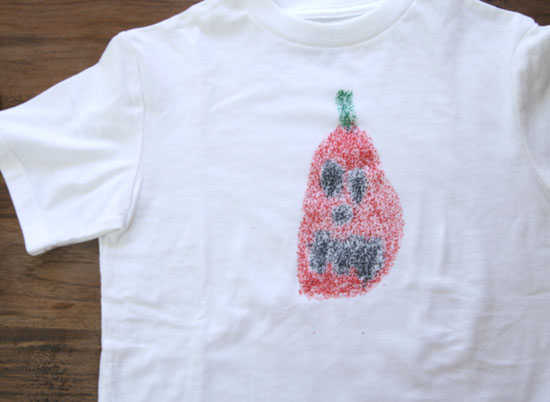
If you’re lucky, you’ll have a sweet little face like this to boot.
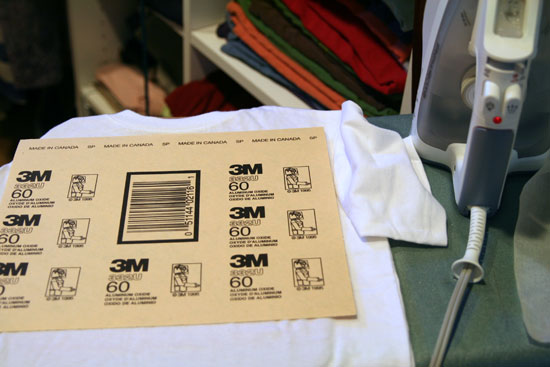
To iron the design on, you’ll need to put a piece of cardboard in between the layers of shirt, so that your image doesn’t transfer all the way through. Place the sandpaper crayon-side down on your t-shirt. Then, put a rag over the sandpaper to iron—otherwise the grit can come through the back of the paper and scratch your iron, so you want something there protecting it. Iron on high heat for about 30 seconds or so; you can check the image carefully by peeling up the sandpaper. If it hasn’t transferred enough, simply replace it and iron some more.
When you’re done, peel the paper off and your t-shirt is ready! You may want to wash it before wearing, since the texture of the sandpaper kind of embeds itself in the shirt until it’s washed. (The 5 year old claimed it was “scratchy” until it got washed.)
He’s pensive, showing off his design.
Have you ever done crayon transfer t-shirts? They’re super fun. Try it out!
I’m linking up to some fun craft round ups! Check out some fun stuff at Crazy Cute . Skip To My Lou and…





Wow! That looks so cool (and easy!)
thanks for sharing!