Since my tutorial on making those old ribbon barrettes from the 80s has been so popular, I thought I’d give you another tutorial on adding a special feature to these clips: double-ended ribbons!
Back in the day, when we were wearing these for the first time, the classic look was hair pulled back on either side, one barrette per side. I looked something like this:
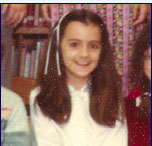 Image: Like Totally 80s
If you can imagine the other barrette on the unseen part of this girl’s head, you get it. If you wore these in the 80s, you totally get it.
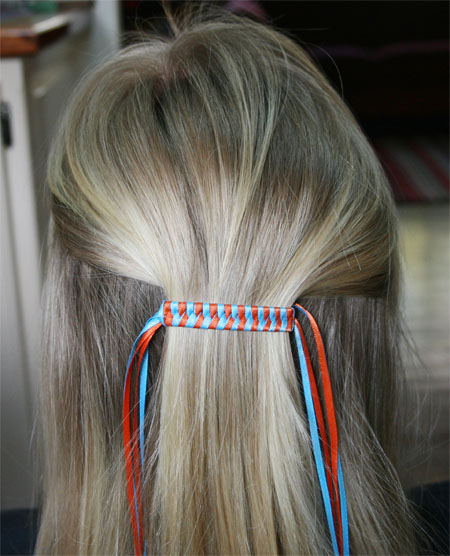
But that is not so much the style today. In fact, I can’t think that I’ve ever seen a girl outside of an 80s party rocking this look. Most often, I see the half-up-clipped-in-the-back-look, as I demonstrated on my original tutorial post:
But, if you are only going to wear one, which I recommend, then you’ve only got ribbons on one side. It messes with my sense of aesthetic balance. So I figured, “why not put ribbons on both ends?” You know, reimagine the ribbon barrette for a new generation.
I like the look:
Ready to make them yourself?
If you need a tutorial on how to make the main body of the barrette, see my post here.
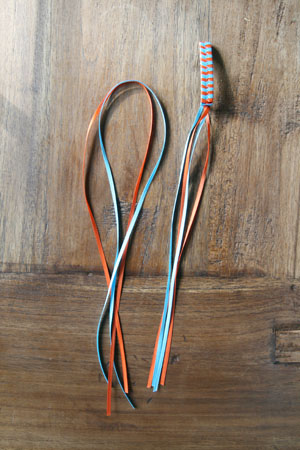
To add ribbons on the opposite end, first cut a length of each color of ribbon that is equal to two times the tails on your barrette.
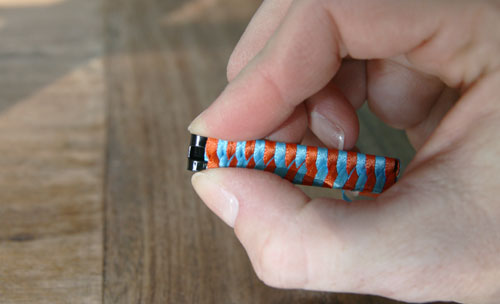
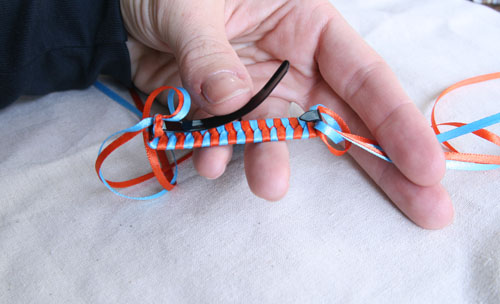
Now, you need to scrunch down the braiding on your barrette so the the hole at the top of the barrette is exposed.
Line up all the ends of the ribbons; fold the two ribbons in half and pile up the four ends into one little stack.
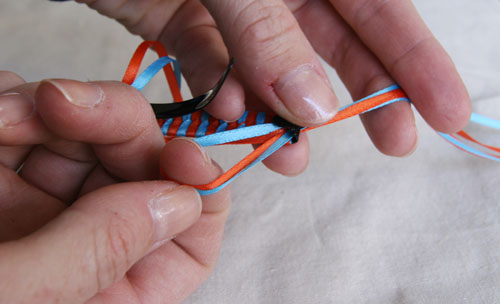
Shove all these ribbon ends through the hole you just exposed, from the back of the barrette.
Pull them through a little until the folded over part is forming a loop. You will then pull the ends through this loop.
Make sure that you pull your loop so that it falls over (or on top of) the hook on the clip.
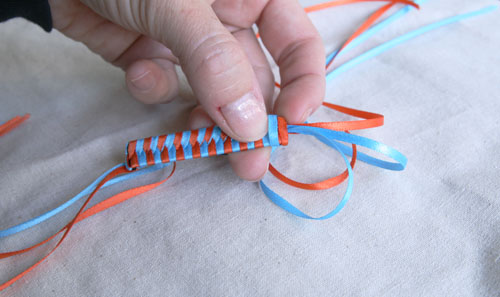
Now’s the time to twist your ribbons so that they will lay flat when you pull them tight, and so that the color you want is on top. It takes just a little maneuvering. I’m twisting them here so that the blue will be on top.
Once you get them in place, pull tight!
Voilà! Double-ended braided ribbon barrette. Pretty!
If you have any questions, leave them in the comments and I’ll answer them.









Re: Ribbon Barrettes
I love your barrettes and hope to make my own one of these days.
In the meantime, is there a way I can order one from you?
Thanks.
P.S. I live in Ohio.