I’ve finally gotten myself together enough to post my first Iron Craft challenge of 2012. Yay!
This challenge was to make something that you saw for sale. And I knew just the project. It fits in perfectly with my most recent Martha Challenge chapter.
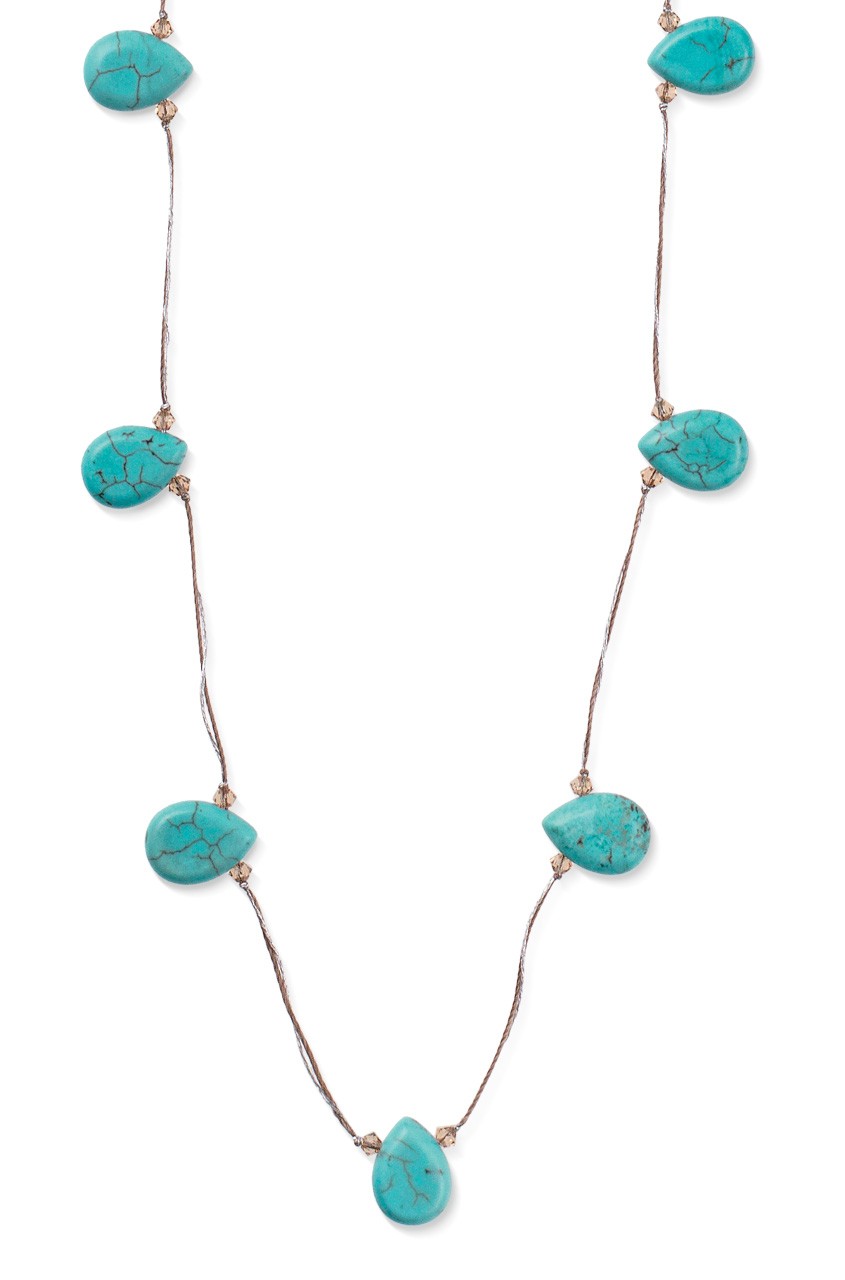
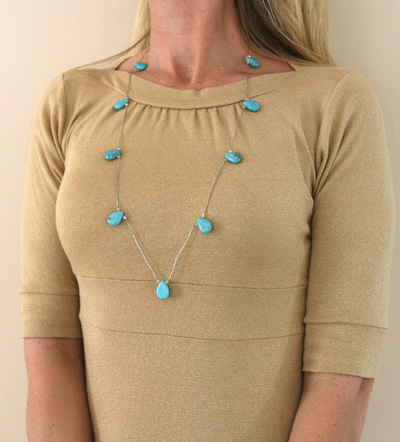
This is the Stella and Dot Threaded Turquoise Necklace, which I think is really pretty. You can buy it here for $49, if you are interested!
But I figured for my challenge I would try to make it. Turns out, it was a little harder than I expected, but I finished it. Here’s what you need to make it:
- Griffin #5 silk bead cord in gray
- 10 – 20 turquoise (howlite) pear or teardrop shaped beads (like these); I got mine at Michaels
- 20 – 40 Swarovski crystal bicone beads, 4mm in Golden Shadow
or similar color
- DMC metallic thread in silver
- beading needle
- 2 bead tips
- one lobster clasp and ring
- G-S hypo cement
- scissors and jewelry pliers
The S & D necklace is 38″ long, so I started by cutting a piece of the silk cord and a piece of the metallic thread to about 45″; I’ve had trouble knotting cord that gets too short, so I wanted to have plenty. The silk cord I used (and I linked to above) has a beading needle already attached, but since I also had the metallic thread I needed another needle for that. I tried several different ways to achieve the double strand, but the easiest ended up being simply having two needles, since the cord comes pre-threaded.
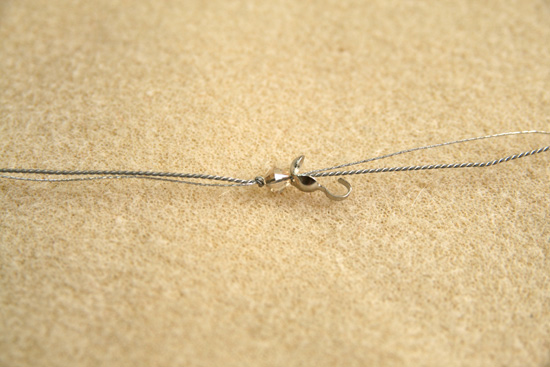
Once I cut the cords, I tied a double knot in the end and added a bead tip. If you are unfamiliar with bead tips, check out this video; if you start at about 2:25, she shows how to use the tip I used (just tie a double knot in the end; she’s using wire instead of thread). Then I threaded on one Swarovski crystal right up against the bead tip and tied a knot right next to it (more on that in a second). I added the jump ring that the clasp will grab onto.
To create the pattern, I chose to space my beads about 2″ apart, but you can choose whatever you want. Looking at the S & D one, I think mine are spaced a little farther apart, but I ended up having fewer beads than they did so it worked out fine.
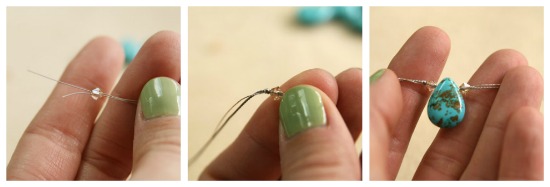
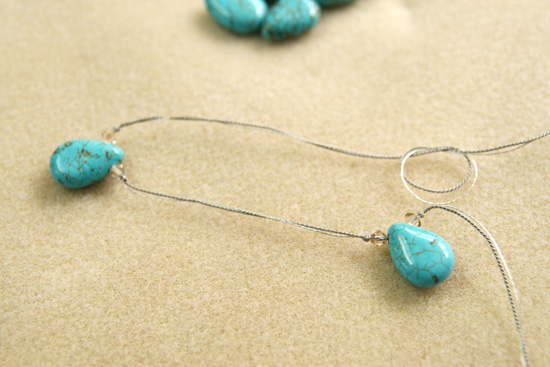
To start, you create a knot in your thread in the place where you want to start your bead section. Then, you thread on one crystal, one turquoise teardrop, and one more crystal. Put both needles through the bead and slide it flush with your knot.
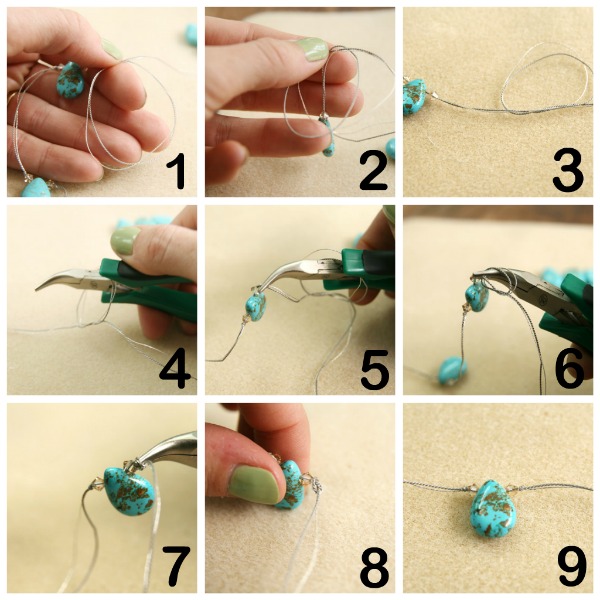
Now you need to tie a knot flush on the other side of the beads to hold them in place. Make a loop in your cords (1), drop the beaded section through this loop,just like an overhand knot (2), then insert your tweezers/pliers through the loose knot (3, 4) and grab the cord where you want the knot to end up (5). Pull the knot tighter (6, 7), and once it’s nearly taut remove the pliers and tighten fully (8, 9).
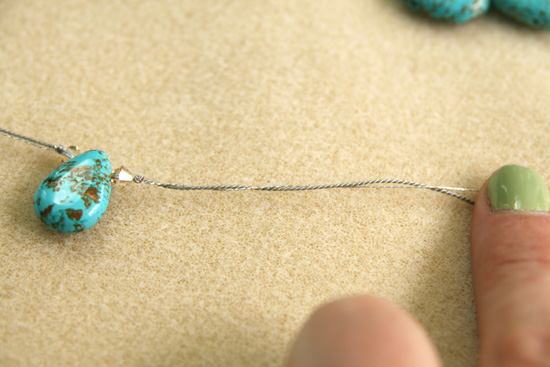
Now it’s time to start a new set of beads, so you need to put a knot in the cords where you want to start. First, you will want to twist the cords a bit; the cords are twisted slightly in the S & D necklace and it helps to keep them together.
I measured to make sure things were spaced evenly by simply lining up the previous bead set.
Then, you follow the same procedure by inserting the pliers into the knot, grabbing the cords where you want the knot to end up, and tightening.
Add the beads as you did in the previous step, and continue adding sets of beads until you get to the end of your cords (or until you reach about 36″ – 38″).
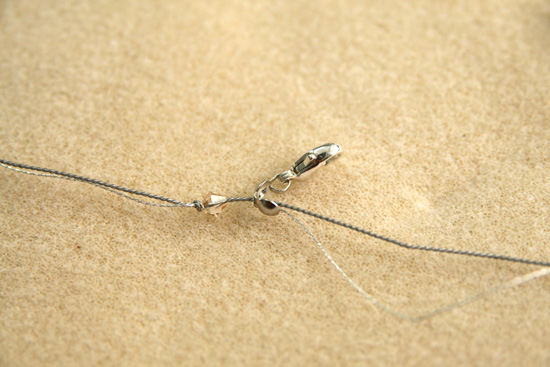
At the end, you will add one crystal and then the bead tip.
Then you will add the clasp (refer to the above video about bead tips), and then knot the end with a double knot. This part is kind of tricky since you need to get the knots inside the clamshell of the bead tip. Follow the same procedure as above, just grabbing the cord with your pliers as close inside the clamshell as you can. Then, cut off the cords close to the knots, add a little jewelry cement and close your clamshell.
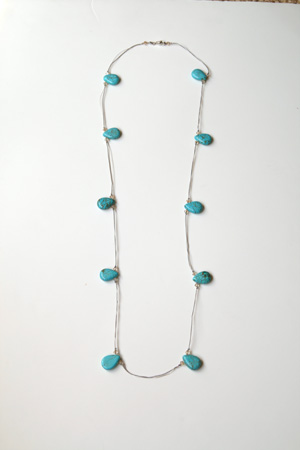
Ta da!
Not quite as lovely as the Stella and Dot one, but for homemade it’ll do!
It only cost me about $25, so that wasn’t too bad, either.
Not too shabby, eh?






I think your’s looks fabulous & this is such a well done tutorial.