I’ve been searching high and low for a way to get myself and my blog planning organized. I don’t know that I’ve hit on a totally acceptable solution yet, but I’m getting closer.
You may remember that I made the Post It calendar as an editorial calendar, but I wasn’t entirely satisfied with that. It was so enormous. Then, I found this great post from Beckie at Infarrantly Creative with a custom blog planner that she developed and offers as a free download on her site. Brilliant! She even has a video about how to use it. And, since she’s a creative blogger, her planner is tailored to those of us who do projects and then blog them.
To be honest, I didn’t even really understand how she put hers all together– it’s brilliant and spiral-bound and has tear-out sheets and everything. (Things are also complicated by the fact that she’s left-handed, so she made everything custom for that element.) But I loved the main idea, which was to have a monthly editorial calendar on one side and a weekly plan on the other side. That I could work with.
The weekly plan was essentially what was missing from my Post It calendar; seeing an overview is great, but when you are doing projects and blogging them, you need to know what needs to be created and what needs to be written up. And often, these aren’t the same things at the same time.
My main trouble with getting organized is juggling these different aspects of running a crafty blog. There really are at least three parts to making these posts: 1) doing the project, 2) photographing the project (and touching up these photos, which sometimes takes longer than shooting them), and 3) writing up the post. What, ideally, I’d like to be doing during any given week is writing up posts for projects I completed last week and doing the projects I will post the following week. So, it takes some juggling, and I haven’t mastered it yet.
So, I made a few changes to her pages; mostly changing font and some of the categories she has on her pages, and then I printed them out. I’ve discovered that I need to make more changes, and I’m planning on doing a screencast tutorial for how to create your own weekly planner page template in a free, online editor, if you all would be interested in that.
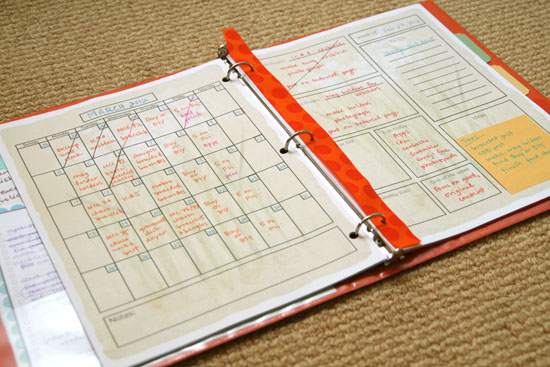
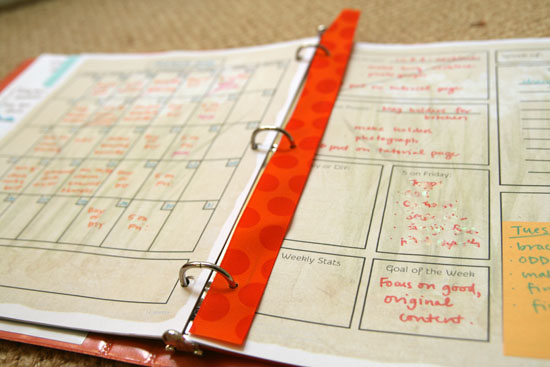
But, in the meantime, the other thing I found I needed was a bookmark. Or a binder mark, to be precise. I put all my stuff in a binder instead of spiral-binding (?) it. But what you end up with are half your pages facing one direction and half of them facing another, so that when you open to your current page you have a spread of two pages, one with a monthly calendar and one with the weekly planner.
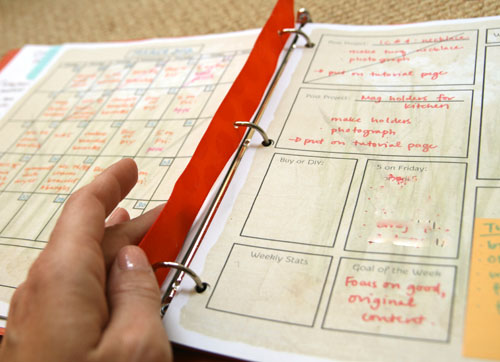
So, I needed a marker so that I could open right to this double-spread. But you don’t want a simple divider, since you want to be able to see both pages simultaneously. So you need one of those see through bookmark kinda things that clip in, or something similar. And what I realized was that a ribbon would work great. And so I got to work.
Here’s what you’ll need if you want to make this project:
- 1/2″ ribbon
- fabric stiffener
- brush
- hole punch
The project is so simple I hesitate to even call it a “project.” Here’s what you do:
1. Cut your ribbon to several inches longer than the height of your binder (for a standard size binder, I cut the ribbon to 14″).
2. Paint it thoroughly with fabric stiffener.
3. Let the stiffener dry for several hours.
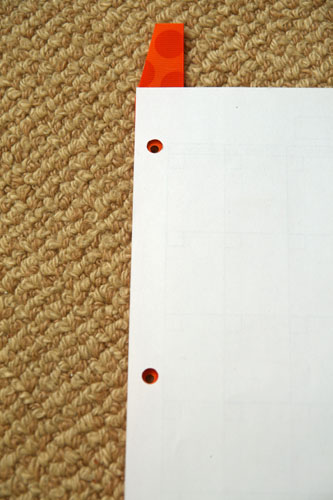
4. Line your ribbon up under a piece of 3 hole-punch paper (or whatever kind of paper goes in your binder). Align the left edges and the bottom edges. Then, punch holes in the ribbon where the holes on the paper align.
5. Cut the top of the ribbon so that it falls an inch or two above the binder when it is inserted in the rings. You may also need to cut it on a diagonal, as I did, so that it doesn’t hit the rings tabs at the top.
And that’s it! So simple. If you have a small binder organizer or calendar, you could make one of these as well.
So, let me know if you’d be interested in learning how to make your own planning pages for free!






I love the idea of the ribbon, and the planner is a great one — I might adapt this for lesson planning (something I do all too haphazardly)! Coolness!