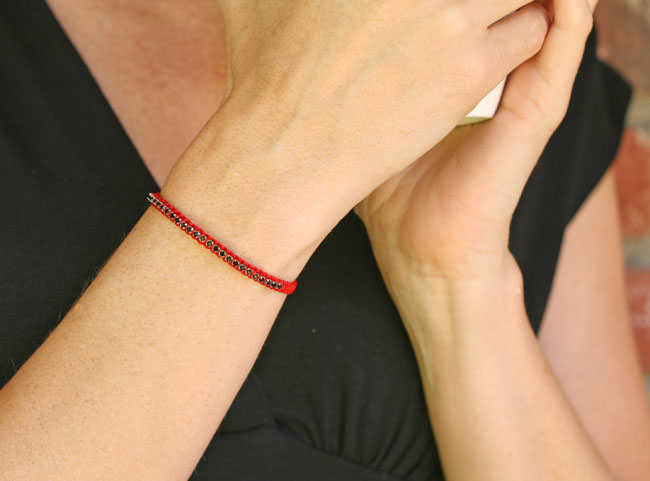
I’m loving working with micro macrame so much that I’ve been coming up with some new designs. My latest favorite uses Chinese knotting cord and rhinestone chains.
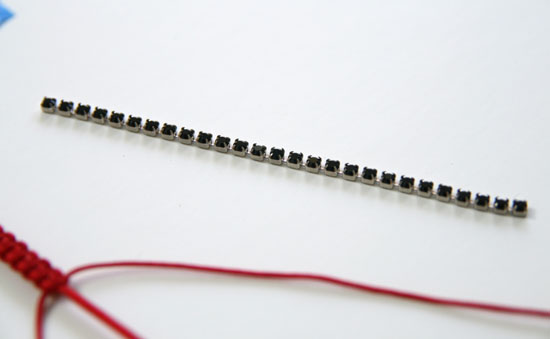
It’s really easy to do. To get started, see my tutorial on micro macrame beaded bracelets here. For this project, you will need only the knotting cord, tape, a button, and a length of rhinestone chain (I used a very small stone and cut 3″ of it). Depending on how big you want your bracelet, you can get larger cord and larger rhinestone chain.
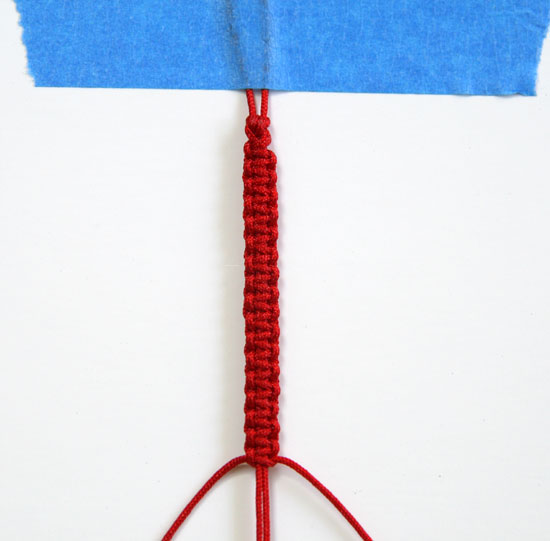
Begin the bracelet as you do in my other tutorial, making knots until you’ve reached about 1 1/2″. You can adjust this length depending on how long you want your rhinestone to be, how much plain knotting you want, and how long you want the actual bracelet to be. I centered my chain, so I did 1 1/2″ of knotting, then added 3″ of chain, then another 1/2″ of knotting.
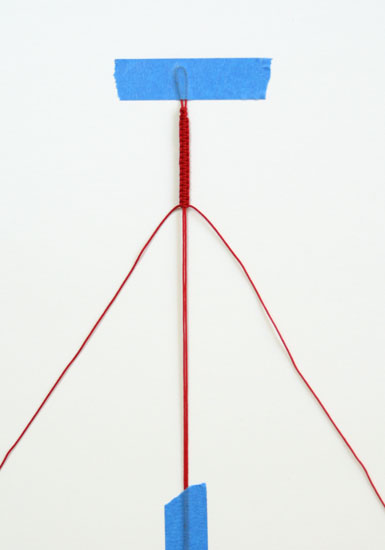
Once you’ve got a length of knotting, you will start adding your chain.
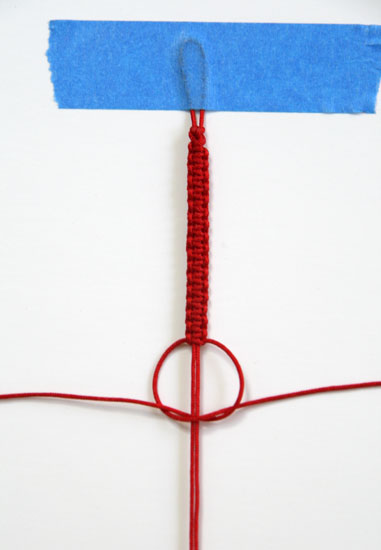
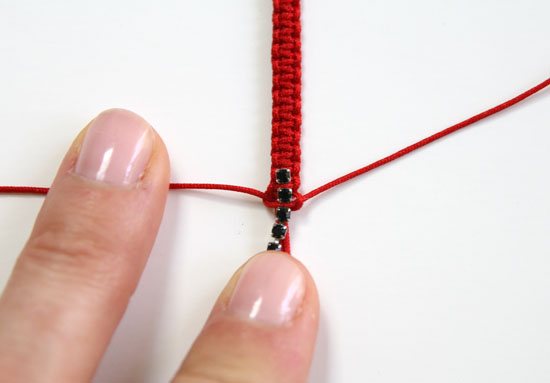
Here’s what your beginning knotting should look like:
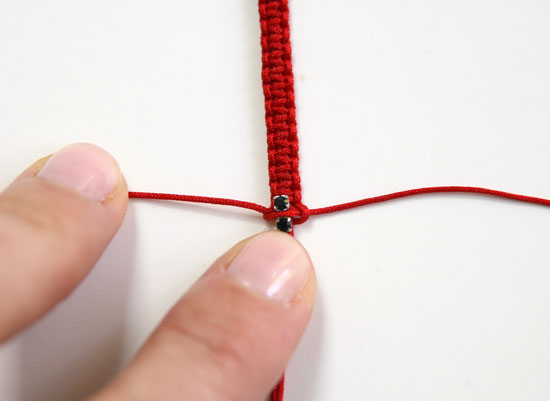
To add the chain, begin the first part of the square knot, but don’t tighten it.
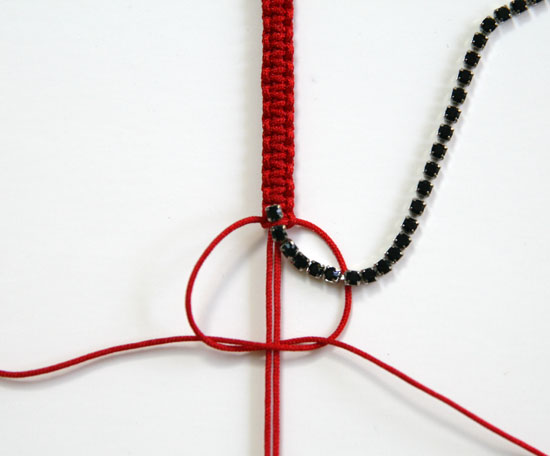
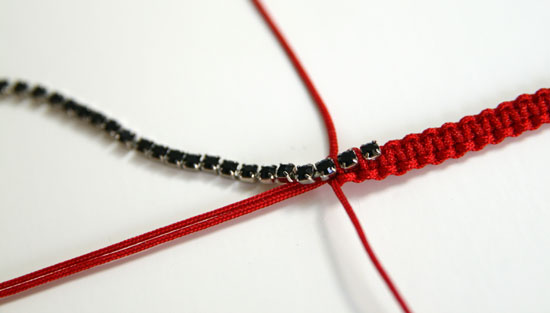
Now, place your chain on top of the bracelet. The very first stone should fall on your last completed knot, and the rest of the chain will lay on the two middle cords. Be sure to position it so that the cord that makes the “4″ is on top of the chain, and the other cord is going under it.
The trickiest part is tightening this knot. You want the cord going in between the stones so that it doesn’t cover them but sits on top of the bare chain. You’ll need to hold the chain in place and work with it to get the cord to fall properly.
It’s really not all that hard. Now you are going to complete this knot by tying the second side under the rhinestone chain.
You can pull the chain off to the side when you are first starting, but as the chain gets more attached, you’ll simply have to lift it.
Tighten up this completion of the knot.
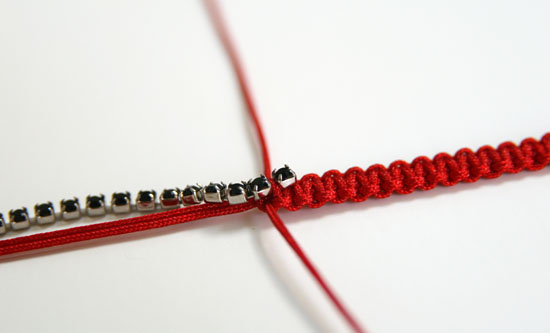
From the side, you can see how the first part of the square knot is going over the chain, and the second half is under it.
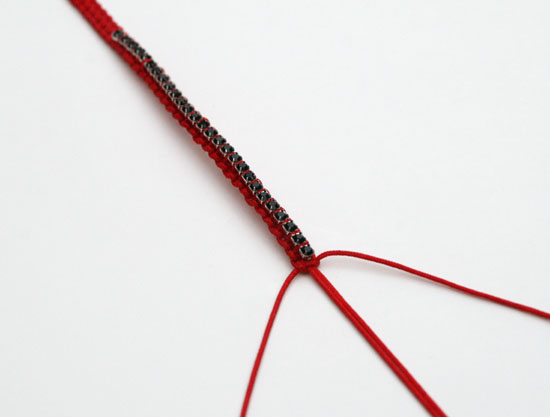
You will continue knotting in this way to attach the whole chain.
Knot all the way down; your last knot with the chain will be between the last two stones.
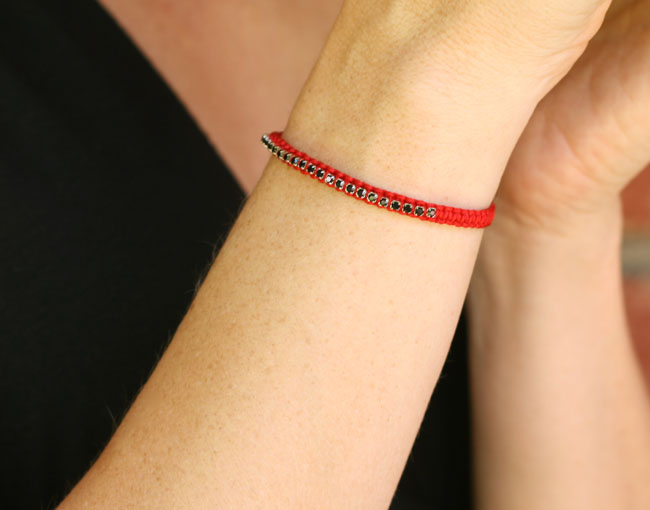
Now you will continue knotting until your bracelet is the desired length. Add a button or bead for a clasp (again, see my previous tutorial) and you’re done!
Super cute, fun to wear, and completely stackable.
Have fun, and if you make any show me how they turn out!






Just made a bracelet following your tutorial. It turned out very nice.
Thanks!