Today I’m bringing you my first DIY for the Pottery Barn Kids challenge!
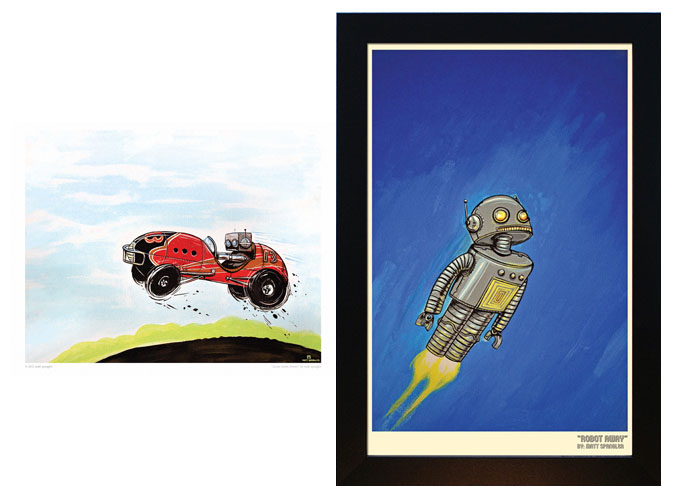
I wanted to put some real wall decor in the 5 year old’s room, replacing the “default decor”: the Ireland poster and the taped-up Toy Story 3 poster. So I got these fantastic robot prints from an amazing artist, Matt Spangler. He creates wonderful images of robots that are perfect for a kid’s room. I got two in a sort of blue and red scheme to match the stuff from PBK.
The last time I checked on getting some prints like this framed, I went to Aaron Brothers, and, I kid you not, they wanted me to pay $350 FOR EACH PRINT. I nearly fainted. I actually got so jammed that when she said “three-fifty,” I was like, “three dollars and fifty cents? what?” I couldn’t even process $350.
So I knew that I would need to frame these prints myself. I really wanted them matted, too, so I set about finding slightly larger frames and some mat board. The nice thing about matting your own artwork is that you can customize everything to your liking. The bad part is that you have to be pretty precise and careful. But if I can do it, you can!
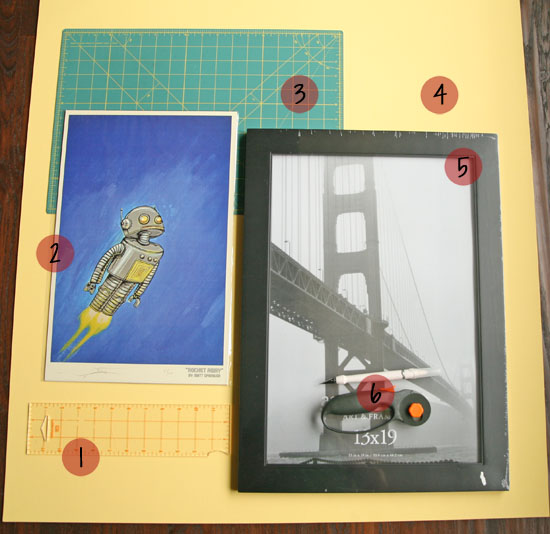
Here’s what you’ll need:
1. A ruler
2. An amazing piece of art to frame
3. A self-healing cutting mat
4. Mat board in your choice of color
5. Frame in slightly larger size than your print
6. A craft knife, and optionally a rotary cutter
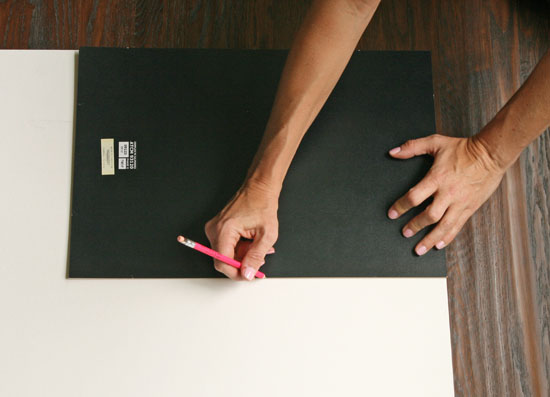
First, take your frame apart. Use the back panel as a template for cutting the outside of your mat. Turn the mat over so the right side is facing down, and lay the back panel on top. It works well if you line it up with two of the pre-cut edges, so you only have to cut two sides. Trace the outline of the back panel onto the mat board, making sure it is lined up as precisely as possible.
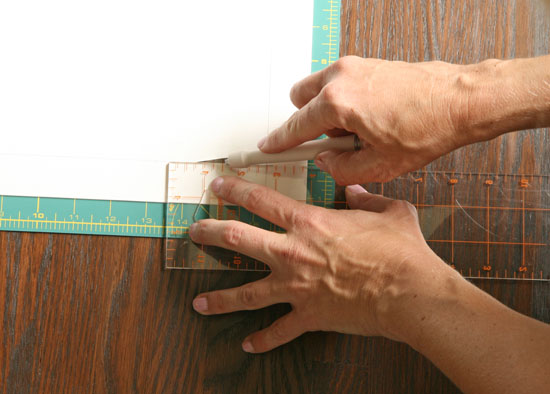
Cut along your traced lines with a rotary cutter or a craft knife. The rotary cutter is a little easier for this part. Make sure you use a straight edge to make your cut perfectly straight.
At this point, if you want to make things easy on yourself, you could simply lay your print on top of the mat board, secure it, set it in the frame and call it a day. But if you want a bona fide mat, you’ll have to continue and cut the inside perimeter of the board.
Determine how big you want the inside opening to be by laying your print on top. Measure the sides and decide how much of the mat you want on each side. Make sure you make opposite sides equal.
Once you have the measurement for the thickness of each side, flip the mat over again and draw the lines for these dimensions. You’ll end up with a square or rectangle drawn on the back.
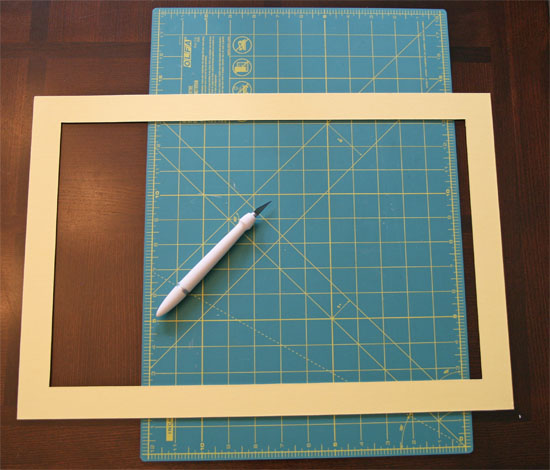
Here’s the trickiest part. Cut the inside perimeter with a craft knife, again using a straight edge to guide you. Be very careful with the edges. You don’t want to overcut your traced edges, since it will show in the corners. I found that cutting right up to the corners and then very carefully cutting the corners sort of “freehand” helped me to keep them clean.
Once you’ve cut all the sides, you’ll have a completed mat.
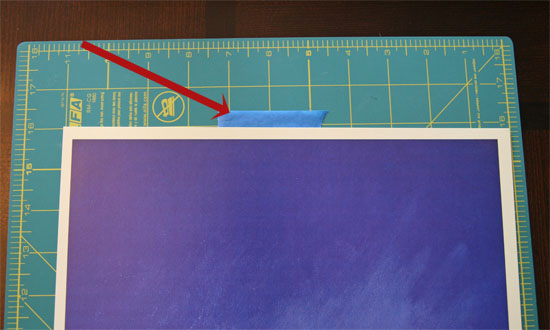
To fit the mat and print into the frame, lay the print down on a surface. Place a small piece of painter’s tape underneath the print, sticking out about 1/2″.
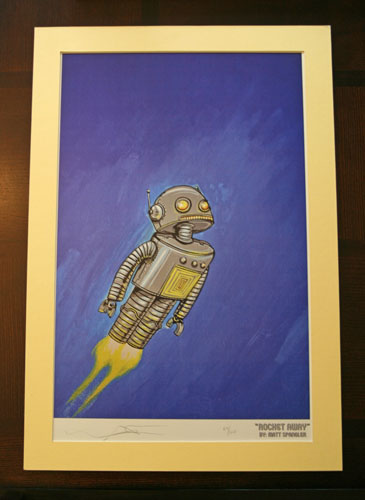
Arrange your mat on top of the print just as you want it. When it’s in place, press down on the area where you’ve added the tape. Now your print is lightly secured in place, and you can flip the whole thing over and add a few more pieces of tape.
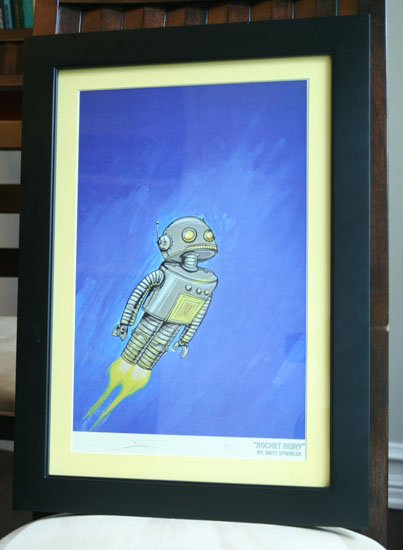
Set it in the frame and stand back and look at your handiwork!
You’ll be seeing this print and Zoom, Zoom, Boom! hanging over the 5 year old’s desk soon!






Good job! I, too, had the same conversation at an Aaron Bros recently. We ended up having them cut the mats for us but if I’d known how easy it was… no, I still would have had them do it for me. You are braver than I. And, those prints are darling. xo