


 I was at the hardware store some weeks ago, and I saw all these weird components that seemed like they could come together into some pretty cool jewelry. So I wanted to give you all a little series where I make different pieces from things found in the hardware store. It’s fun, right?
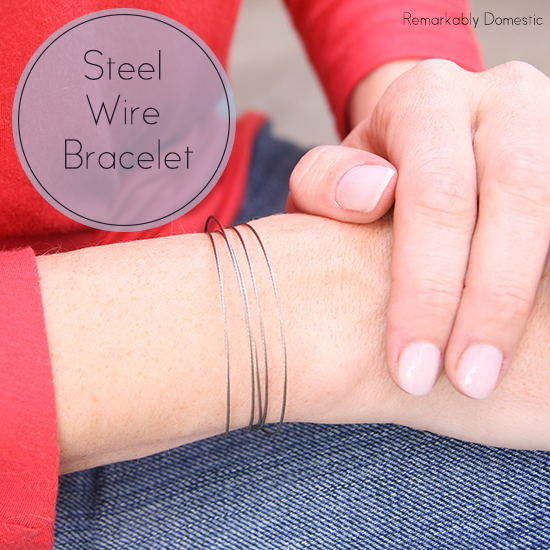
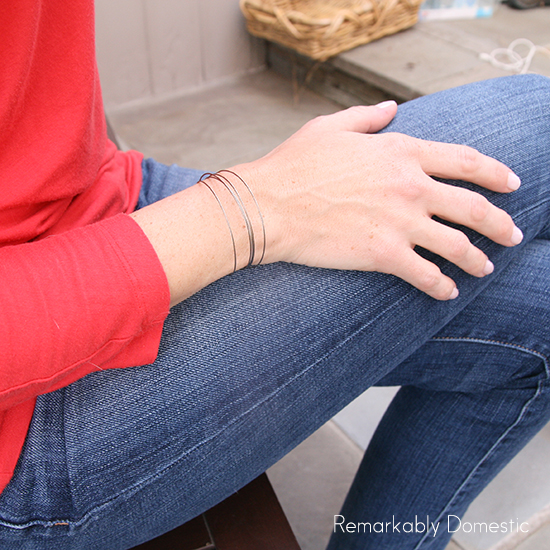
First up is my delicate wire bracelet. There are a bunch of different gauges of this galvanized, twisted wire available at your local hardware store, and it’s super inexpensive. Mine was about $0.39 a foot. I liked the thin wire and thought it would look cool with several rounds of it stacked together. Here we go!
Supplies:
- several feet of galvanized wire, preferably very thin (eyeball it at the store and go for it!)
- crimp tubes, large enough for the wire to go through twice (if you get a multipack like these Beadalon Crimp Tube Variety Pack
you’ll have several sizes and can choose the one that fits best)
- jump rings
- a clasp
- jewelry pliers
- wire cutter
To start, cut your wire into appropriate lengths. This bracelet looks best when it’s relatively tight around your wrist. Keep in mind that you are going to be folding about ½ inch of each end over. I cut mine to about 8″, and I wanted 5 strands.
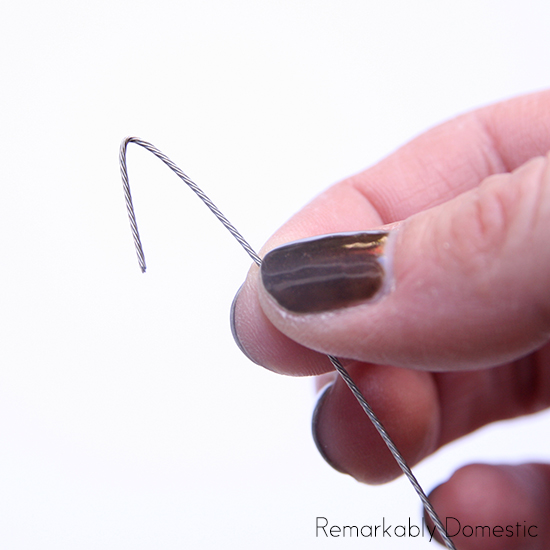
Take a strand of wire and bend about ½ inch over. It’ll take a little muscle since this is pretty strong wire.
 Crimp it with your fingers or some pliers to make a bend like so:
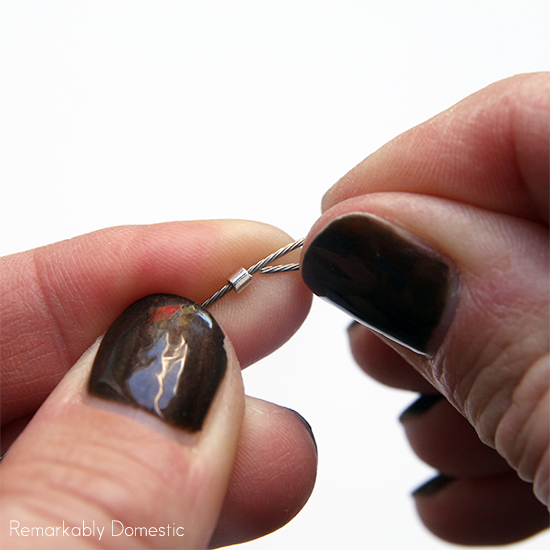
 Slide a crimp tube onto the wire from the other end and move it up towards the bent end.
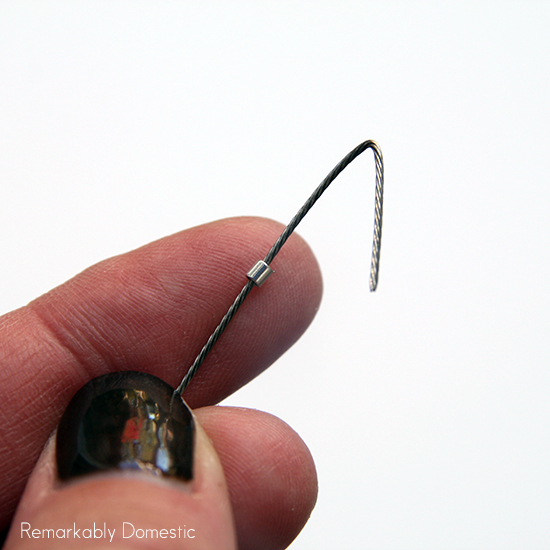 This is the hardest part: getting the crimp tube to slide over the main wire and the end of the bent section. You’ll have to squeeze the bend so you can get the end of the wire as flush with the body of the wire as possible. Slide the tube up so it sits over the end of the wire.
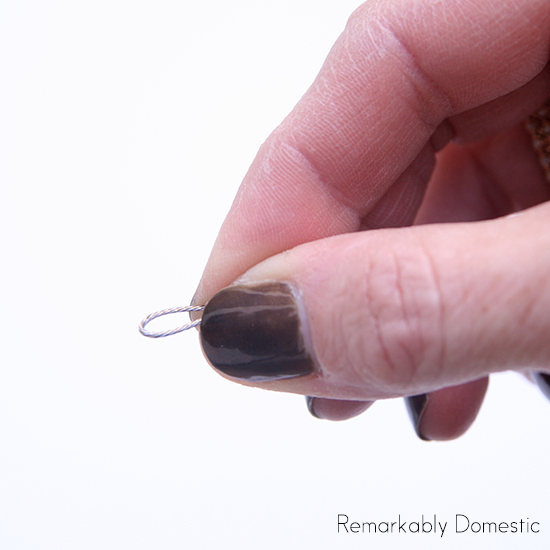
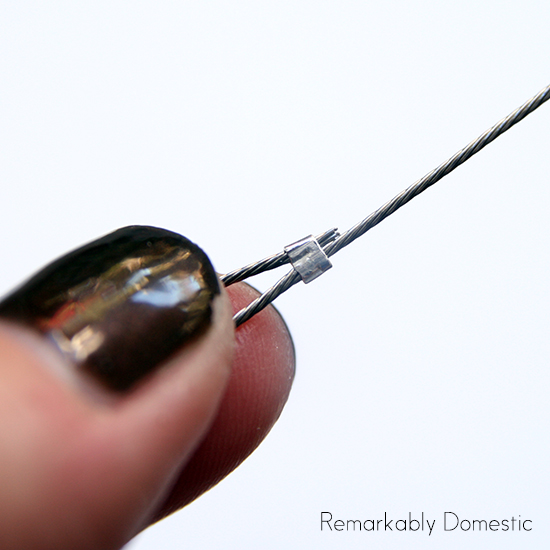
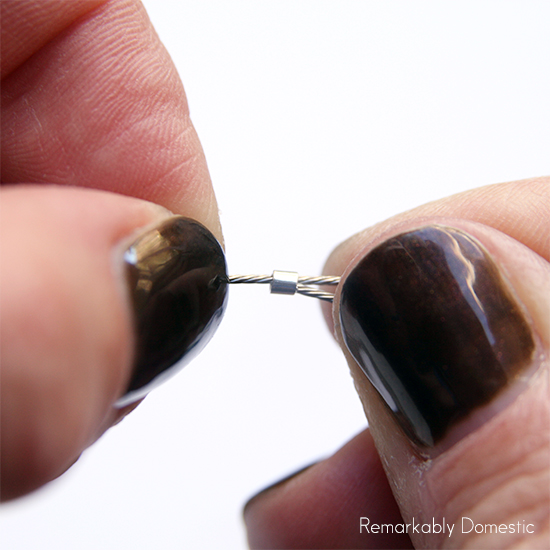 You only need to slide the tube so that the wire end is just barely poking out:
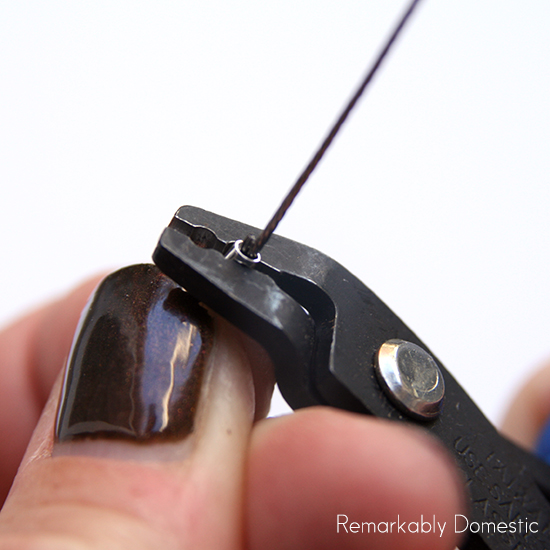
 Carefully crimp the tube with pliers or a crimper.
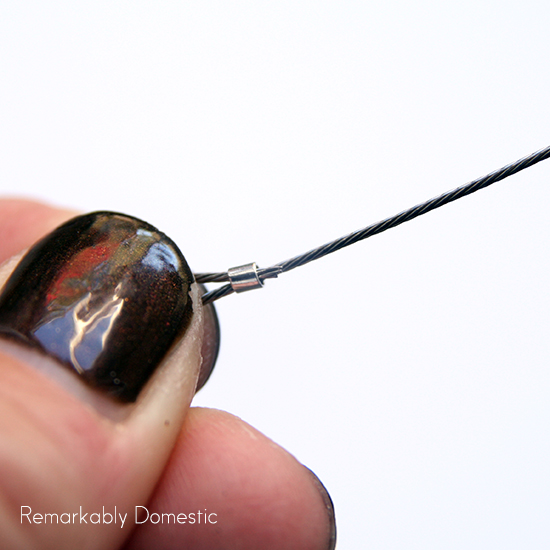
 And you’ll have this:
 Repeat the process for the other end, but this time you’ll need to slide the crimp tube on before you start bending the wire. Once you’re done, you’ll have a wire with two loops on either end.
Repeat the entire process for all your wires. Now, gather up your wires and connect all of the ends together with a jump ring.
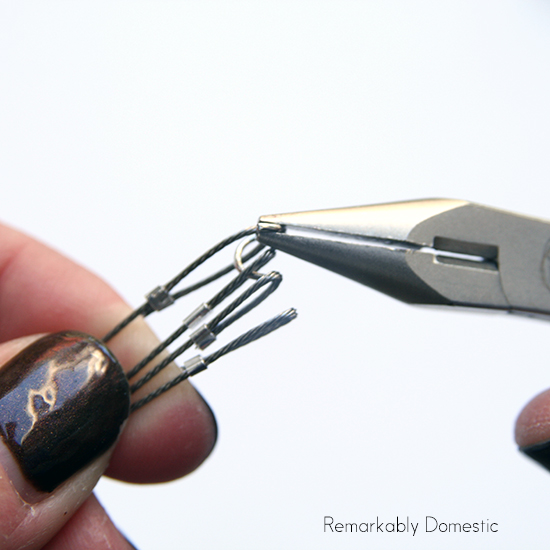 Once you’ve connected one end, you can connect the others with a jump ring; be careful to keep the wires in the same order.
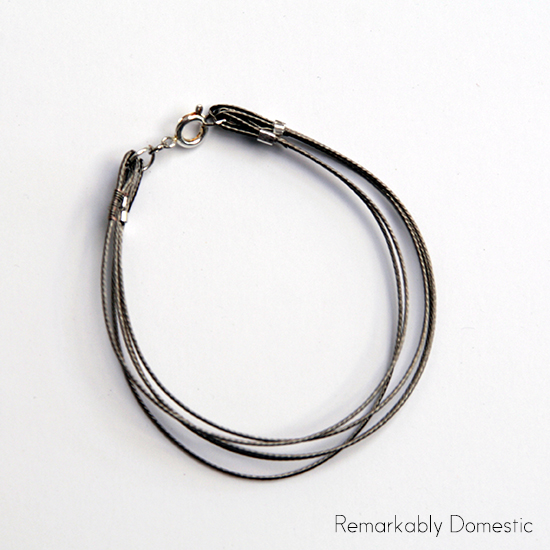
Attach a clasp to one end, and then close the clasp. Using your hands, mold the wire a bit so that it’s slightly more rounded.
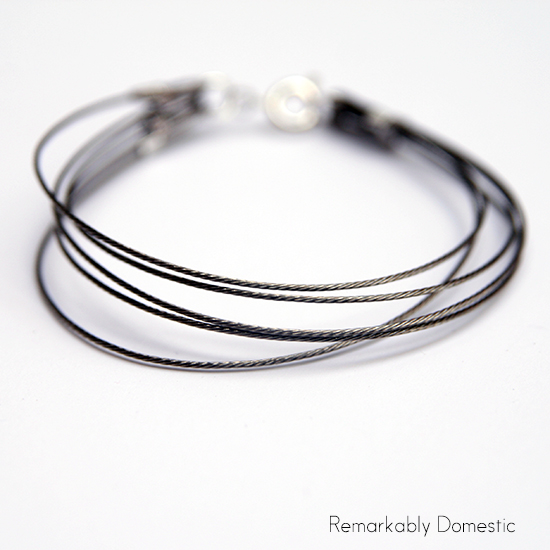 And you’re done! Simple, inexpensive, and I love the delicate look it gives.


great tutorials. Fun & creative stuff to make. Thanks