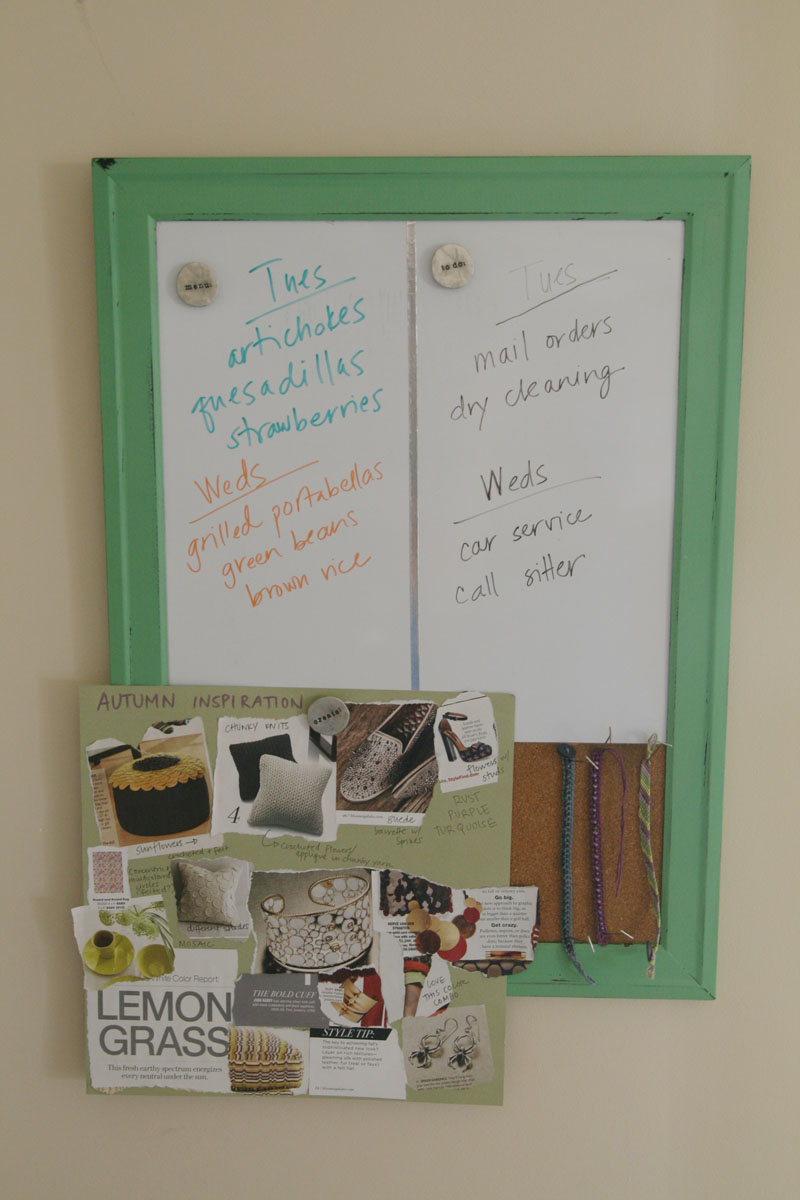
Recently Martha posted a tutorial for making a jewelry holder out of a shadow box. I had been wanting to do something similar, but I haven’t been able to find a shadow box that was the right dimensions—even Martha’s wasn’t really long enough. I need a place to store a few key long necklaces that keep getting tangled in my regular jewelry box.
I found a great picture frame at IKEA that was kind of long and skinny, and I thought it would work great for a necklace holder. So I bought it and got to work!
Here’s what you’ll need for this project:
- picture frame, preferable a long and skinny one (mine was 9″ x 20″)
- fabric of your choice, enough to cover the back of the frame
- quilt batting
- staple gun with 1/4″ staples
- screw hooks
- hammer
- scrap nail (for starting screw holes)
- three pieces of balsa wood in 1/8″ thick by 1/2″ wide
- glue gun
- small nails
I know, it kind of sounds like a lot of materials.
To start, take your frame apart. You won’t need the glass or the matting (if your frame comes with it). I started by putting the hooks into the frame. I wanted 5 hooks, so I measured it out so that they were spaced equally.
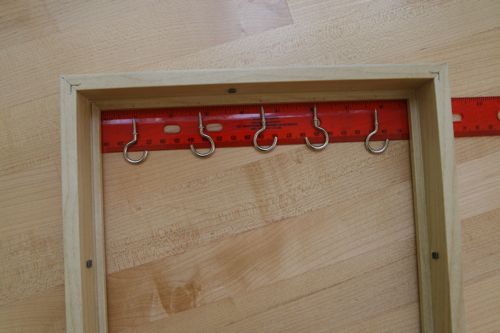
Then I screwed each hook into the inside of the frame. I started each hole by hammering a nail about 1/4″ into the frame, then removing it, so that I had a little hole started in which to screw the hook.

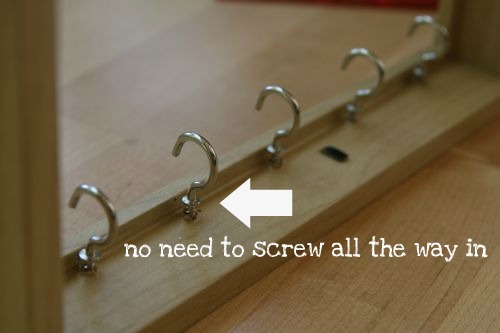
You don’t have to screw the hook all the way in, since the base of it is hidden by the lip of the frame. I was worried that it would screw through and out the top, so I just put it in far enough so that the threads still above the wood were hidden by the lip of the frame. I did that all the way across so that I had my five hooks ready to go.
Next is the trickiest part. You need to build out your frame a little. Eseentially, you want to add a lip of wood around the frame that the back can rest on. Since these hooks will prevent the back from resting flush on the frame as it would if you had a picture in there, you need to add something for the back to rest on on the other three sides.
I used balsa wood, which is super easy to work with. I found mine at a hobby shop. I realize that this material is a little obscure… you could probably also just use some screws, as long as you screw them in at the right distance from the edge.
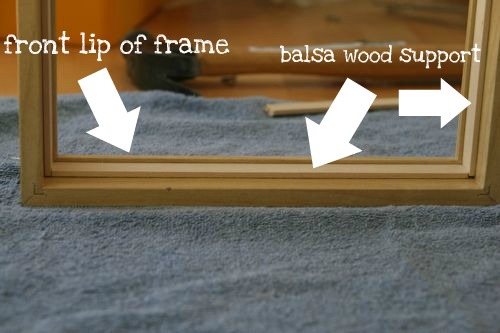
I measured exactly how far from the lip of the frame the back would sit by placing it in and pressing it up against the hooks. I marked it and measured it and realized the hooks were making the back sit 1/2″ away from the lip of the frame. That meant I needed 1/2″ balsa wood to build up the frame. I cut it to size so that the two long sides and the bottom of the frame got little wood boosters. I just added a little bit of hot glue to the back of the wood to attach it to the frame.
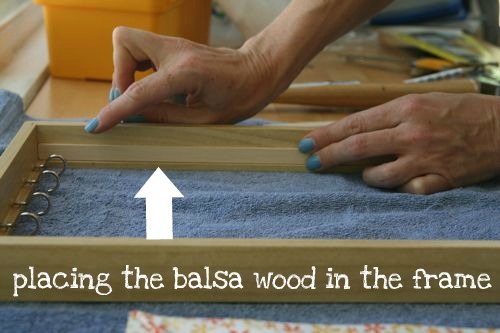
You can see here how the wood creates a little ledge for the backing to sit on:
Now the frame is ready, and it’s time to make the backing. I wanted mine to be kind of soft and smushy, and fabric-covered. I used two layers of quilt batting to make it smushy, and then I covered it with a nice fabric.
It’s easier to cut the unwieldy batting if you place the frame backing on top of it to hold it down.
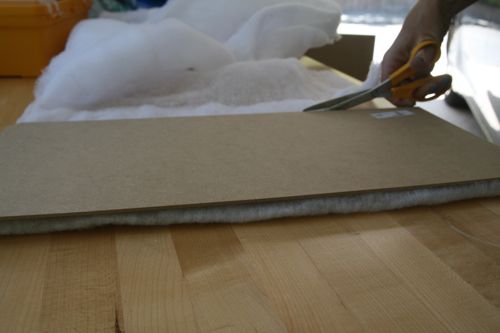
Once you’ve cut the batting, cut the fabric at least 2″ wider on all sides than your backing piece. Then, it’s time to staple gun it to the frame back.
The first side is easy; simply make sure your fabric is straight on the front.

Once you’ve added three or four staples spaced evenly apart on the top, you move to the opposite side. Here, you want to pull the fabric relatively tight; since the batting is on the front, there’s a little bit of give, so don’t be afraid to pull it pretty taut.

After you have the bottom secured, you can staple the sides. Pull those taut, too.
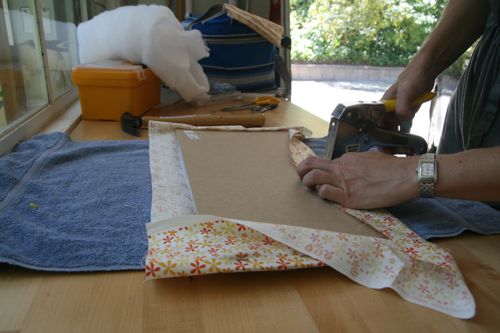
To finish off the corners, simply fold them under into a neat-ish triangle and staple, like this:
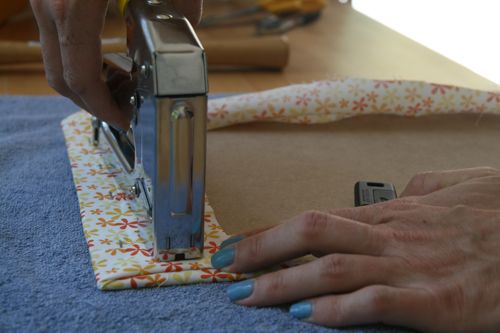
Sorry you can see my camera remote in this one!
The 1/4″ staples were the smallest I could find, and even these come through the front of the frame back board a little. So, in order to make sure there aren’t any sharp points coming through the front, I run my fingers along the front side where I estimate the staples have come through. Any time I feel anything remotely sharp, I hammer it down gingerly.
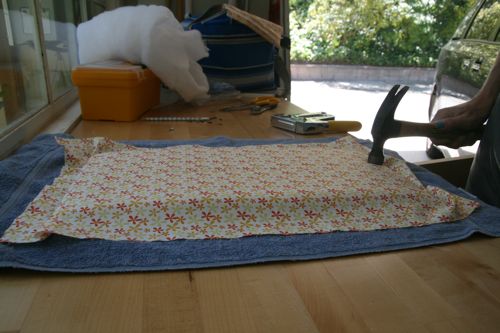
Here’s the backing when it’s all stapled and hammered out:
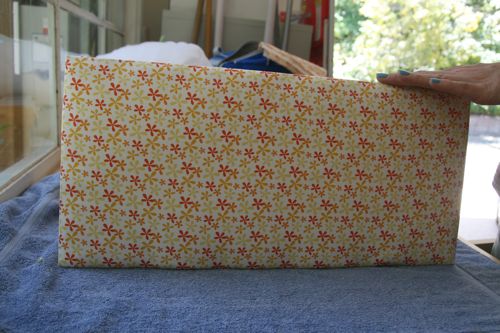
Then you are ready to insert it in the frame. Since the bendy frame holders (technical name, you know) will no longer hold the backing in, I removed them. (Easy to do with pliers.) But now I need a new way to hold the frame together. I decided a few small nails would work well as replacement bendy frame holders.
So, I stuck the back in and put a nail right up against the backing. I hammered it in just about 1/4″ or a little more.
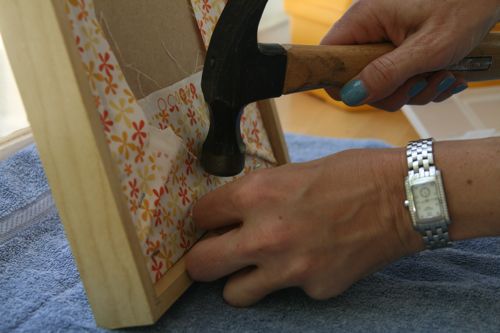
I put one on the top and one on the bottom, and three spaced evenly on the sides. That pretty much did the trick.
And, voila! Here it is!
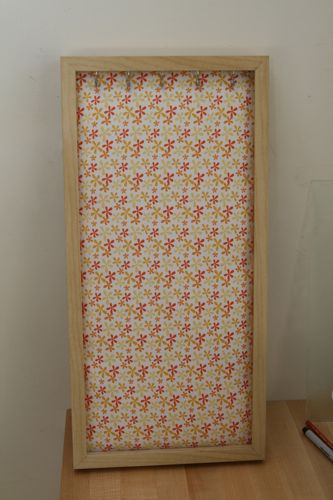
Not bad, eh? I decided I wanted a few more hooks, though. So I added one on each side of the frame and three across the bottom.
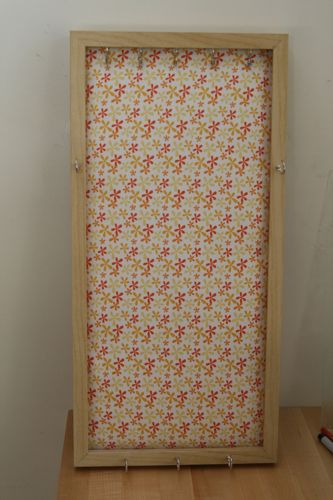
And then I hung it up in my room! The frame came with hardware to hang it, which I used.
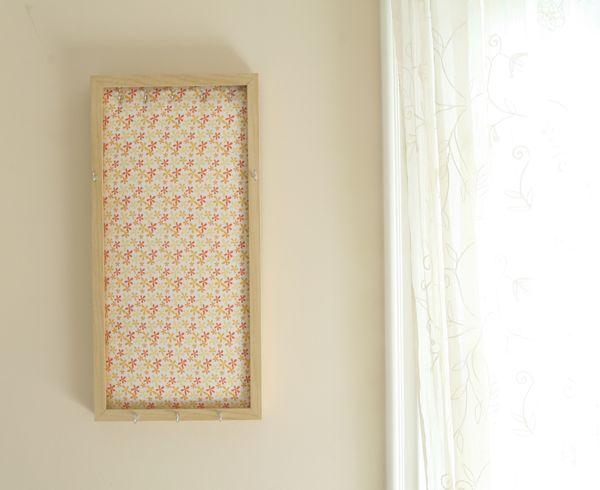
Thar she blows, hanging next to my window. Then, I loaded it up with my jewelry.

You can see how I’ve got a couple of pieces there that are really quite long, so I really wanted a longer holder.
What do you think? I’m fairly pleased with it myself.
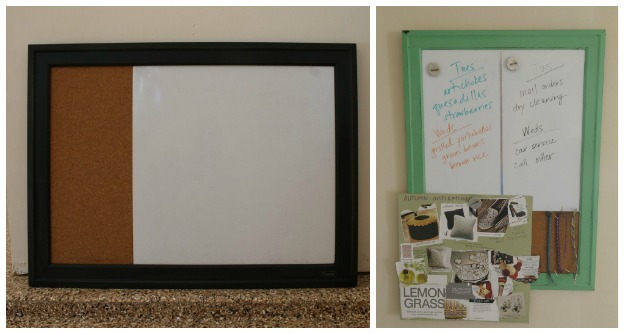
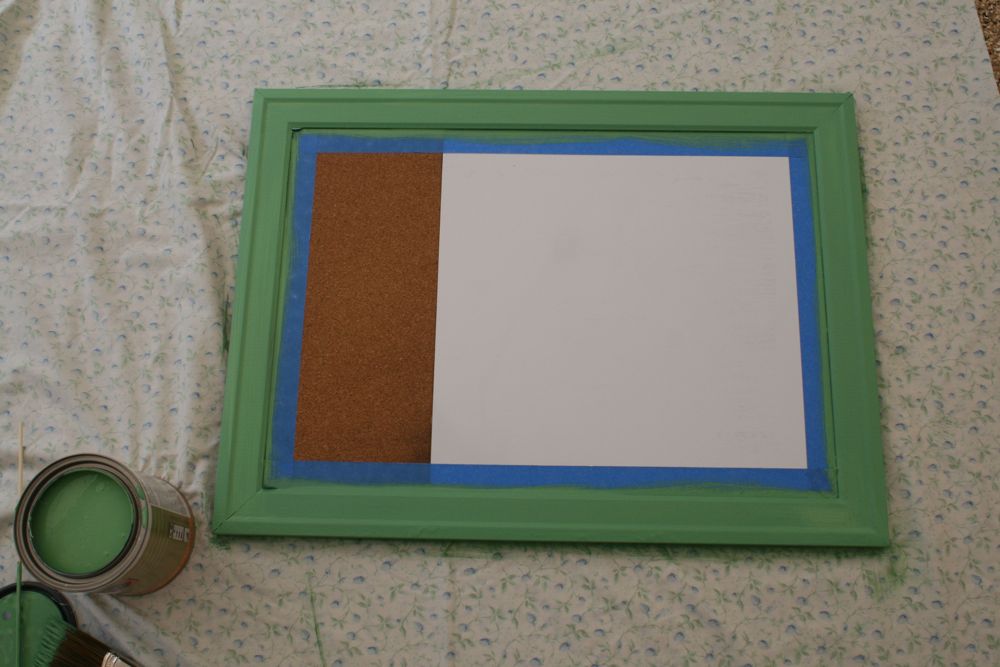
 Next, I painted two coats of this green paint that I love on the frame. I let it dry overnight.
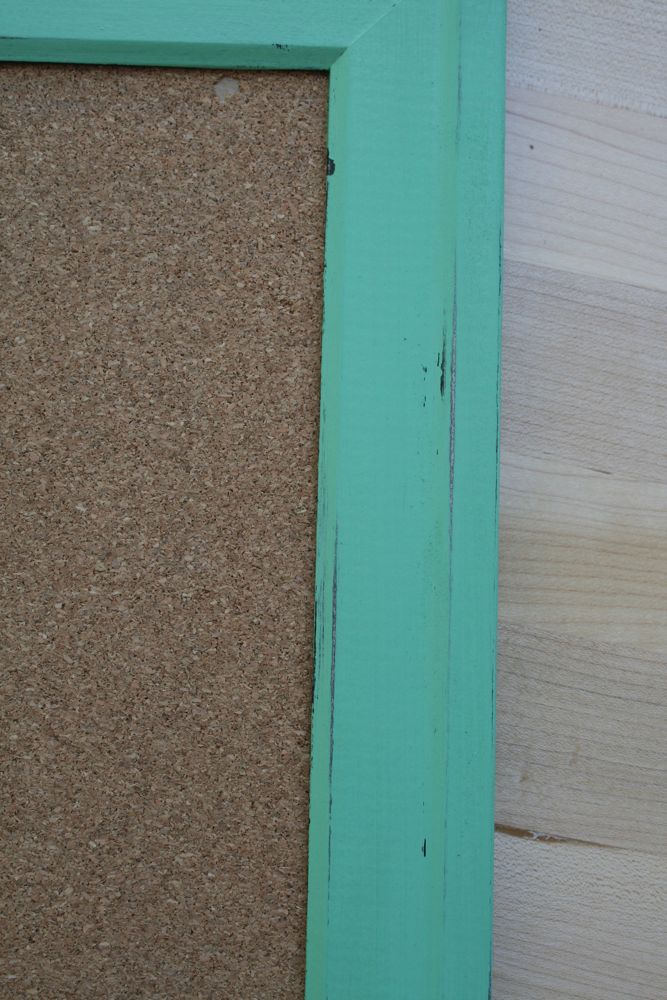
 Because I wanted a distressed look, I very lightly sanded the new paint with a fine sandpaper. With finer sandpaper, you can better control the amount of paint you are taking off. I wanted some of the original black to peek through.
 Once I got the frame the way I liked, I wanted to divide the whiteboard into two sections. I used some metal foil tape and a ruler and I placed the tape directly down the center, dividing the white part into two sides.
