I should really probably call this Pomegranate “Basils” Sangria, because I used four different kinds of basil in this recipe. And it is so delicious!
I want to remind everyone that the Pennington giveaway is still going on. You can win a $50 American Express gift card! You can still enter; simply leave a comment on this post or my previous cocktail post with your favorite gardening tip. I will announce the winner on Friday, October 11.
This sangria really lives up to its name, which comes from a Spanish word that means, “bleeding.” None of this white wine sangria, here, people. It’s like oxblood, which we all know is one of the on trend colors this fall.
Just like last week’s cocktail, I went out to the garden and picked several varieties of basil to make this drink. Basil is fantastic to grow; it’s easy and there are so many readily available kinds, you can have a whole garden of different flavors.
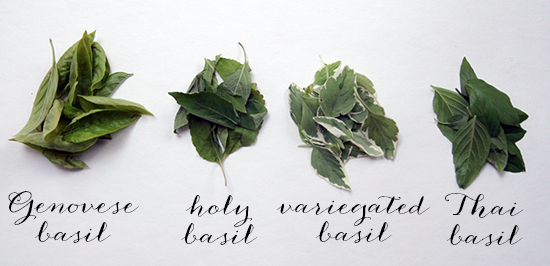
Besides the traditional Genovese basil, I’m also growing these:
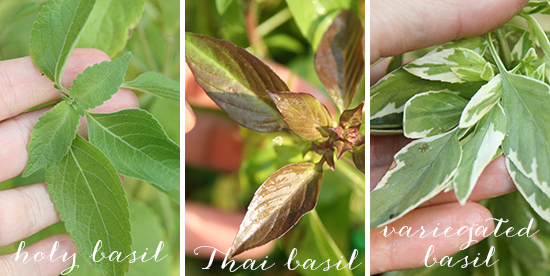 For reals, that first one is called “Holy Basil.” It’s actually used in Ayurvedic medicine and has a minty, clovey taste. Thai basil is more common and has a slight licorice flavor. Variegated basil is also called Perpetuo basil since it doesn’t flower, and it also has a slightly spicy overtone.
You can use whatever basil or basils you want for this recipe. I say the more the merrier, but if you want to go traditional sweet basil, go for it!
Pomegranate Basil Sangria
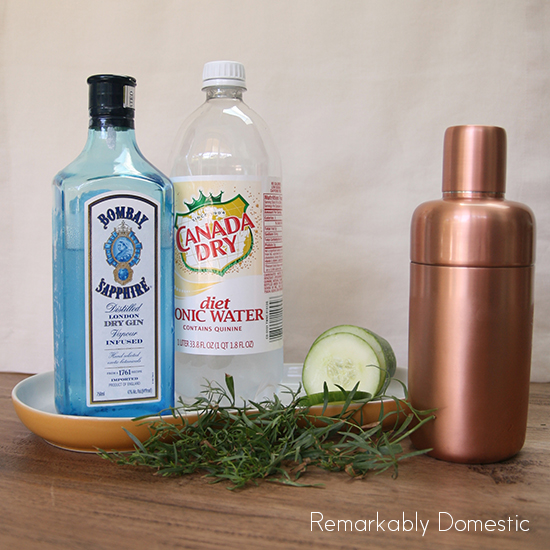
Ingredients:
- 40 basil leaves, of one or more types
- 1 c. sugar
- 1 c. water
- 1 pomegranate (or 1 – 2 cups pomegranate seeds)
- 1 bottle red wine
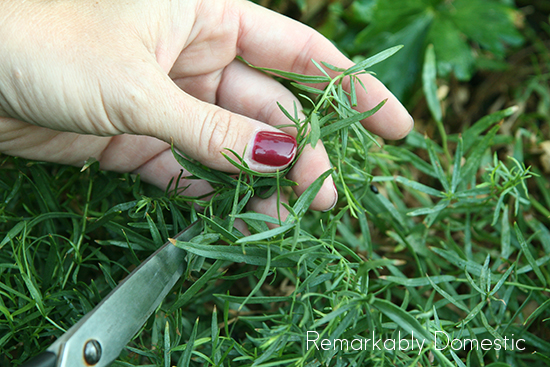
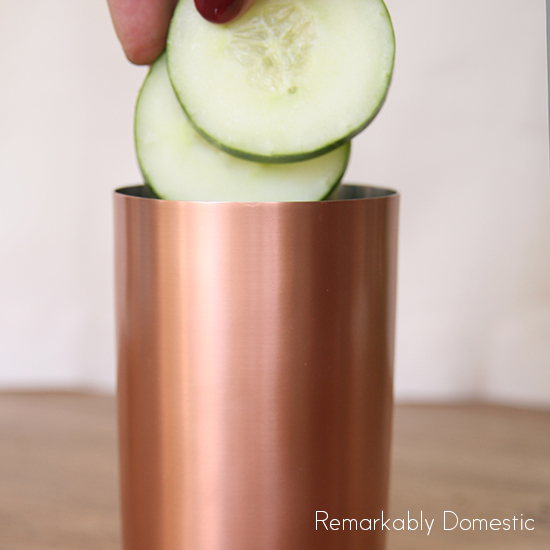
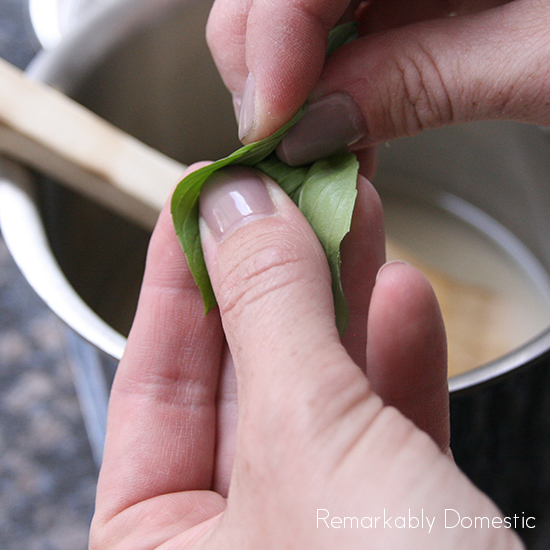
First, pick your basil and remove the leaves from the stems. I used about 40 leaves, 10 of each variety.
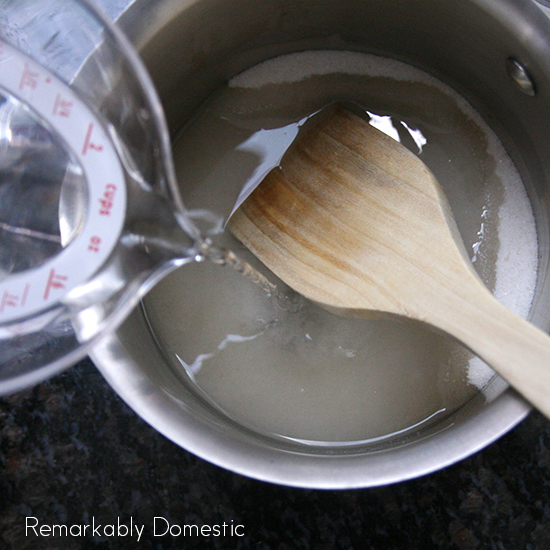
 In a small saucepan, mix the sugar with the water.
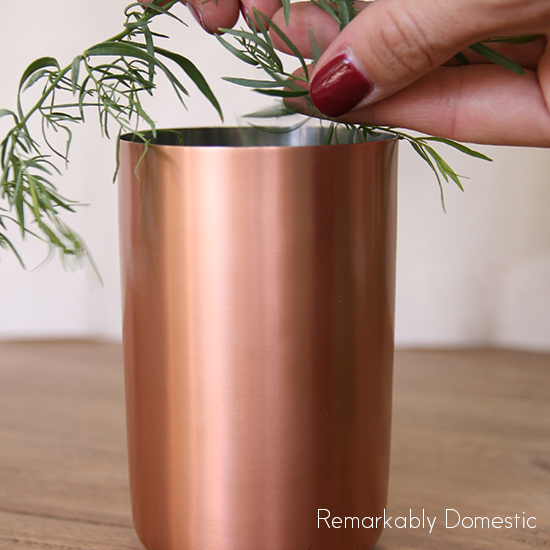
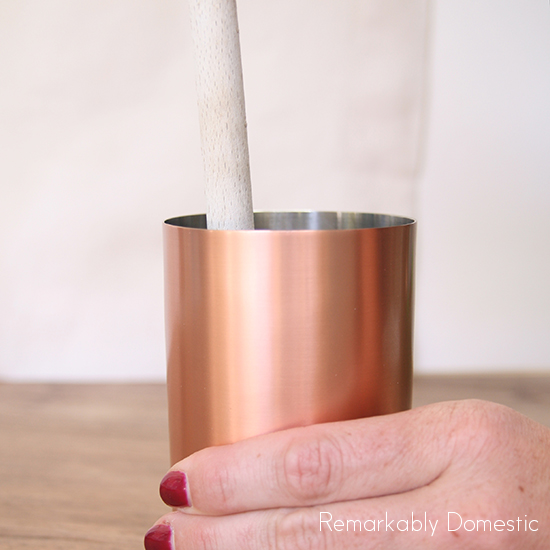
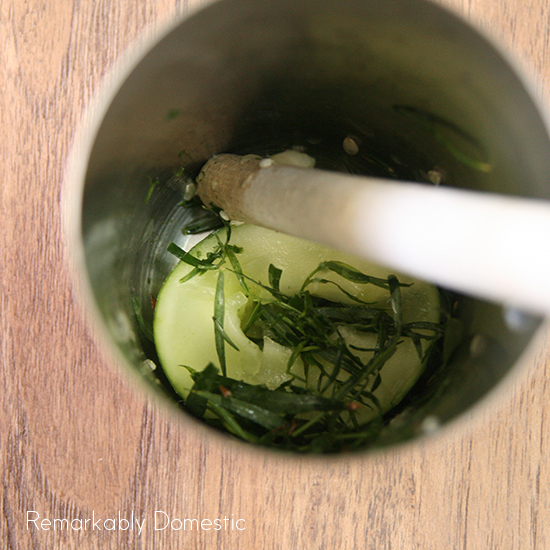
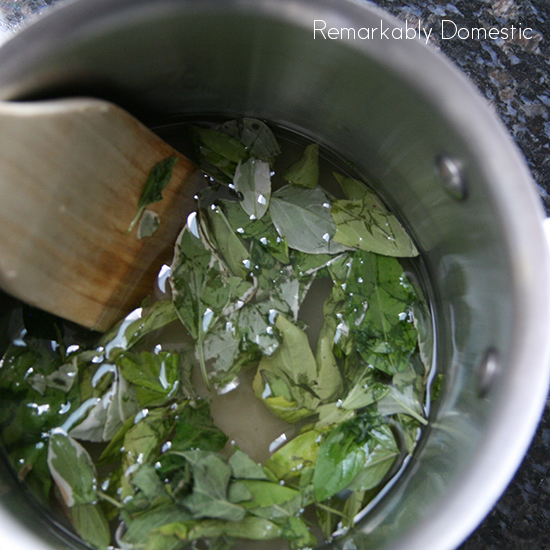
 Add the herbs. As you drop them in the saucepan, crush them a bit to begin to release their aromatic oils.
 Set the pot over medium low heat and bring to a boil. Reduce heat and simmer for about 10 minutes. Make sure all the sugar dissolves. Remove from heat, strain, and let the syrup cool.
 While the basil syrup is simmering, cut your pomegranate in half and remove the seeds. Do you know the super duper easy way to remove them? Over a bowl, simply turn the half pomegranate cut-side down in your hand, and pound the outside with a wooden spoon.
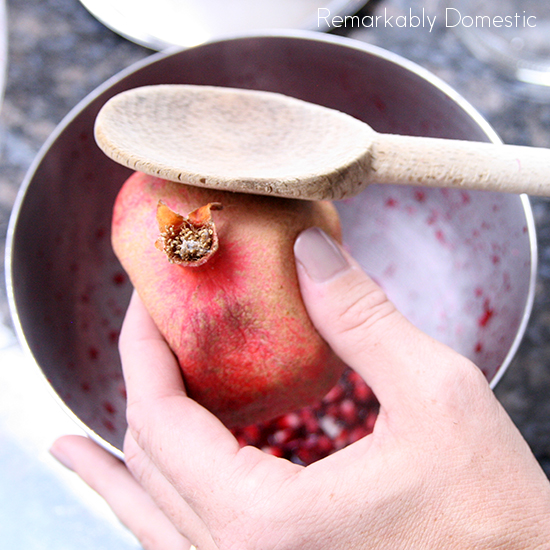
Out come all the seeds and only a few stray pieces of flesh. It’s amazing! Although a little splattery.
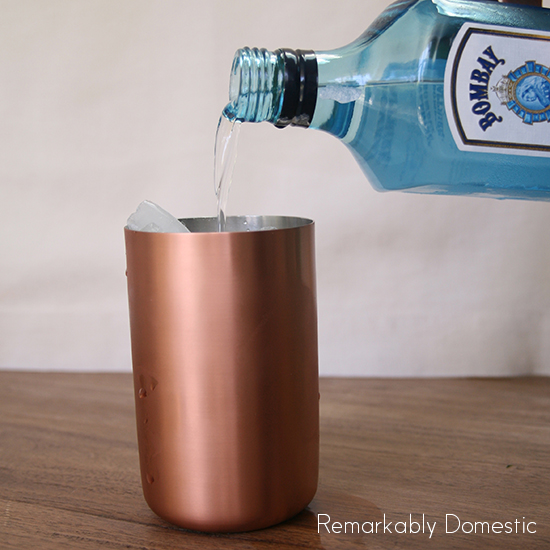
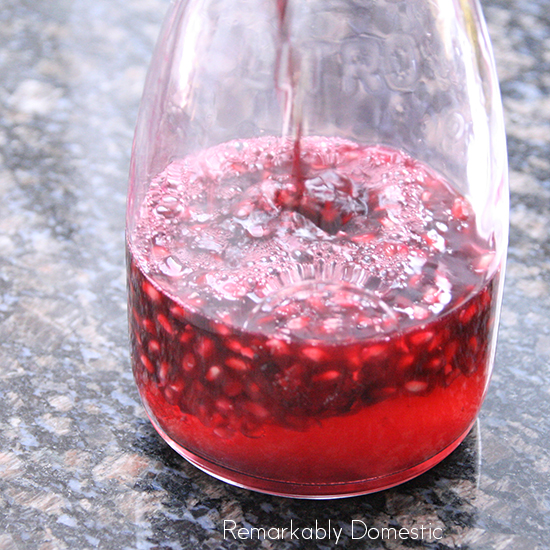
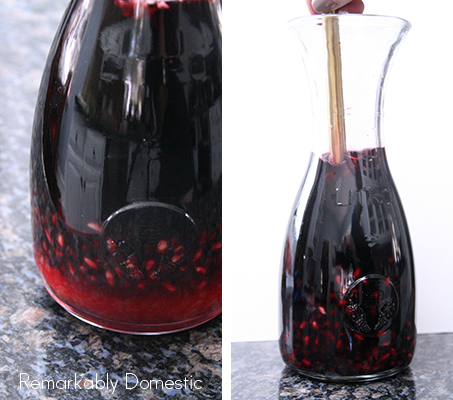
 Once you’ve got your pomegranate ready, you can begin to assemble the sangria. First, add the pomegranate seeds and juice, then about 1/2 c. of the basil syrup (more or less to taste). Finally, pour in the bottle of red wine. I used a nice Malbec which worked perfectly.
 Mix it all up and let it steep for at least 30 minutes.
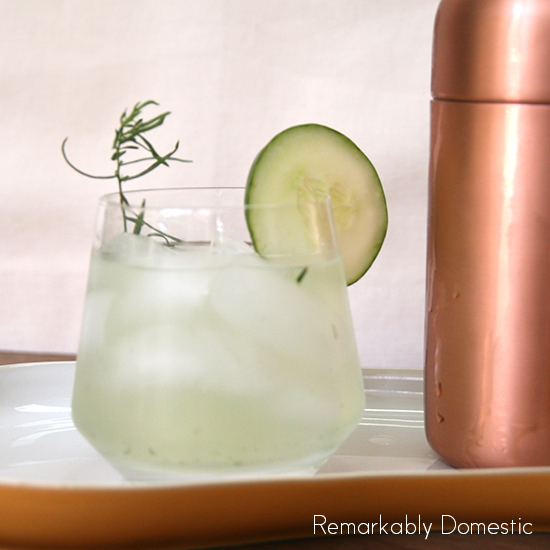
 You can chill it while you are letting it steep, and even serve over ice. Garnish with some basil leaves.
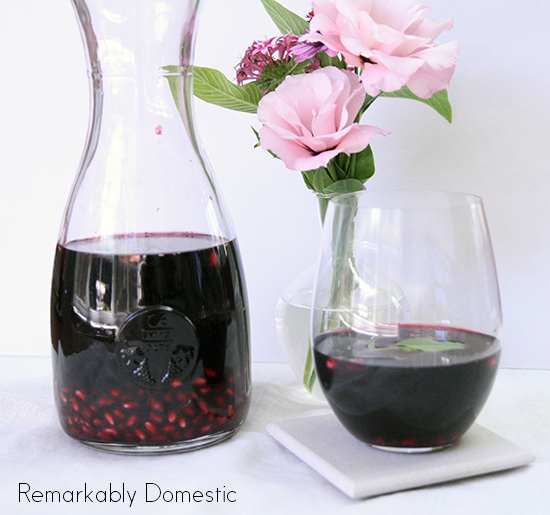 Delicious, right? Perfect to drink while wearing your new shoes and nail polish.