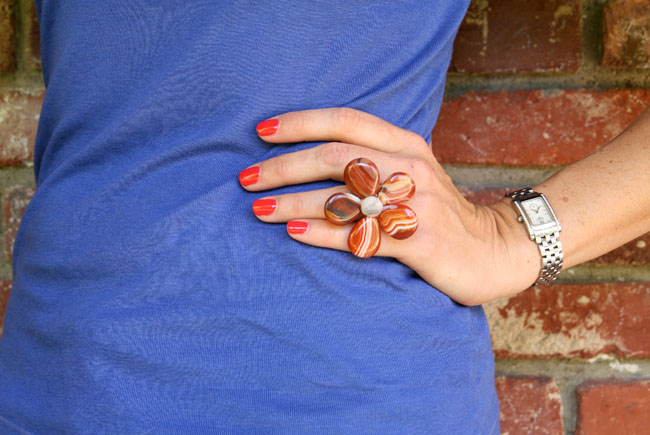
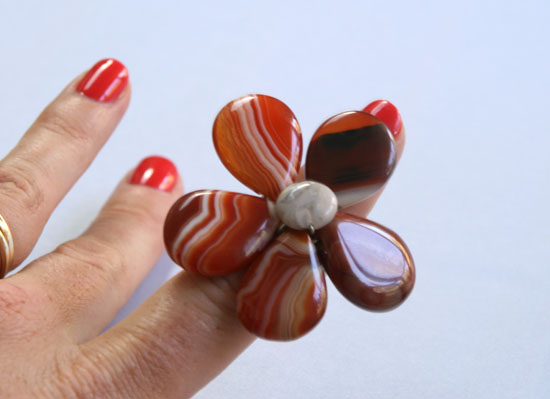
Some time ago, I saw a flower ring made from beads at Anthropologie and I knew I could make one myself. And now I’ve finally gotten around to doing it!
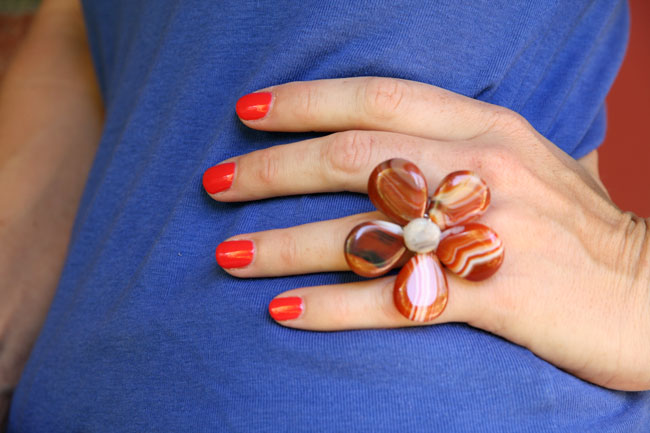
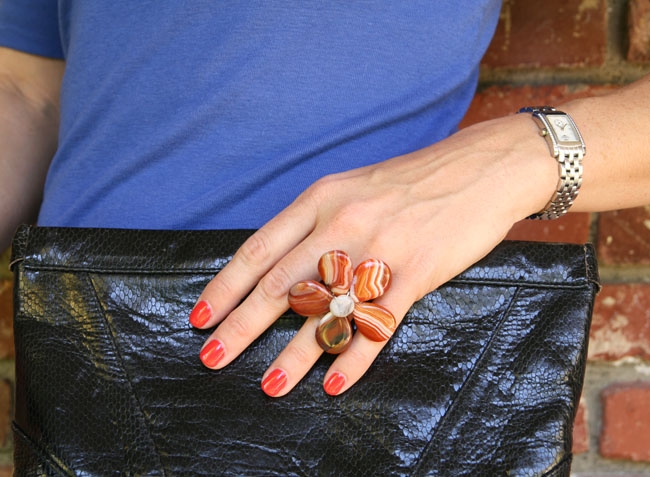
What do you think? Cute as a cocktail ring, right?
I’m going to walk you through the tutorial, and it’s really quite easy. The hardest part is twisting the wires just so.
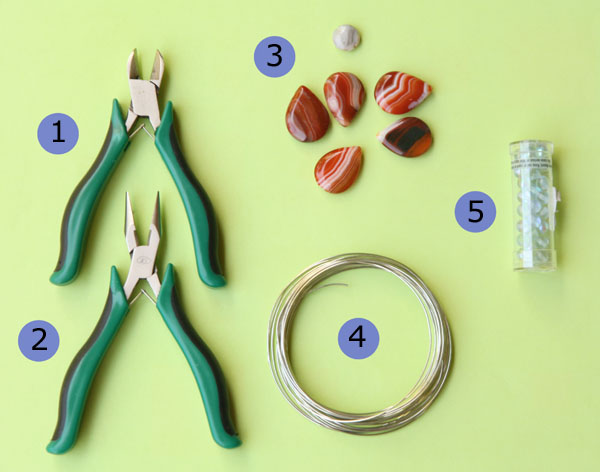
Here’s what you need:
- wire cutter
- jewelry pliers
- 5 teardrop shaped beads, and one bead for the center
- 20 gauge wire, or the largest wire that will fit your beads. The thicker the wire, the more stable your ring. It’s pretty hard to work with anything thicker than 16 gauge, though. (Keep in mind the lower the gauge, the thicker the wire.)
- Some kind of tube whose circumference about approximates the circumference of the finger on which you want to wear your ring. This is simply for wrapping the base of the ring.
All of these items are readily available at Michaels and other craft stores.
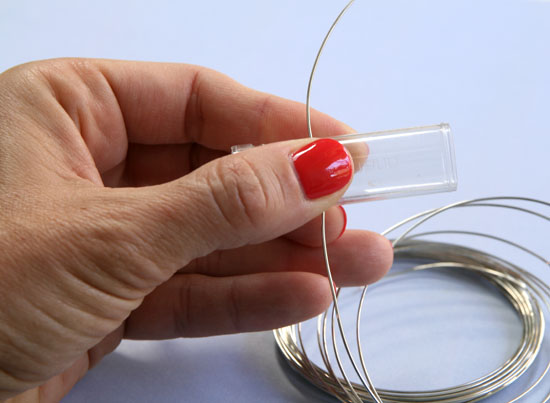
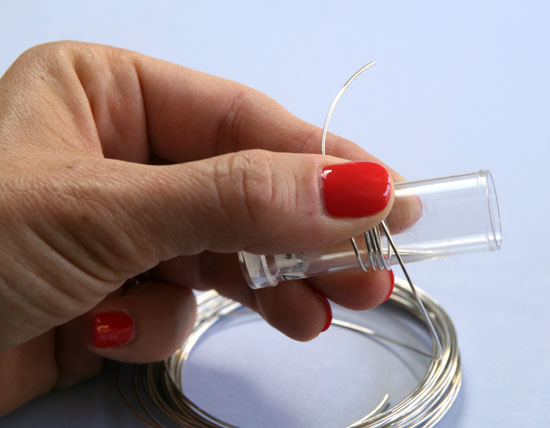
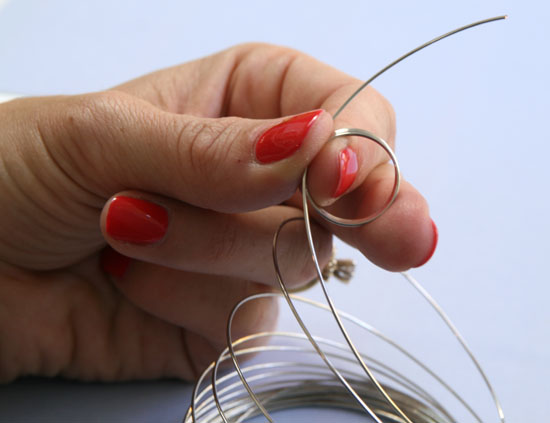
First you want to make the band. To do this, take your wire and start wrapping it tightly around the tube you’ve selected, leaving a little tail about 1 – 2″ long at the beginning.
Wrap about 3 – 4 times around.
Now, slide your wraps off the cylinder.
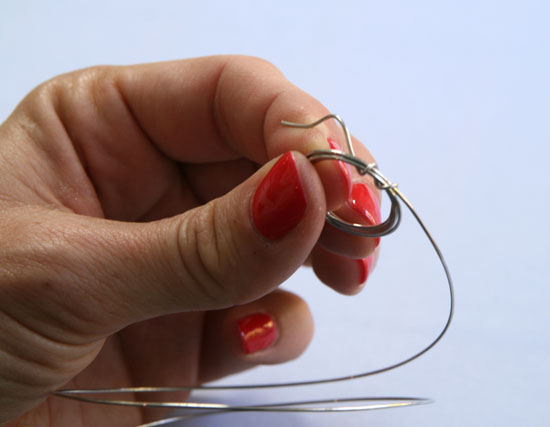
To stabilize the band and prevent each wrap from separating from the others, wrap the tail end around the whole bunch of circles a few times. (As a side note, notice that the other end of the wire is still attached to the spool. Keep that long until a little later.)
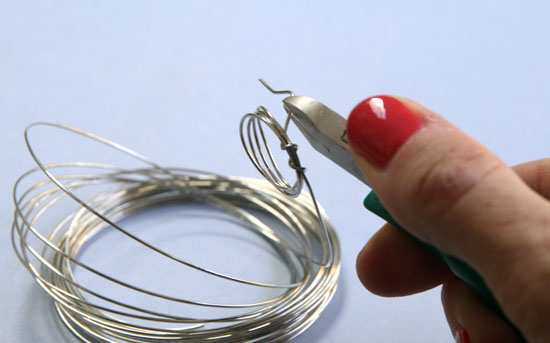
Cut off the extra wire…
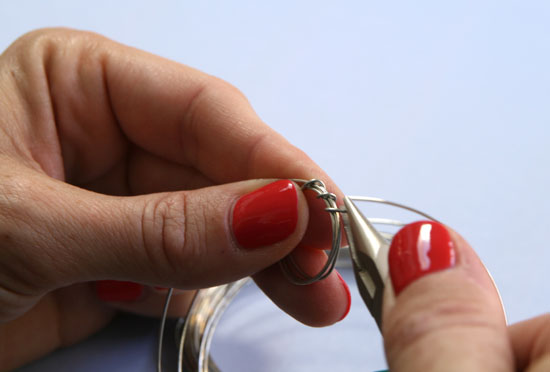
and wrap it flat onto the band, tucking it in so there are no sharp edges.
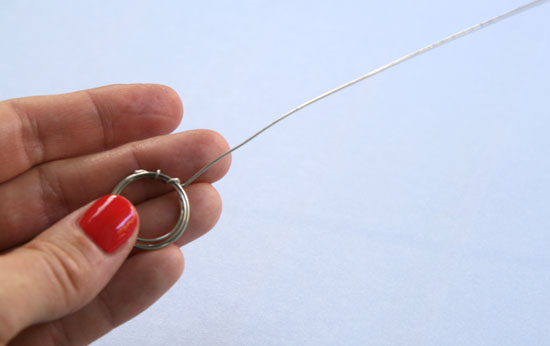
Now you can deal with the long end of the wire. Cut the remaining wire so that you have about a 9″ length coming out from your band.
Is it me, or is that photo stupidly phallic?
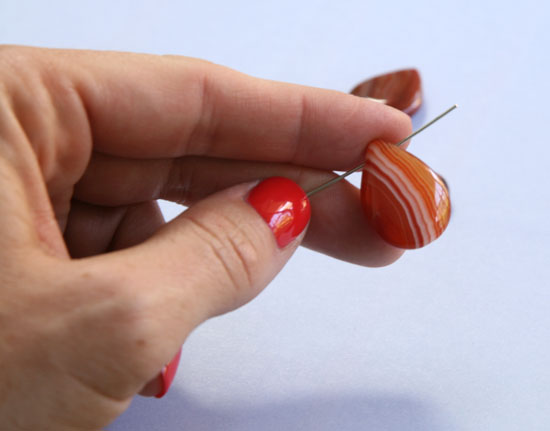
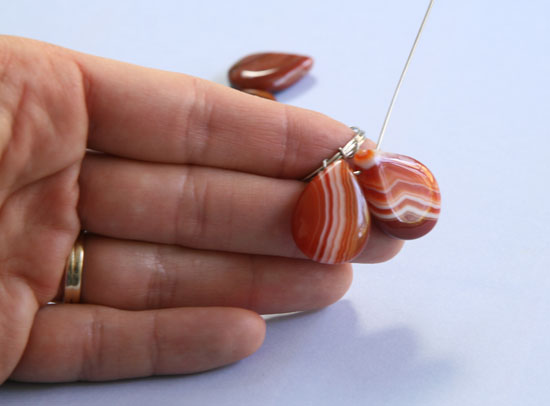
Now you are going to start adding your beads. First, bend the wire upwards (as in the photo above) and then sideways, so it’s coming out of the band at a 90° angle. Then, string on your first bead.
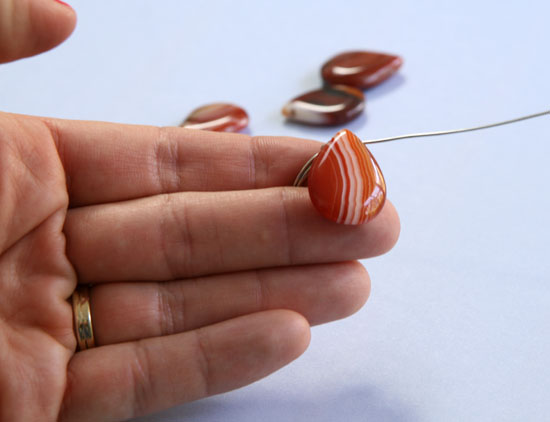
Push it all the way down to the band, getting it as close as possible.
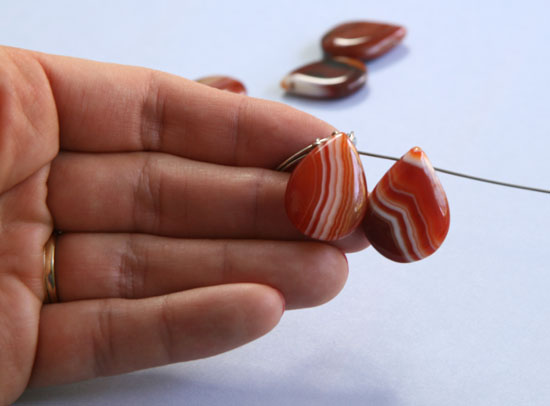
Add your next bead. You’ll notice that because of their shape, they won’t actually sit flush.
Grab the rounded ends of the beads and gently bend them apart, thereby pushing the pointed tips together. As you do this, your wire will bend in exactly the shape it needs to.
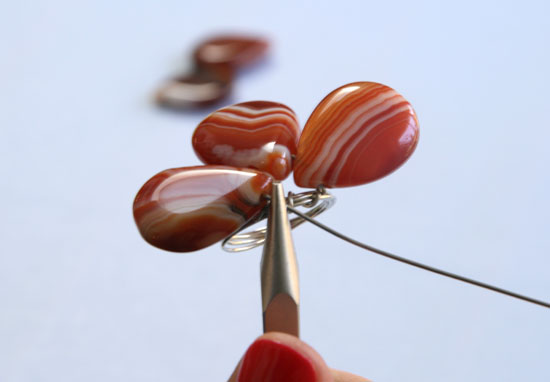
Add your next bead, and follow the same procedure to bend the wire. At this point, you might want to use pliers to bend the wire as closely as possible to the bead, keeping each bead snugly tucked next to its neighbor.
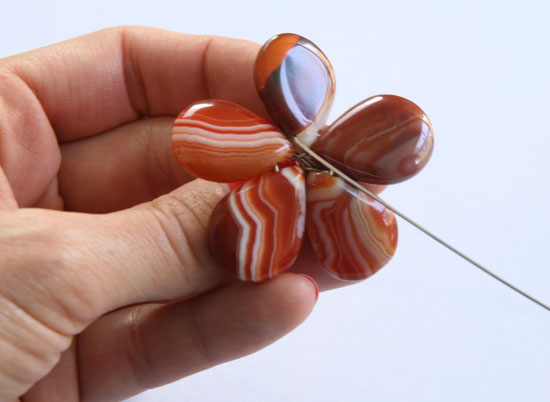
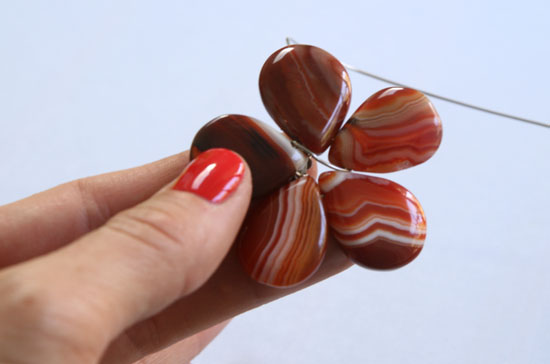
Add your last two beads and make sure they are all sitting tightly together.
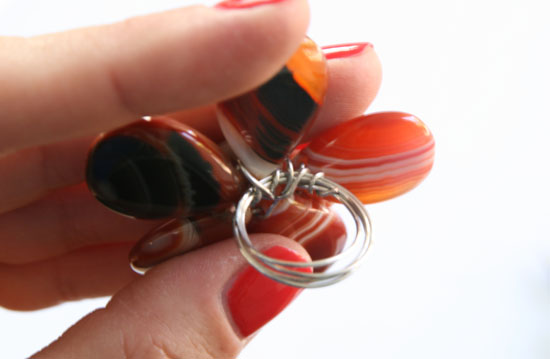
Now, wrap the end of your wire underneath and around the band to secure.
Bring the wire up between two of the beads and wrap it directly across, between two more beads, to secure the whole thing.
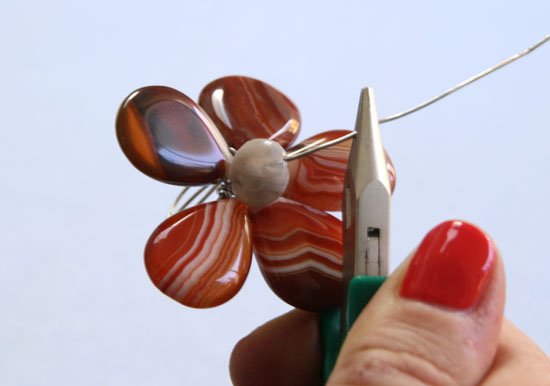
Now, bring the wire up through another two beads, choosing two that you haven’t slipped the wire through yet. You are going to add your center bead.
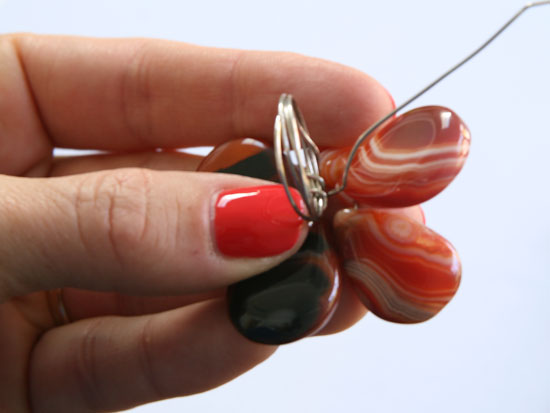
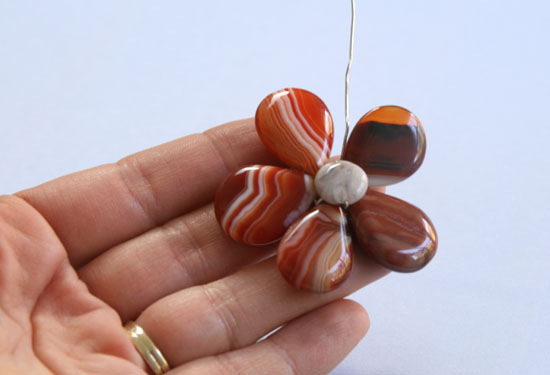
Bend the wire the same way you did with the “petal” beads, making sure the center bead sits flat on top of the petals. Send the wire through the center and underneath.
Wrap the wire a few times around the band, cut it off, and tuck the end in.
It looks a little crazy underneath, but no one will see that. If you are a perfectionist you can try to wrap it more neatly.
And you’re done! The petals of the flower might be slightly floppy depending on the size of your beads and the gauge of your wire. Mine moved around a little, but for me that gives the ring some of its charm.
There you go! Wear it out on the town or just to Trader Joe’s. Your call.








Super neat idea. I’m going to give this a shot sometime!