I’m back again, working with Pennington Vertical Gardens for this sponsored post! (Of course, all info and opinions here are my own.) Don’t forget to enter the giveaway for the $50 American Express gift card from Pennington here! The winner will be announced on Friday, October 11.
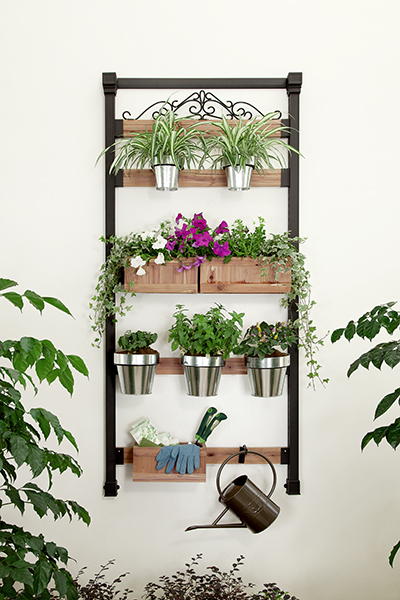
So, friends, I built my vertical garden that Pennington graciously sent me:
Nice, huh? I built it ENTIRELY by myself, so you know you can do it, too.
I decided to install it on my front porch. And now I’m going to walk you through how I installed it. My instructions are for installing outside, into masonry like brick or stucco. (If you are putting it inside into drywall, you will use some slightly different hardware and tools.) If you follow the instructions from Pennington combined with mine, it should be pretty easy to install.
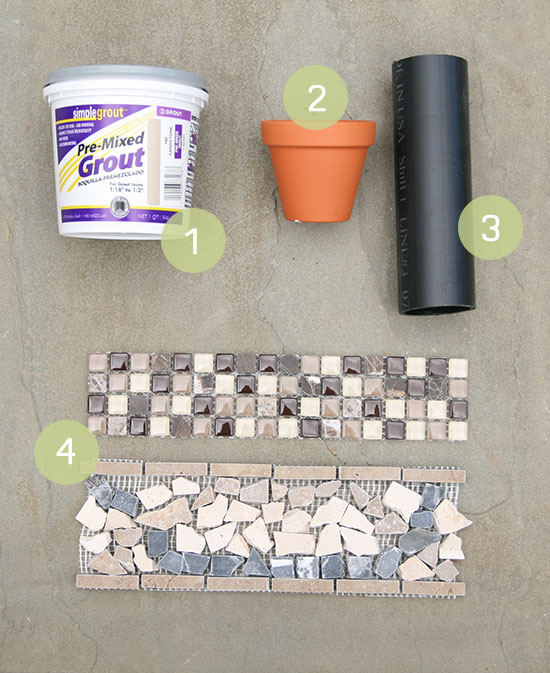
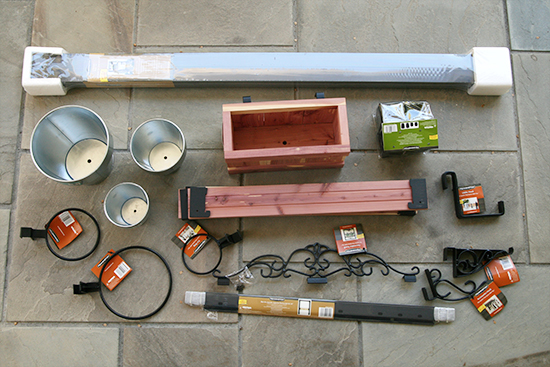
This is what was included in my kit:
And here’s what you’ll need, in addition to your supplies from Pennington:
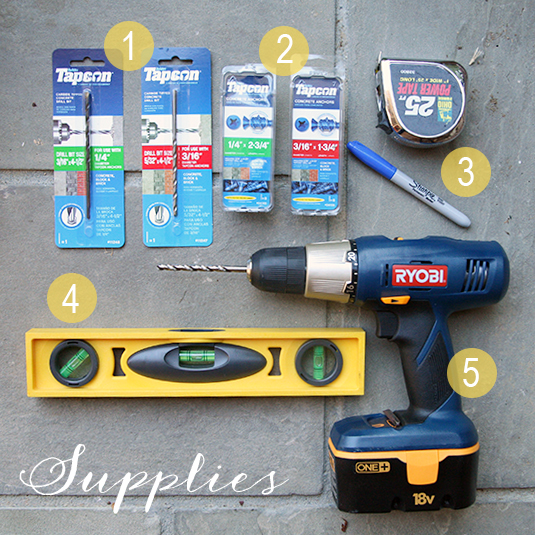
- two masonry drill bits, one that’s 3/16″ and one that’s 5/32″
- masonry screws and anchors, in 1/4″ x 3″ and 3/16″ x 2″; I bought screws that don’t require anchors, made by Tapcon. That eliminated a step for me.
- a tape measure and marking pen
- a level
- a power drill
- (not pictured) you will also need a 3/32″ drill bit for wood
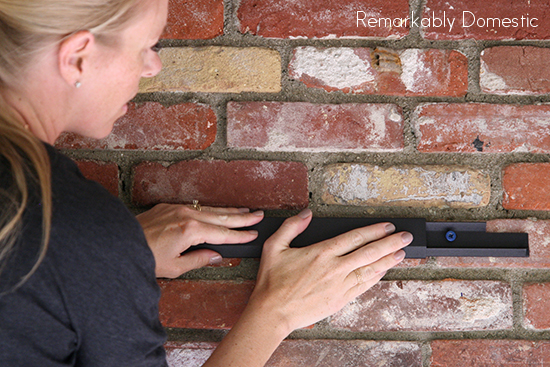
To start, figure out where the top of your garden frame will fall. Pennington provides some guidelines based on the size of the frame; I hung my 4′ frame at about 68″ from the ground. Disassemble the top rail by sliding the cover off of the mounting piece.
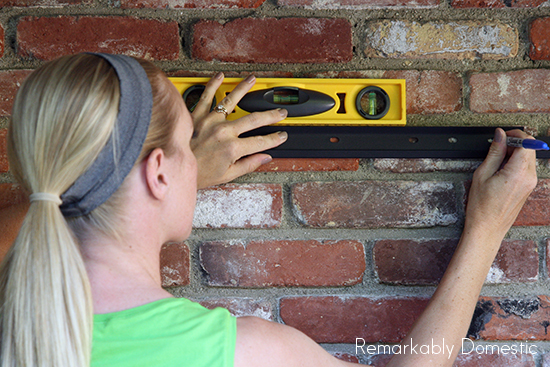
Using a level, mark where you will need to drill holes with your mounting piece. For a 4′ frame, you need at least 3 mounting screws.
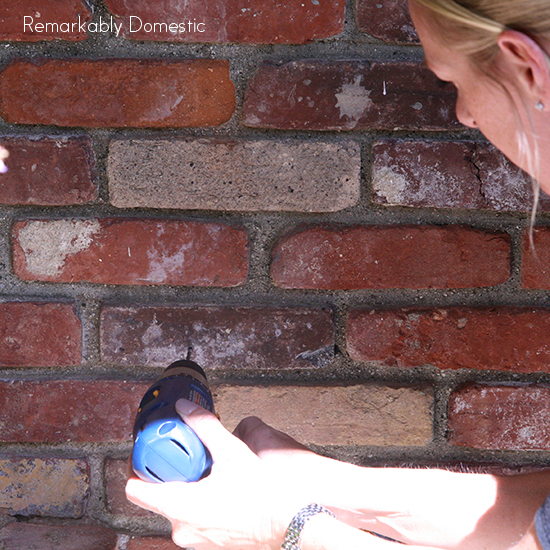
Remove the mounting piece and drill holes where you marked with your 3/16″ masonry drill bit. You will need to drill in 3″ deep so that your screws will go all the way into the brick or stucco.
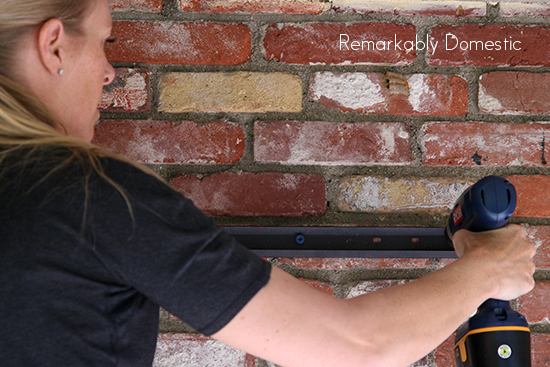
Once you’ve got your holes drilled, put the mounting piece back up, lining up the holes in your wall with the holes in the top rail. Screw them in, either by hand or with a power drill with a Phillips head attachment.
Continuity error! Did you notice I changed shirts? I picked up where I left off on the second day.
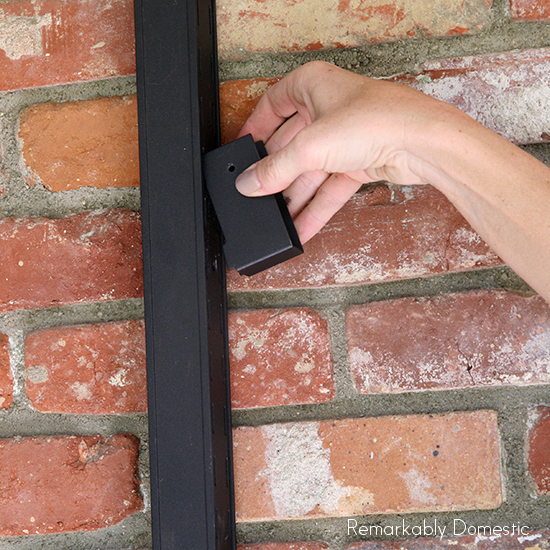
You’ve just completed pretty much the hardest step of the project. Now, slide the cover onto the mounting rail, which hides the screws and makes it look all pretty.
On each vertical rail, attach a bottom cap. Then, hang the vertical rails from each side of the top rail, making sure that the notches face inward. The tricky part here is that you will be tempted to push the rails towards the center so they are flush against the top rail cover. What you need to do is push them as far outward as possible, so that they are flush with the little stop-notch on the outside of the top rail. Like so:
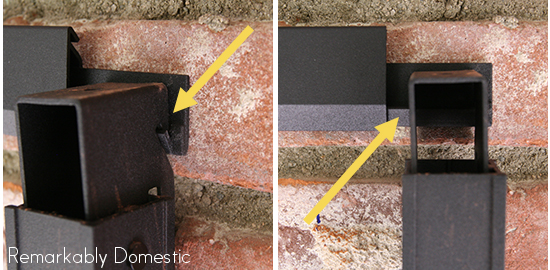
As you can see in the photo on the right here, there will be a gap between the top rail cover and the vertical rail. That’s ok, it will get covered up later.
Make sure the rails are leveled horizontally and mark the holes on the bottom caps where you will add screws to secure the vertical rails to the wall. Remove the vertical rails and drill holes where you marked, this time with the 5/32″ masonry bit.
 Re-attach the rails and line up the holes in the wall with the holes in the bottom caps. Screw in the 3/16″ masonry screws, one on each side of each bottom cap (for 4 total).
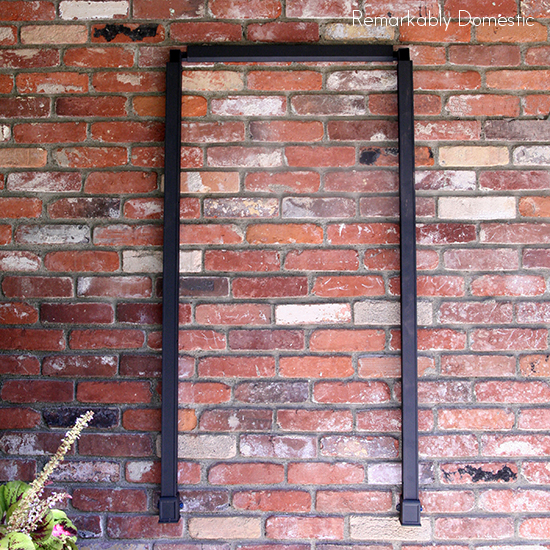
And that really is the hard stuff done. Frame complete! All you need to do to is slide the top caps onto the top corners to finish the look. There are some tiny screws that secure these caps to the top as well.
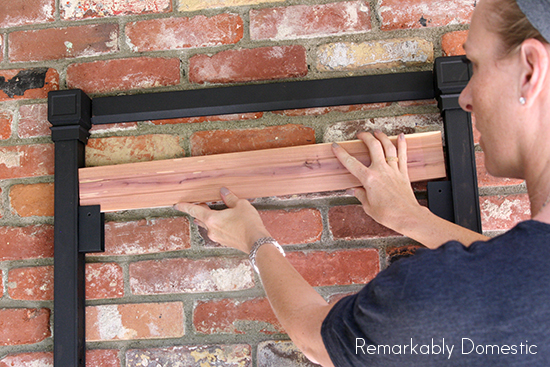
 For the horizontal planks, take the wooden rails and unscrew the metal mounting brackets from each. Keep those screws handy, and install the mounting brackets where you want your horizontal planks to sit. Consider what you will be hanging from each as you place them.
 Once you’re sure that you’ve got everything where you want it, put the wooden planks into the brackets.
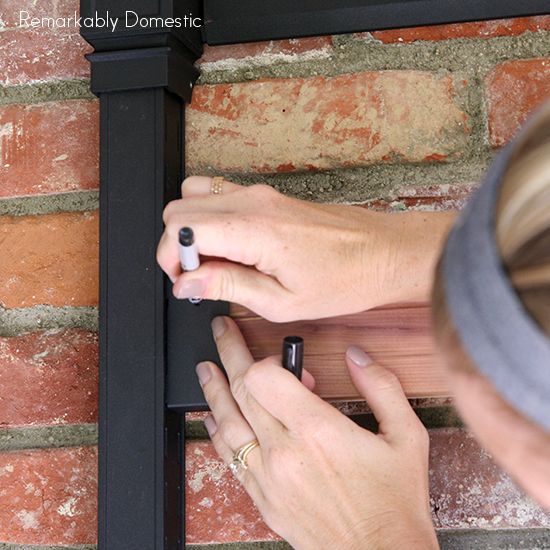
 Mark the planks through the holes in the top of the brackets so you know where to drill.
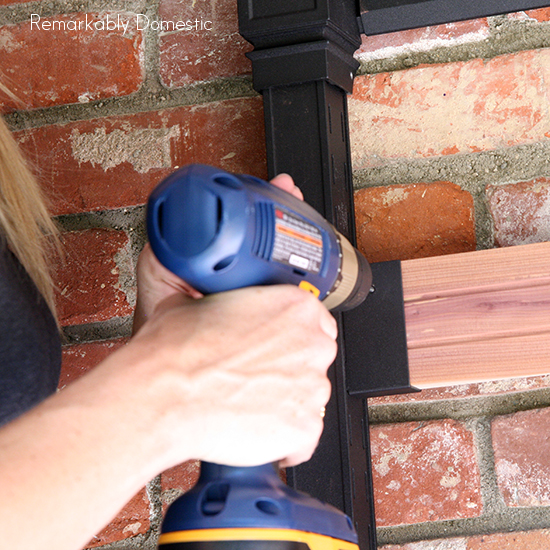
Remove the wood plank and drill with your 3/32″ regular drill bit so that you have a pilot hole for the screws. Replace the planks, line up the holes, and screw in the screws so your planks don’t wiggle.
 Repeat for all planks, and then the fun part: deciding where you want to hang what!
I have a few tips:
- Consider what will be hanging below. I wanted a container with my gardening tools to hang, but I didn’t want water dripping from plants above into the container. So I made sure that I didn’t hang any plants above that container.
- Think outside the box. Just because a tin pot would normally hold a plant doesn’t mean you have to follow that plan. Consider using the pot to corral other outdoor items, like sidewalk chalk, dog toys, or containers of bubbles.
- Keep in mind who will be using the garden. If you put kids’ chalk in a container, make sure to hang it low enough and far enough away from anything you don’t want bumped.
- Plan for watering. You will have to water your garden by hand, unless you all have a great idea for irrigating, in which case please share! When hanging plants, remember that you will need to access them for watering, so don’t make it too hard on yourself!
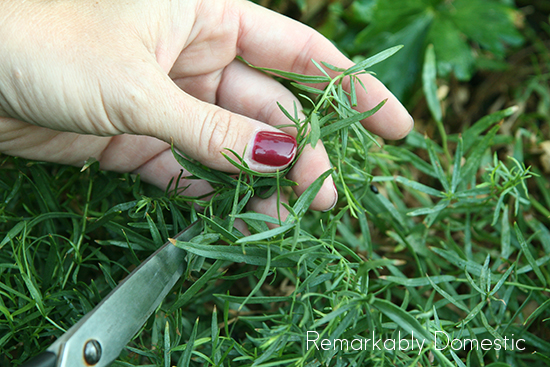
Now it’s time to plant!
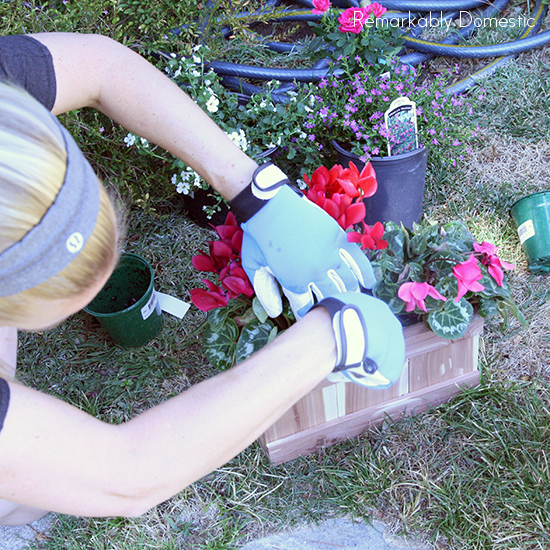 You can’t really tell here, but I actually managed to make an ombre planter box! I found 3 cyclamens in 3 shades of pink and made myself really happy with an ombre collection.
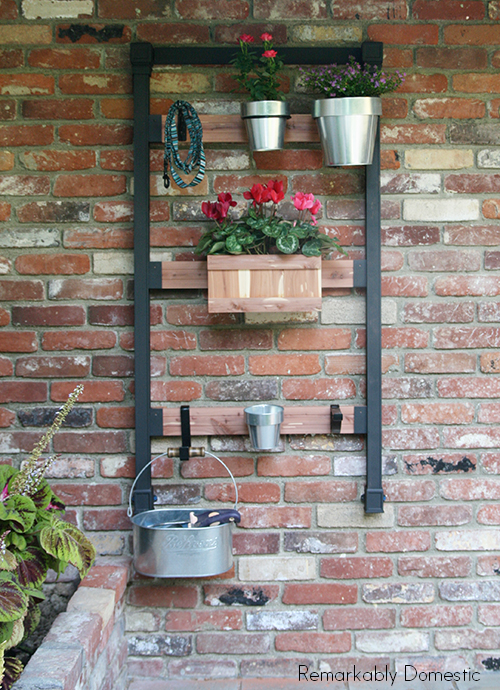
Once I’d planted everything and hung my accessories, here’s the final outcome:
I hung the dog’s leash from a hook on the top, and a galvanized pail I picked up at a hardware store on the bottom. That’s where I’m keeping my garden tools. I can simply pop the bucket off and take my tools wherever I need them!
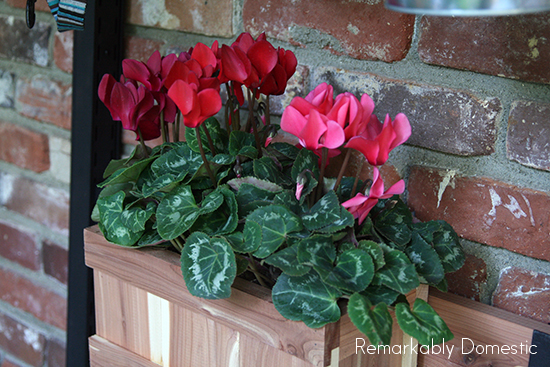
My ombre box!
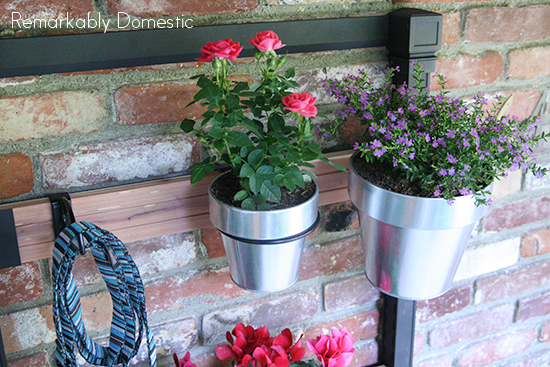
Top level
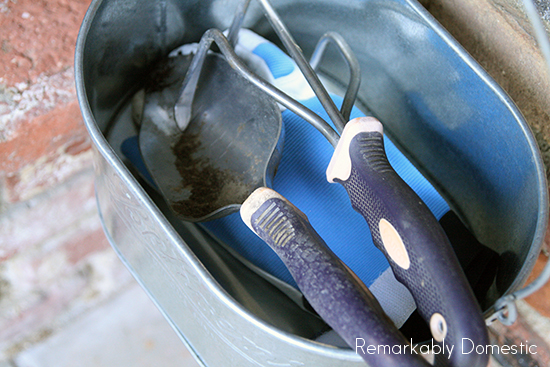
garden tools
Beautiful and efficient! Hope you like it. Let me know if you have any questions in the comments below. Thanks for reading!
Disclosure Statement
Pennington Vertical Gardens partnered with bloggers such as me to help educate us all about their Pennington Vertical Gardening System products. As part of this program, I received compensation. They did not tell me what to purchase or what to say about the use of the products. Pennington Vertical Gardens believes that consumers and bloggers are free to form their own opinions and share them in their own words. Pennington Vertical Garden’s policies align with WOMMA Ethics Code, FTC guidelines and social media engagement recommendations. A winner will be chosen by random and gift card fulfillment will be handled by a third party.