Have you seen all the cool paper jewelry there is out there? My favorites are the ones from Jessica Jones at How About Orange. They are perfect and geometric and super cool.
I decided to do my own take on these pendants, but adding one extra element. And what is the one thing I will always add if I can? OMBRÉ!
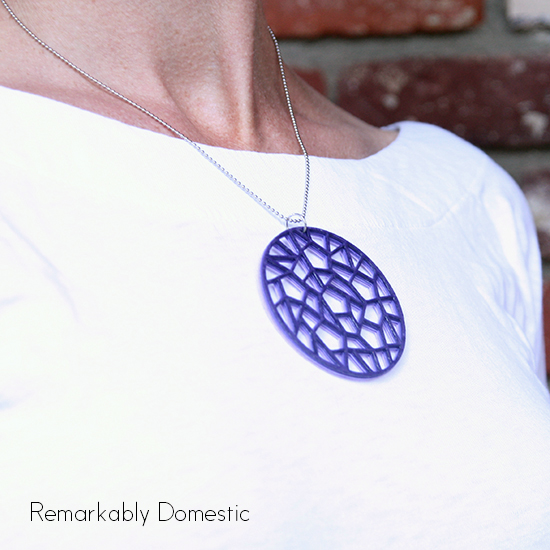
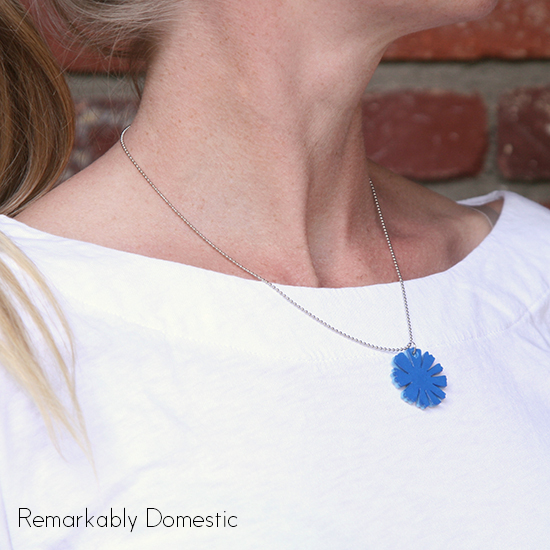
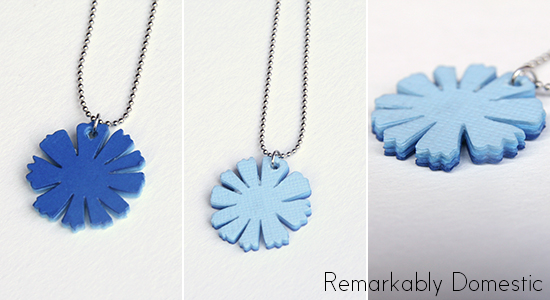
It occurred to me that since you are stacking up piles of paper, you could use different shades and get a kind of fun gradient effect. Check it:
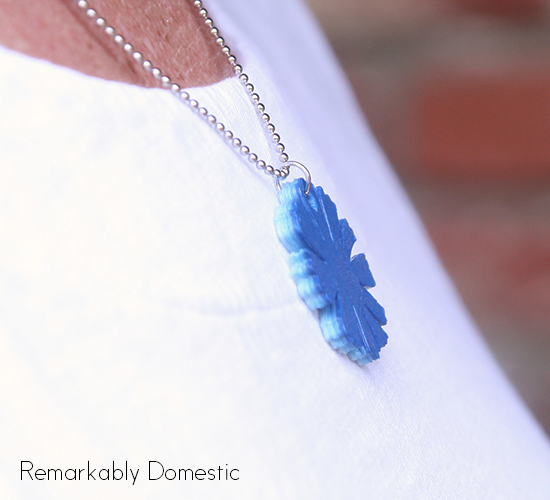
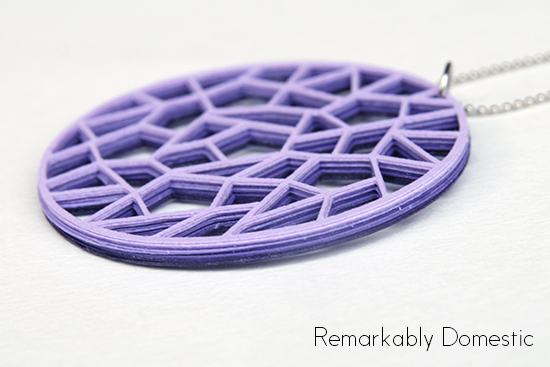 I love how the ombre is subtle but gives your pendant some depth. And it makes it reversible, too, so that you get a light color on one side and a dark color on the other, so you can switch it up whenever you want.
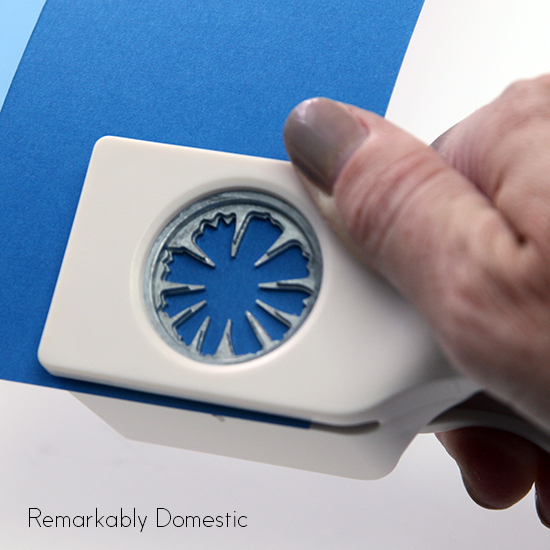
If you want to make some, the easiest way to make a complex paper cutting is to use a cutting machine, like the Silhouette. If you don’t have a machine, though, you can make slightly simpler ones with paper punches. I’m going to show you how to make them using a punch, since that’s the easiest tool to acquire, but the process is the same if you use a cutting machine to make your shapes as well.
Here’s all you’ll need for the pendant:
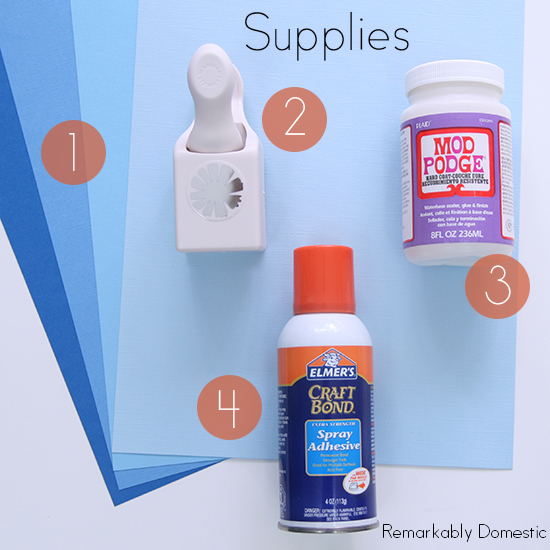
- 3 or 4 shades of one color of scrapbook paper (this should be cardstock, not regular printer paper)
- A punch of your choice
- Mod Podge Hard Coat (optional, really)
- Spray adhesive
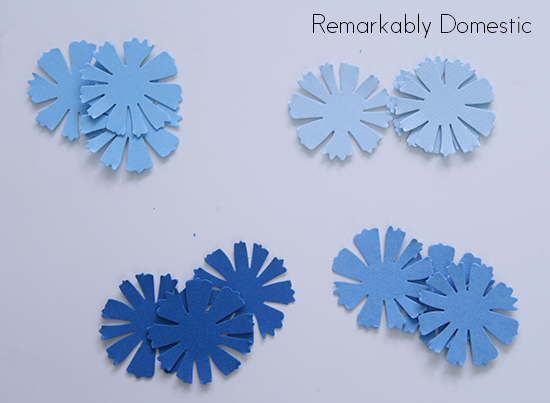
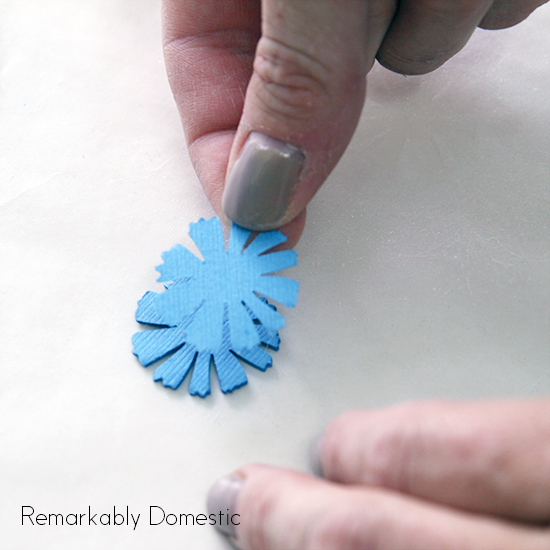
Start by cutting out your shapes. You ultimately want to have about 12 layers, so if you have 4 colors you can cut 3 of each color.
 Pile your shapes by color.
 Now it’s time to start gluing. Begin with the darkest color. Spray one of the pieces with spray adhesive and attach it to a second piece, making sure you line them up exactly. (Keep in mind that if your shape is not symmetrical, you’ll need to be gluing backs to fronts to make sure things line up perfectly.)
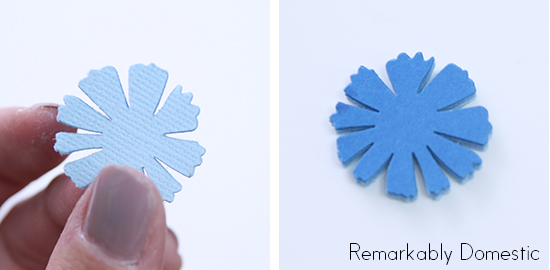
 Continue gluing by spraying a single piece and attaching it to your already-glued pile of shapes. Once you’ve glued all of the darkest color, start on the next-darkest shade. Continue gluing until you’ve used up all your shapes. It will look like the photo below when you finish. And you will have spray adhesive all over your fingers like I do here, too. (Try using Goo Gone or vegetable oil to remove it.)

You’ll have a nice pendant that is the darkest color on one side and the lightest on the other, with a pretty ombré side.
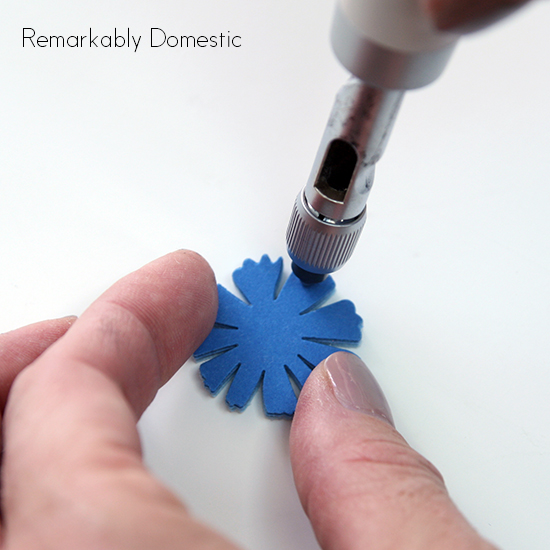
 If your shape doesn’t have a hole that you can use to thread a chain through, punch a hole at this point. You may need to punch from both sides to get all the way through your pendant.
 To dry, place your pendant in some wax paper and stick it between two heavy books to keep it flat.
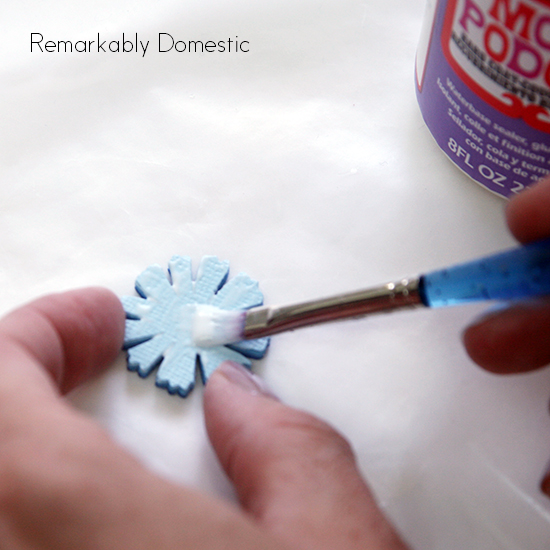
After the glue is dry, coat your shape with two coats of Mod Podge Hard Coat. This step is optional; you could be good to go from here, but if you want to give your pendant a little more durability and a nice, satin sheen, the Mod Podge will do it for you.
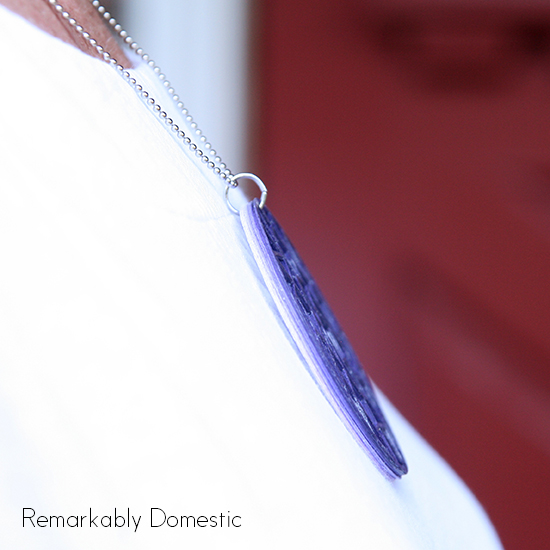
 Let it dry completely. Now you’re ready to attach a jump ring and a chain.
A cute little pendant that you can wear with the dark or the light side facing upwards. It’s almost like you have two!
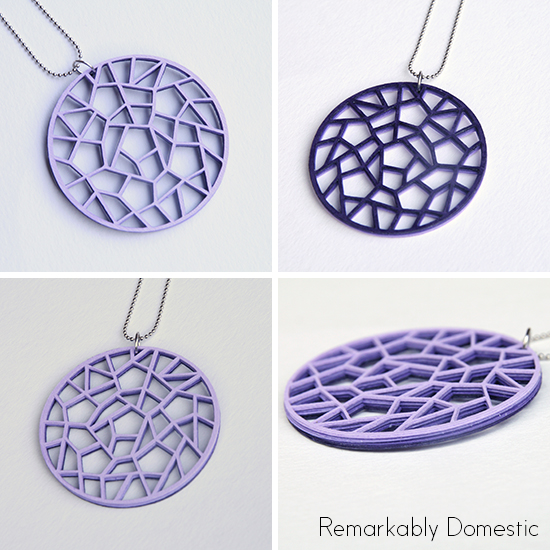
This necklace I made with a Silhouette cutting machine. The shape is so complex, but it takes no time to cut them out with a machine and stack them together.

 Hope you enjoy!


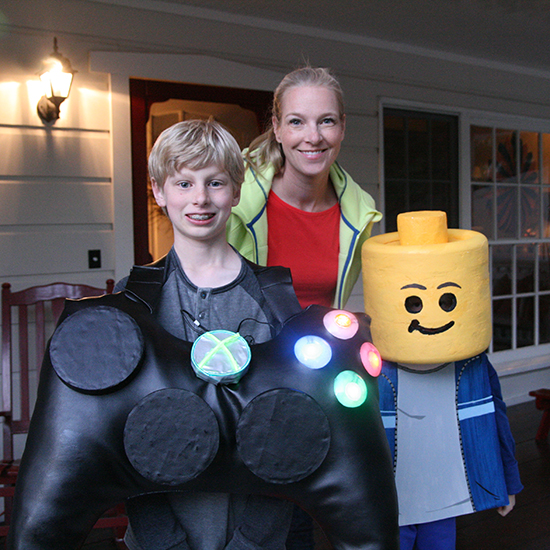 Here we are, completed costumes and all, ready to trick or treat!
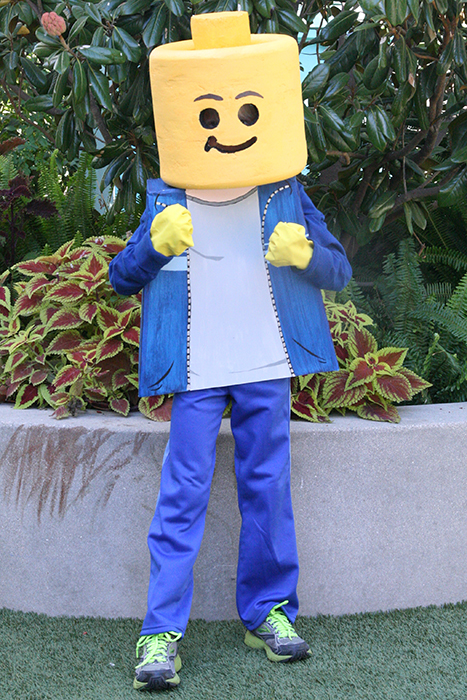 That’s the Lego boy at school. That shirt is an exact replica (perhaps “exact” is a little strong) of the Lego torso that he uses as himself when he puts himself into his Lego play.
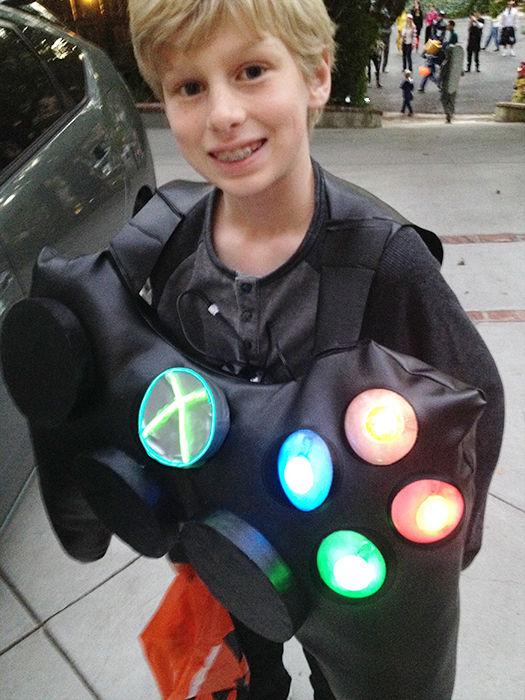 Here you get a better sense of the light up nature of the Xbox controller. The 10 year old liked it, too, because he had these little on and off switches that turned the X on, or set it to blink, or whatever.
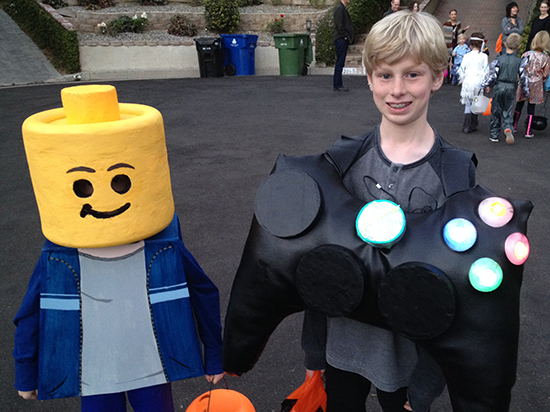 Wires showing a bit here, on the Xbox. Ah, well.
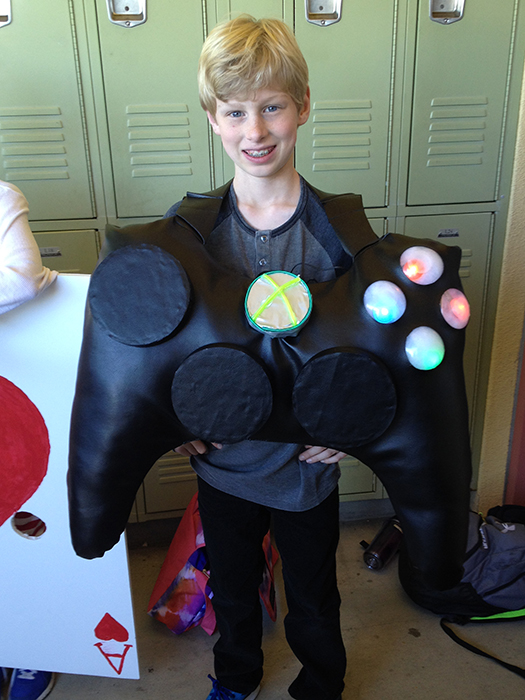 That’s the Xbox at school. He was a little annoyed because so many people came up to him and tried to “play” him, punching his light up buttons.
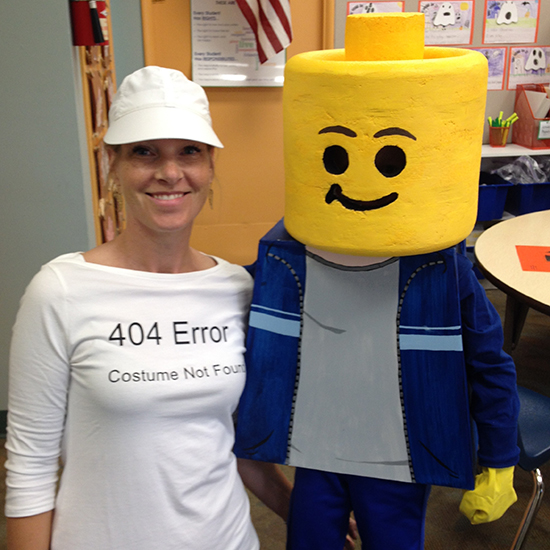 That’s me and the Lego at school. I made my costume the night before; not very original but simple and easy to move around!