I took my first cooking class the other day, given by a chef friend of mine and another friend who is a nutritionist.  It was truly amazing.  Not only did we learn some cool stuff about eating right, we watched the chef prepare a whole bunch of delicious and incredibly healthy dishes.  And then we got to eat them!

One of the dishes was this soup, which I love so much I’ve already made it 3 times.  I’ve made a few modifications for myself, but it’s truly a yummy soup made from just veggies.

I use my immersion blender for this one, but I’ve been thinking.  Should I invest in a really good blender?  I mean, I’m considering a really good one– like a Vita-Mix.  They have one at Bed Bath & Beyond that I could use my 20% off coupon on, but they are still redonkulously expensive.  Any suggestions out there?  The other reason I’ve been craving a new blender is that I’m doing another cleanse (this one personalized for me by the nutritionist, and AMAZINGLY good) and I’m drinking 2 “shakes” a day.  I think they’d be a little smoother if I had a better blender.

So, onto the recipe.  Check this soup, baby:

Spicy Red Pepper and Tomato Soup

  • 3 tbsp olive oil
  • 1 medium onion, coarsely chopped
  • 2 red bell peppers, coarsely chopped
  • 2 carrots, chopped
  • 3 Swiss chard leaves, coarsely chopped
  • 1/2 tsp salt
  • 1/2 tsp pepper
  • 10 fresh basil leaves, chopped
  • 1/4 tsp red pepper flakes (more or less to taste)
  • 4 cups (32 oz) organic 100% tomato juice
  • 1 tsp balsamic vinegar
  • avocado slices for garnish

Heat olive oil in a large pot over medium heat.  Add onion, bell peppers, carrots, chard, basil, salt and pepper, and red pepper flakes.  Cook until the vegetables are very soft and tender, about 10 to 15 minutes, stirring occasionally.  When vegetables are tender, add the tomato juice.  Stir well and let simmer for 5 minutes.

Remove the pot from heat and carefully blend with an immersion or standard blender.  Purée until smooth.

Return the pot and soup to medium heat and add the balsamic vinegar.  Cook until soup is heated through and vinegar is well-incorporated.  Serve with avocado slices for garnish.

download and print this recipe

Many thanks to our fantastic chef Pam for the essentials of this recipe!

{ 7 comments }

It’s actually the skillet, not the cornbread, that was my grandma’s.

My mom recently cleaned out the garage, which is actually a pretty common occurrence.  How could they need to clean it so often?  I think it’s more of a Saturday afternoon activity than a necessity.  Either that, or they have an enormous amount of crap in their garage.  Which actually sounds about right, too, so who knows.

This time, she found a cast iron pot that belonged to my grandma, and she asked if I wanted it.  It just so happens I’ve been wanting a cast iron skillet for some time now, so I jumped at the chance to have a pre-seasoned, old antique pot.  It’s pretty awsome:

How much do you love that Little House on the Prairie wire handle thingy?  That is priceless to me.

This pot is well-seasoned since my grandma made pot roast in it for about 50 years.  I figured I would start small (especially since I don’t really cook meat) and try some southern skillet cornbread.  Even though it’s technically not a skillet.

I found a great traditional recipe on Epicurious, which is what I used.  The most fun part was that you heat the pot up first, while you are making the batter, and then you actually use the pot to melt the butter.  Two birds with one stone: you melt your butter and you butter your pan all in one fell swoop.  And it feels very pioneer days.

The result of preheating and buttering the pot is that you get a cornbread that has a nice crispy crust on the outside.  Fabulous.

traditional southern cornbread

Southern Skillet Cornbread

  • 1 1/2 cups yellow cornmeal (preferably stone-ground)
  • 3/4 teaspoon baking soda
  • 1/2 teaspoon coarse salt
  • 2 large eggs
  • 1 3/4 cups well-shaken buttermilk
  • 1/2 stick unsalted butter, softened
  • Preheat oven to 425°F. Put a dry, well-seasoned 9- to 9 1/2-inch cast-iron skillet in middle of oven to heat. (My pot happens to be 10″, and it worked just fine.)

    Stir together cornmeal, baking soda, and salt, crushing any small bits of baking soda. Whisk eggs in another bowl until blended and whisk in buttermilk.

    Remove hot skillet from oven carefully and add butter, swirling gently to coat bottom and sides of skillet. (If butter begins to sizzle and brown around edges, so much the better.) Place pan back in oven in 30 second intervals to speed up the melting process.

    Once the butter is melted, whisk hot butter into buttermilk mixture and return skillet to oven. Stir cornmeal into buttermilk mixture just until moistened. (The batter doesn’t have to be smooth—a few small lumps are good.)

    Scrape batter into hot skillet and bake until golden, 20 to 25 minutes. Invert skillet over a platter and cool bread at least 3 minutes.

    { 2 comments }

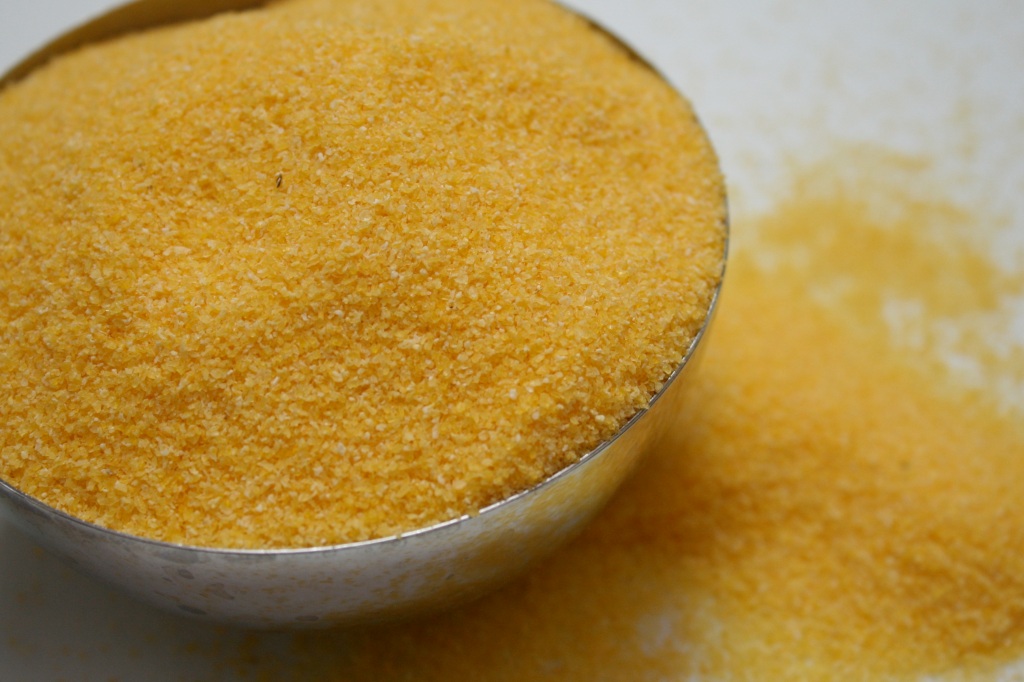
    I’ve been getting a little back into the swing of things and preparing some actual dishes for dinner.  (Rolled up deli turkey slices notwithstanding.)  Y’all know I love my Modern Vegetarian; I’ve already tried this and I wanted to try this polenta recipe.

    The dish is called Parmesan Polenta with Poached Eggs and Roasted Feta (once again with the overly descriptive title), and it’s much more of a composed dish than I usually make.  It calls for a pile of polenta covered with roasted feta, then grilled radicchio, and then a poached egg.

    The main problem here was that I wasn’t sure the kids would like the feta, and I hate radicchio.  Hmm, that’s half of my recipe here.  No worries.  I had an idea.

    I left out the roasted feta and exchanged the grilled radicchio for sautéd spinach, garlic and tomatoes.  I have to tell you, I was kind of proud.  I told RD Husband that I feel like I’m getting better at improvising recipes, which to me is really the sign of a good cook.

    The meal turned out great, and the kids actually loved it.  They loved breaking into the egg and letting the yolk run all over everything, and they love eggs, so that flavor kind of sealed everything together.  I served it with fresh watermelon and some steamed broccoli.

    Veggies, Polenta and Eggs

    • 2 cups milk
    • 1 cup water
    • 1 cup quick cooking polenta
    • 4 tbsp butter
    • 1/4 cup grated Parmesan cheese
    • 1 tbsp olive oil
    • 4 ounces baby spinach
    • 2 Roma tomatoes, diced
    • 1 clove garlic, sliced thinly
    • 4 eggs

    Heat the milk and water in a saucepan until almost boiling.  Reduce heat and add polenta, whisking until it thickens (this may take anywhere from 1 to 5 minutes).  Adjust the texture by adding up to 1/2 cup more water, if you want a looser polenta.  Mix in the butter and Parmesan and season with salt and pepper.

    In a sauté pan, heat olive oil over medium high heat.  Add garlic and tomatoes and cook until garlic is fragrant but not browned, about 1 minute.  Add spinach and cook until wilted, about 3 minutes.  Remove from heat and set aside.

    Poach the eggs, drain and set aside.  To assemble, divide the polenta amongst 4 serving plates.  Top with sautéd spinach and tomatoes and a poached egg.

    download and print recipe

    look at those garlic slices; the egg is perfect!

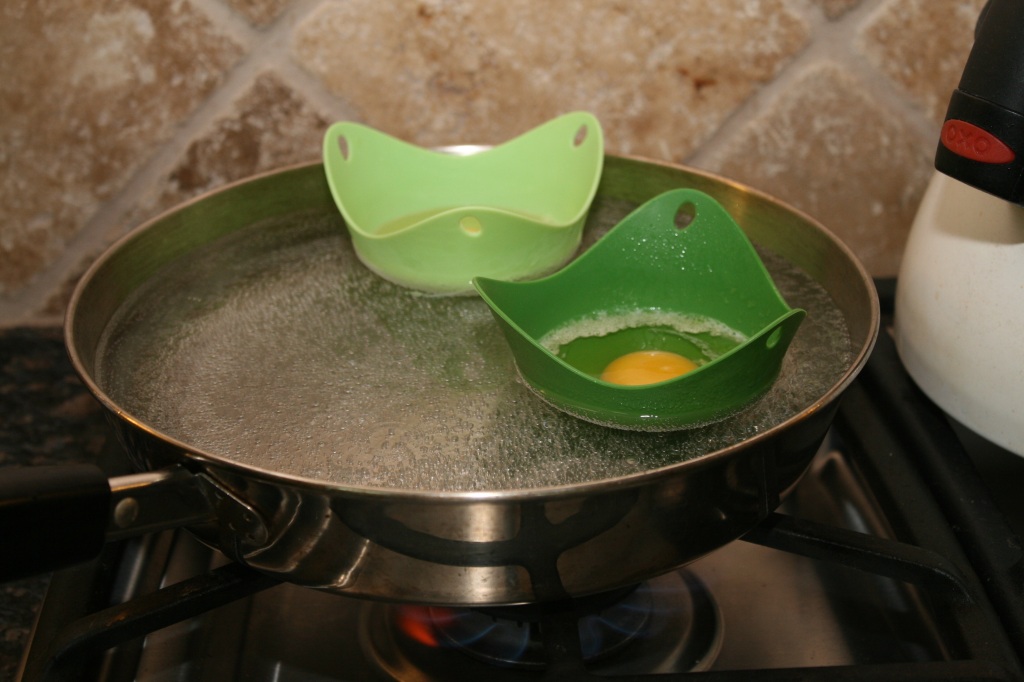
    Now, I’m kind of not finished here yet, because I have to tell you about my amazing egg poacher.  No, it’s not going to be one of those cheesy informercial products.  Actually, it’s quite elegant and had a great modern design.  It’s called the Poach Pod.  I got mine at a cool design store, only to realize you can get it at Bed Bath and Beyond (that’s B3 for all you insiders).  Check it:

    These little silicone suckers hold your eggs while you poach them, keeping them all neat-like and eliminating the need for vinegar (which, UGH, I hate in poaching water).  It really takes most of the difficulty of the technique out of poaching, and it’s more elegant than the microwave version (and the texture is better, too).

    So, get yourself some of these if you like poached eggs.  They rock.  And I’m not even getting any kickbacks from them for this post.

    { 2 comments }

    I have a soft spot for French desserts from back in my college days when I spent a year there.  I lived in this relatively small town on the western side of France, about halfway between Paris and Bordeaux.  I used to love going to the patisserie that was right down the street (danger, Will Robinson!) to get a flan (not at all the same as a Spanish flan).

    And the closest thing to flan in French desserts, in my opinion anyway, is clafouti.  I love clafouti because it’s a perfect combination of sweet, creamy custard and fresh fruit.  My family, however, isn’t so high on just fruit and custard, so I decided to sweeten the pot, so to speak, for them.  I added dark chocolate.  After all, dark chocolate makes everything better, right?

    Cherries are just coming into season here, and they looked pretty nice, so I went with cherry as the fruit.  Oh, and also, doesn’t chocolate go fantastically with cherries?

    Dark Chocolate Cherry Clafouti

    adapted from Martha Stewart

    Serves 8

    • 1 tablespoon unsalted butter
    • 1 1/2 pounds cherries, pitted (a cherry pitter is well worth it!)
    • 3 tablespoons all-purpose flour
    • pinch of salt
    • 1/4 cup granulated sugar
    • 4 large eggs
    • 2 large egg yolks
    • 1 cup milk
    • 1 cup heavy cream
    • 1 vanilla bean, split and scraped
    • 8 oz. dark chocolate chips

    Preheat oven to 375°. Butter a 10-inch porcelain or glass tart dish and fill it with the pitted cherries. Set aside.  Sift flour and salt together into a large bowl. Add sugar. Gradually whisk in whole eggs, egg yolks, milk, and cream. Add vanilla-bean scrapings and whisk to combine.

    Using a sieve, strain the batter over the cherries. Sprinkle the chocolate chips over the top.  Bake until puffed and browned and set in the center, about 50 minutes. Let cool until warm; it will sink slightly.  You can serve it warm or chilled.

    download and print recipe

    baked clafouti

    { 3 comments }