Do you want to be a Pinterest Power User?
I like to think of myself as a Pinterest Power User. I need to tell you what I consider powerful usage, though. I don’t have a million followers (although I was named one of the Top 10 Apartment Therapy Journalists on Pinterest… woot!), but I use the site at least 3 times a day, every day. It’s my go-to resource for researching blog posts and my own personal projects.
All too often, though, I find myself frustrated by pins that are improperly created, and I get sucked into the rabbit hole of an endless search for an image’s origin. Have you ever been there? You find a really, really awesome pin. You want to know more about it! You must know more. So, you click on the pin, natch. And where does it take you? If you are unfortunate like me, possibly one of three places:
- a homepage, and now you have to search through that site for the specific image;
- a single image page with no connection to any information; or
- a Google images page.
GAH! Has this happened to you before? It drives me batty.
So, I’m here to offer all pinners 4 tips for creating helpful, linked pins that will allow everyone to find an original source and will give proper credit where credit is due.
1. Don’t pin from a Google images search page.
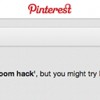
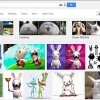
If you’ve been searching on Google for images and come across one you like, make sure you click through to the webpage before you pin. That is, if your page looks like this:
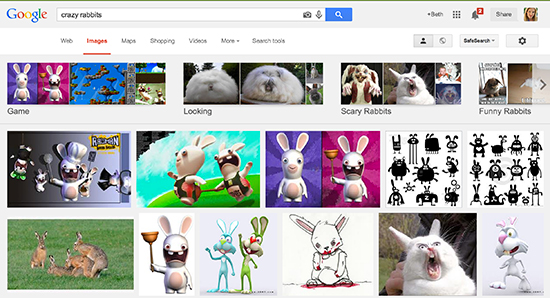
or like this:
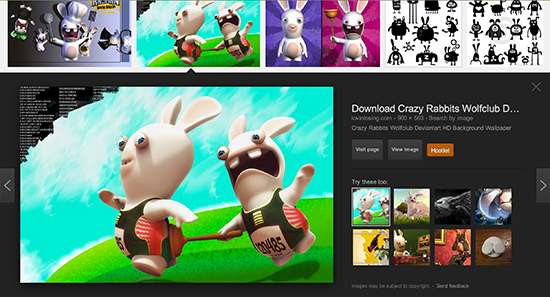
you’re still on the Google page, and pinning won’t connect the image to anything except a Google search. In the second image above, you’ve clicked on an image to enlarge it, but you haven’t changed the page you’re on.
You’ll notice that in these cases the address bar contains a Google address:

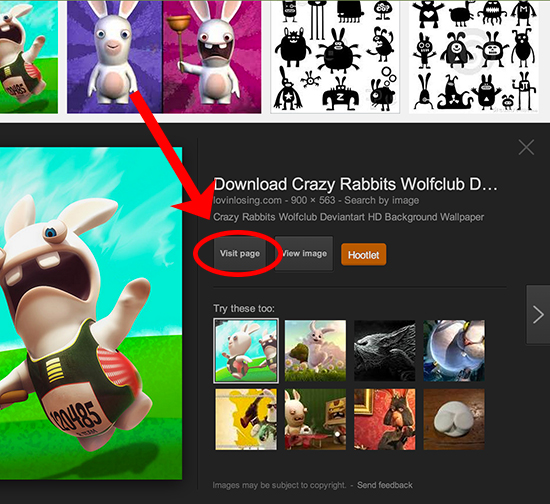
So when you or anyone else clicks on this pin, Google will re-perform the keyword search. So things that came up on that specific date and time that you pinned will likely be gone forever. New images, different page rankings, and lots of other factors make a Google search very fluid over time. So if you want to be able to go back to that image and get more information, make sure you click through to the source. To do that, once you’ve enlarged the image, click on “Visit Page” to get to the original source to pin the image.
2. Don’t pin from a site’s homepage.
Let’s say you found site that’s got some interesting stuff. You’ve landed on the homepage, and you’re scrolling through, looking through posts, clicking on the “Older Posts” button, and after several clicks and a lot of scanning, you find something you like. Stop! Don’t pin yet. Find the start of the post with the image in it, and click on the title of the post.
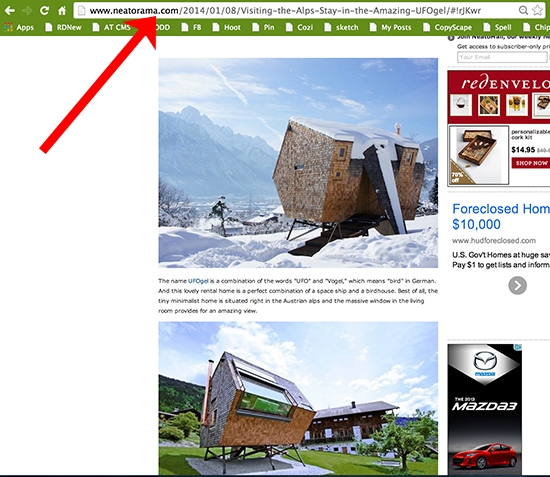
Here, I’ve scrolled through Neatorama and found this cool hotel I want to pin. But if I simply pin from here, you’ll notice the URL is pointing to the homepage only:
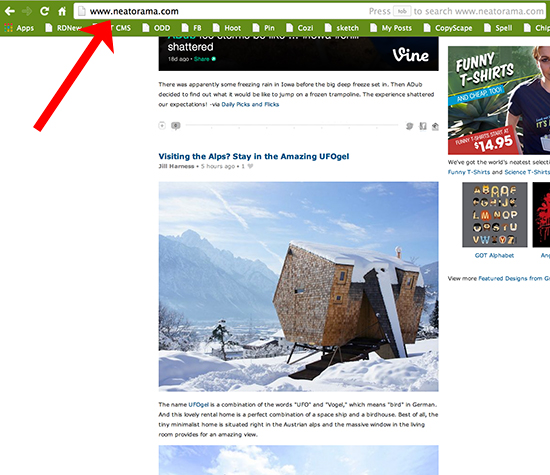
]If you look closely, you can see that just above this post is the end of another post. If you pin from here, you’ll be linking back only to the homepage. So if you check back in 3 months, and this is an active site, the post you were looking for is going to be way, way down in the archives, and difficult to find.
Instead, click on the title of the post to redirect to the post itself:
You’ll know you are on a single page instead of a homepage by the address. Then pin from there, and you’ll always be able to get back to the original source.
3. Always look for your original source; try not to pin from a roundup.
Although this tip is slightly less important because you hopefully still have a clicking trail, it’s much easier to pin from the original source instead of someone who has borrowed that image. If you find something you like in a round up post, click on the link that the author has (hopefully) provided so you can pin from the original site.
In this roundup, the blogger has nicely provided clickable credits at the bottom of each image:
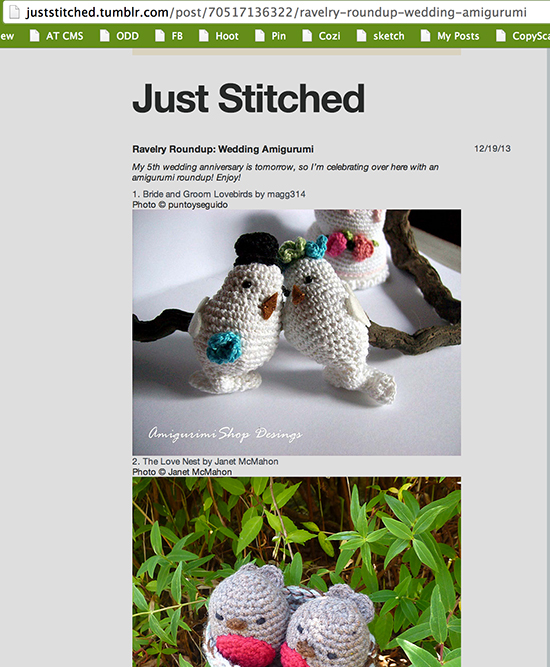
So that when you click on “The Love Nest” above, you get here:
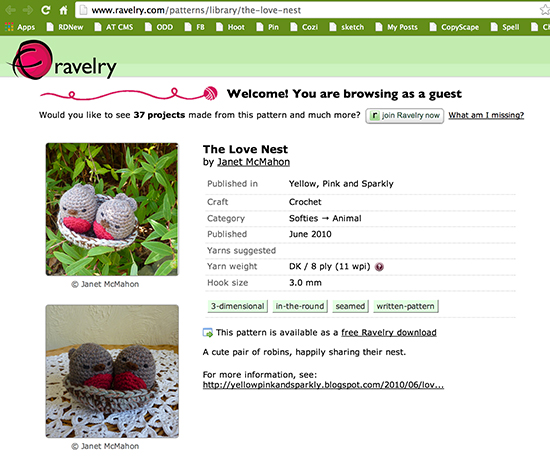
and can then pin from this original source. When you come back to it, you’ll be taken right back to the image you want, and you won’t have to scroll through a whole roundup to find the image you pinned and then click through to its source.
(As a sidenote, here, it’s really important to credit and link all the images that you post in a roundup. Not only does it give credit to the original poster/creator, it helps people to find information and avoids dead end links.)
4. If you upload a screenshot or a picture, give it a URL.
I have a board called “Web Design Inspiration” that I use as a kind of mood board when I’m redesigning my site or other graphics. Often, I find a header or social media buttons that I like, but you often can’t pin those from a website. So I’ll take a screenshot of just what I want and upload it as a pin. However, when you upload a pin, there’s nothing linked to that image. Since there is additional information available on this pin, I’m always certain to go back and edit my pin to add the URL from which it came.
The trouble here is that Pinterest makes it a little harder to do this. You can’t add a URL directly from an uploaded pin; you’ll have to save your pin and then edit it. Like so:
Save the pin by clicking on Upload Pin, and you’ll see this dialogue box once you’ve chosen your image:
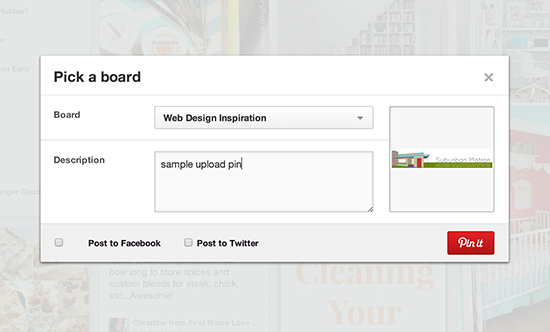
You’ll notice there’s nowhere to add a URL, unless you do it in the description, which won’t make the image clickable. Save the pin by clicking “Pin It.” Then, either click on the “See it Now” box that comes up (I couldn’t get a screenshot because it disappears too fast!), or go back to the board where you pinned it and open it there.
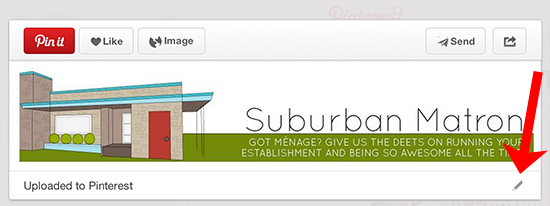 At the bottom right corner of the image, there’s a little pencil icon or something. Click that to edit the pin.
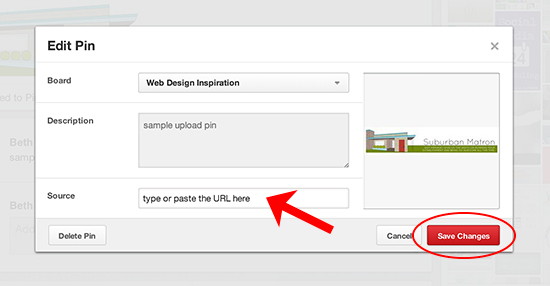 Type or paste the URL in the “source” box, and click to save changes. Voila! You’ve done everyone a service by connecting that image to its original source.
Obviously, this technique doesn’t work if you are uploading an image that you took that isn’t posted anywhere else on the web.
So, those are my tips! If everyone followed these few guidelines, I think we’d have a much more helpful and efficient resource!
Do you have any great tips for making Pinterest better for everyone? Let us know in the comments!


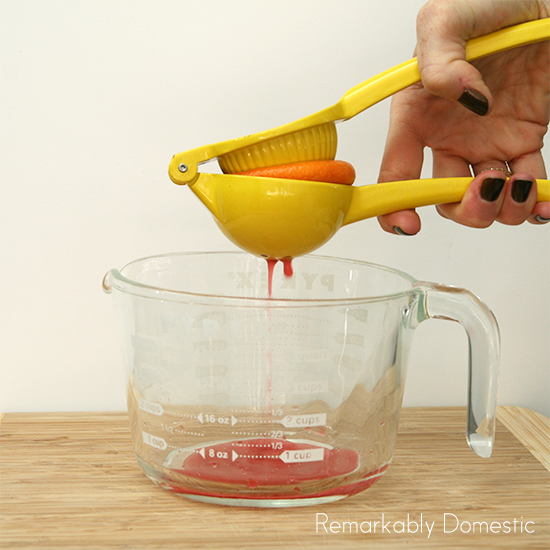 I like using this citrus squeezy thing, but you can also use a regular hand juicer (which you’ll probably need for the grapefruit, since it won’t fit in the squeezer.
 Those wee key limes fit in the squeezer, or you can just smash ‘em with your hands.
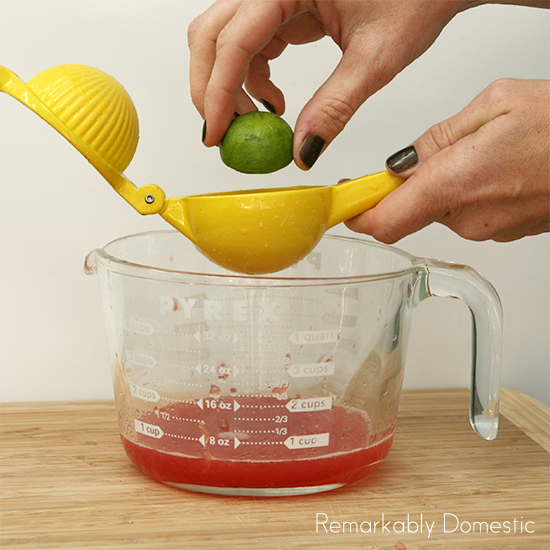 Now you’ve got your juice. If you like your margaritas on the sweeter side, you could add some simple syrup or sugar at this point to sweeten it up.
 Make sure you use the good stuff.
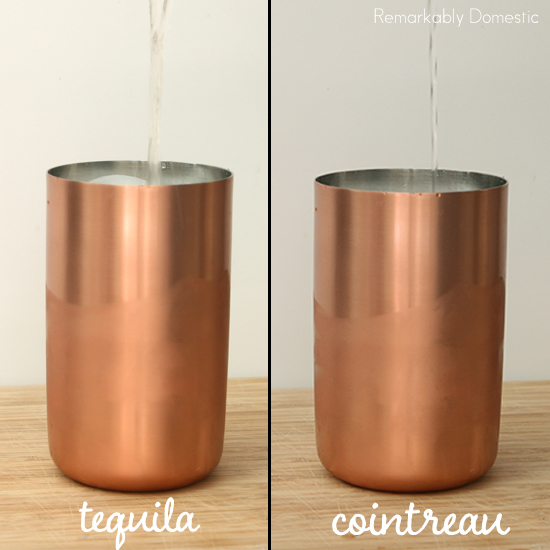 Now add your juice. If you like, you can strain it if you don’t like any pulp in your ‘Rita.
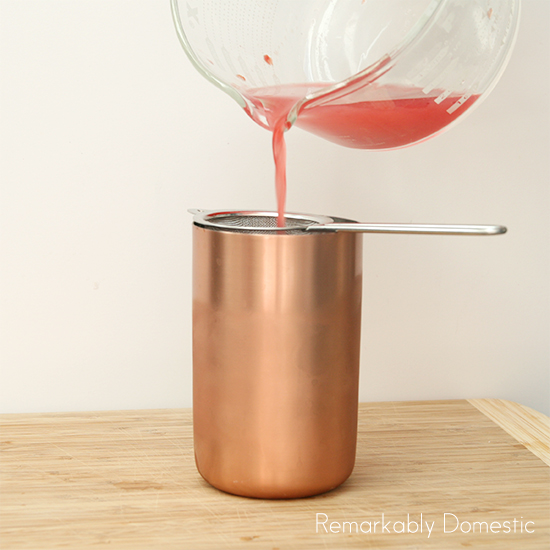 Now shake it like a Polaroid picture.
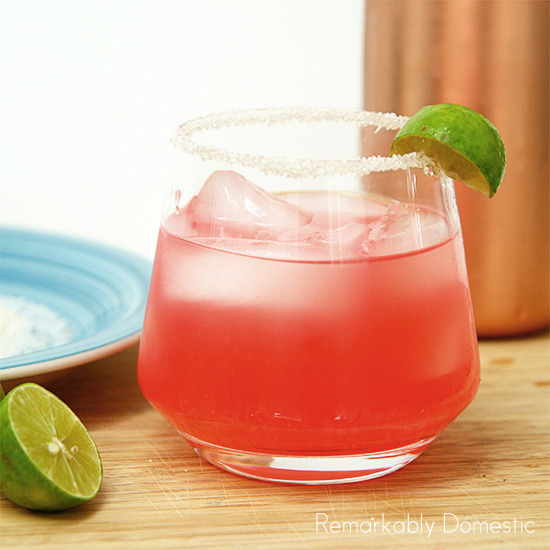
 I like to rim this glass with sugar instead of salt. You can use one of your leftover citrus rinds, running it around the rim of the glass to moisten it so it’ll take the sugar.
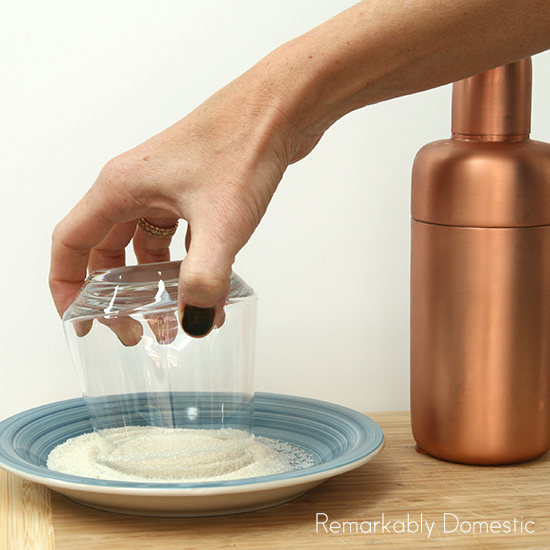 Fill your glass with ice…
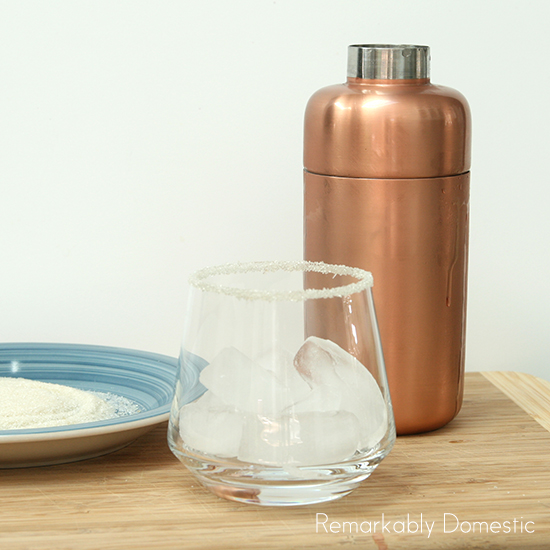 And then fill it with your classy cocktail!
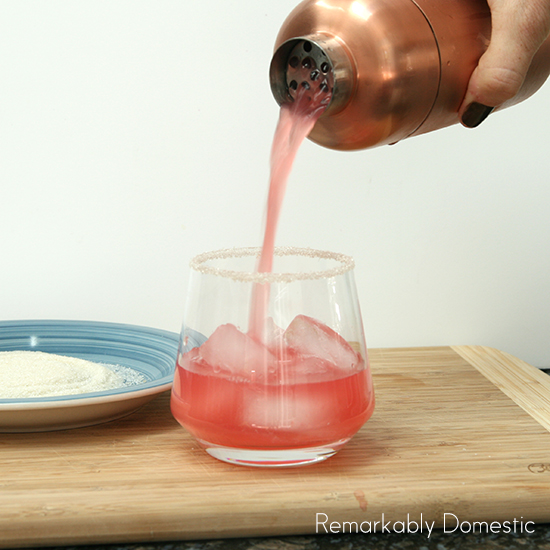 Go wild! And if you need some cool glasses to serve your fancy drink, check out some of the offerings here… I’m really digging the Cupa Rocks glasses that gently tilt on their own!