More scrapbooks!
Next up is the pocket-page scrapbook, which is kind of presented as a baby album. You really could use this technique for making pockets in your pages in any kind of scrapbook. But I followed the directions to make the two special pages that are shown here.
First, there’s a page that holds a favorite outfit from a baby’s early life– I’m thinking the coming home outfit would work well. I chose a favorite t-shirt that my youngest son wore a lot when he was tiny.
This page was pretty easy. You just make the paper hanger and then attach your outfit to it. The only glitch I’d say is that the sample in Martha’s book is in a 12″ x 15″ album, which is a little harder to come by. I had a 12″ x 12″ one, and I had to fold the shirt under a little because it didn’t quite fit.
The pocket page was a lot harder, particularly because I found the instructions very hard to follow. This is a consistent problem with the Martha Encyclopedia, likely because the book is so exhaustive. There’s only a very small space to give instructions for each project, and not enough room to include multiple, step by step photos. So you have to read the few directions you do get really, really thoroughly. I even have to read them out loud to myself so I can figure them out.
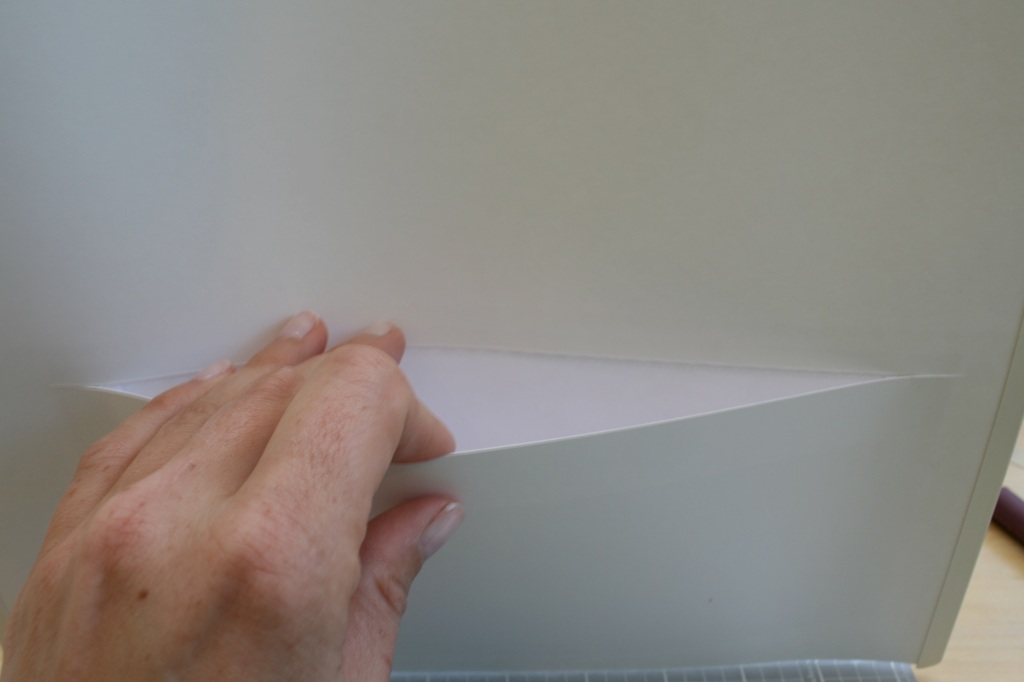
Here’s how it works. You cut a slit in your scrapbook page, and then you attach an envelope to the back of the page, OVER the slit. The over part was the hardest for me to grasp. Here’s how it looks:
 So, you can see on the left, I’ve taped the envelope to the back of the scrapbook page. (I used a cool Japanese patterned tape, which was my own addition to the project.) In the photo on the right, you can see I flipped up the envelope so you can see where the slit is. It’s a little hard to see, so you might have to click on the photo for a bigger view, and also, sorry it’s a little cattywampus.
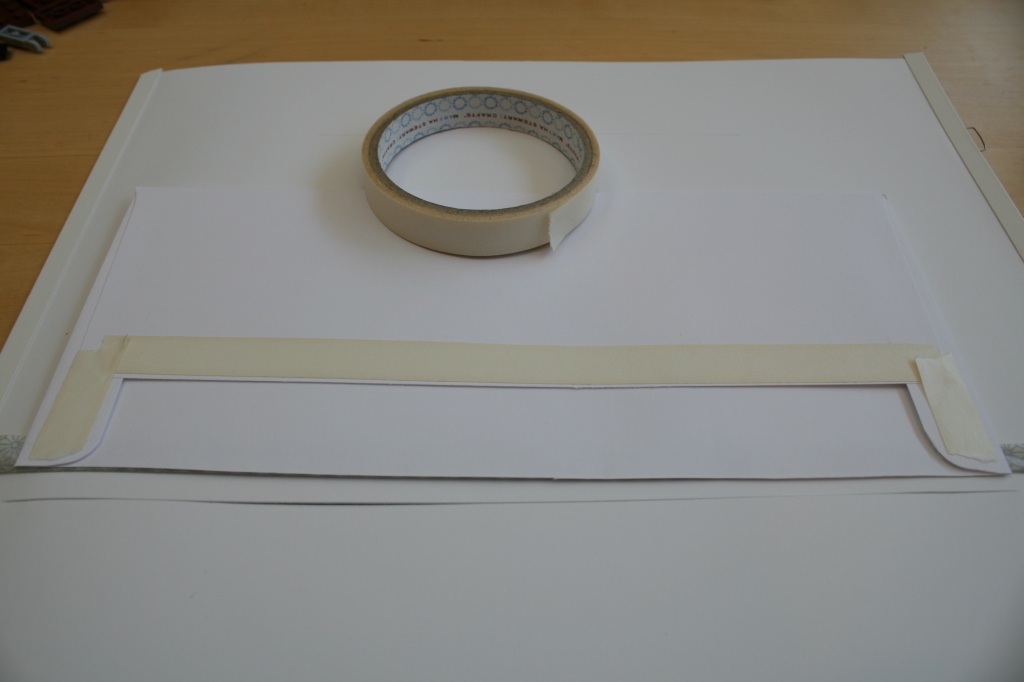
Then, you put double-sided tape on the part of the envelope where you usually seal it closed, like this:
And then when you flip the envelope back down with the sticky tape on it, your pocket is finished. And it looks like this:
Now, Martha insists on business-size glassine envelopes, which, surprise, I could not find. So I used a regular business-size envelope for this bottom pocket, and I used a smaller glassine envelope for a smaller pocket on the top. I think the reason that they want glassine is because they want you to be able to see the souvenirs from the back, which I’m not sure is necessary.
When all filled, the pockets looked like this:
Here’s what all I’ve got in there. In the top pocket, hospital bracelets and the little clampy thing that was on my son’s umbilical cord. (Is that gross that I saved that?) I attached this little “It’s a Boy” charm that we got at the hospital on the side of the page. The bottom pocket has a holiday card we sent announcing we were pregnant and the string I used at my baby shower to measure my stomach for that “everyone guess how massive the pregnant lady’s stomach is” game.
One other note, though, and that is that I had the same problem that I had earlier with a pocket scrapbook page, which is that most books today come with sheet protectors. So you have to make your own page that will exist without the sheet protector. For more info on that, see the post referenced above.
So, all together, the spread is cute.
TIME INVESTED
About 2 hours
These two pages took me about 2 hours to create. The clothing page is a lot faster and easier than the pocket page.
TOTAL COST
- glassine envelopes, $0.99 (on closeout at Michaels)
Other than the envelopes, this project doesn’t really require anything additional besides the scrapbook.
Total: $0.99
DIFFICULTY
Easy to Moderate
Again with the precision cutting and measuring up.
WAS IT WORTH IT?
Hmmm, well, another one of these gray area ones. I thought the design for the pockets was quite clever, but a little over-designed, perhaps. The school days pocket scrapbook has pockets, too, and they are way easier to make. So I’m not sure these kind of pockets are necessary. The clothing spread was easy to make, so worth it if you want to save something like that in a scrapbook. So, the final verdict is pockets = not worth it, clothing page = worth it.
SOURCES
For glassine envelopes, try Paper Source. But even they don’t have business-size ones.






Super cute and super complicated! Wow. One thing I love about this post series is how the personality of the crafts encyclopedia is starting to come out.
Love your layout.