RD Husband is probably going to have a stroke if I have to etch any more. Thank goodness this is the last project. He’s even more terrified of the etching cream than I am.
Here Martha presents you with a way to make your own privacy glass bathroom window, by etching most of your window pane and leaving a small design clear. Y’all know I wasn’t going to etch my actual bathroom window, but I came up with a suitable solution: I etched the glass from a picture frame that I didn’t need anymore.
This is one of those cases where I think Martha is making it much more complicated than it needs to be. She wants you to make a whole template of the design you want (hers is just dots in a wavy line), using a circle stencil on a piece of paper cut to the size of your window. Then, you tape that to the outside of the window and get yourself some clear Contact paper, attach that to the front, and then take your stencil and re-copy all the circles onto the Contact paper by lining up the stencil with the circles on your template, which you can see through the window.
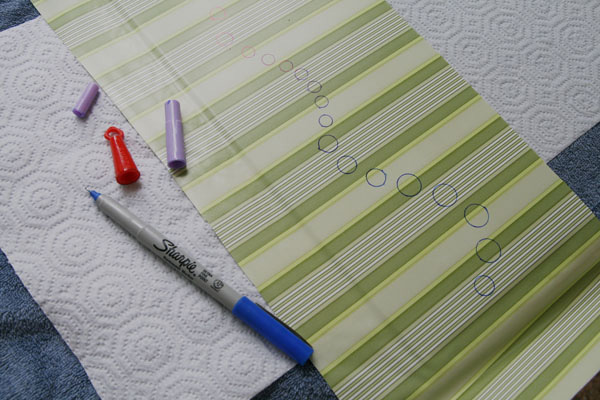
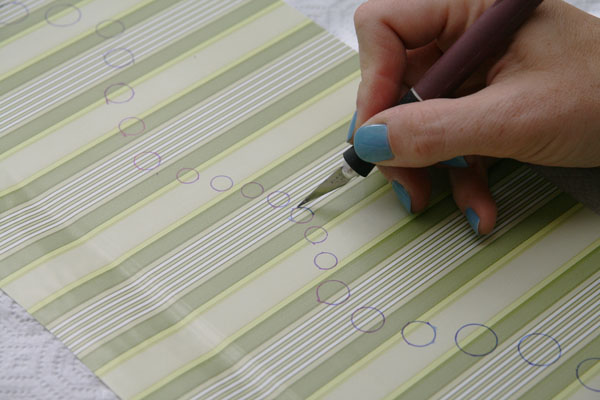
This all sounded very complicated and unnecessary to me. And also, I didn’t have clear Contact paper. So I just put my patterned Contact paper on the glass and drew my template right on. Why not? If I mess up, I can always re-draw. I don’t see the need for the double work.
I also didn’t have a circle stencil, so I just found several pen caps in different sizes and used them as stencils.
I drew my meandering circle pattern on. Next up, you use a craft knife to cut out all these circles. I was super skeptical of this, too. First, won’t the knife scratch the glass? And second, my circles are going to be incredibly wonky! I can’t really cut very precisely with a craft knife. Can you? And in a small circle? I was scoffing the whole way through.
So, I have to say, it wasn’t nearly as bad as I thought it would be. The knife, in fact, did NOT scratch the glass, so that was good. My circles were totally wonky, though. I do not know how you would do this without them coming out uneven and cattywampus. Ultimately, it didn’t matter all that much after the etching, but when you looked closely it was kind of weird-looking. But I’m getting ahead of myself.
Before I had read the instructions on this project, I just figured you got some circle stickers at the office supply store, stuck them on, and then BAM! Done. Wouldn’t that be much easier, Martha???
I went out to get myself some circle stickers, and wouldn’t you know it, FRUITLESS SHOPPING blah blah, I couldn’t find any I liked. None that were of varying sizes. So I bought some flower ones that I did like that had different sizes, and I figured they’d be cute, too.
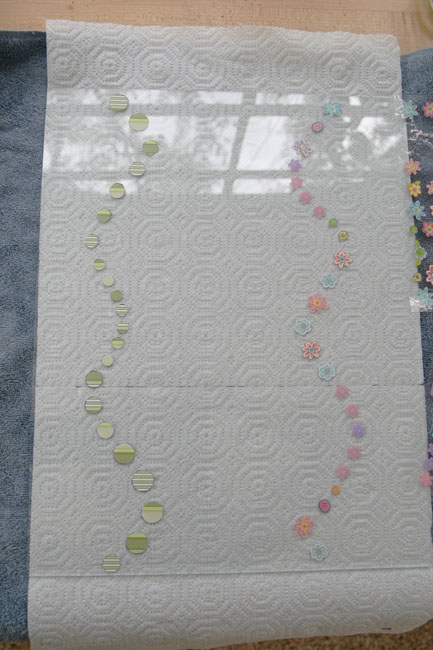
I stuck them on the glass in a similarly meandering pattern. So here are the two versions side by side:
And then I put on my gloves and my mask and got to etching.
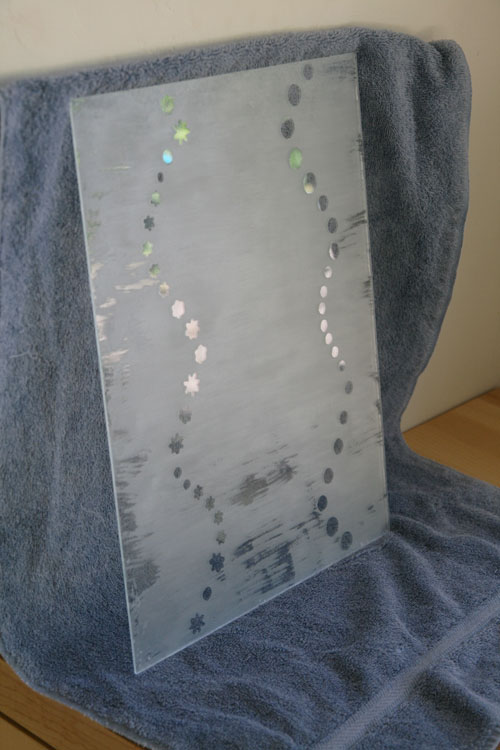
I smeared a good layer on and let it sit for about two hours. And wouldn’t you know, some of the areas didn’t etch! SO bizarre. I have no idea why. I made sure there was a good, thick coat across the whole thing.
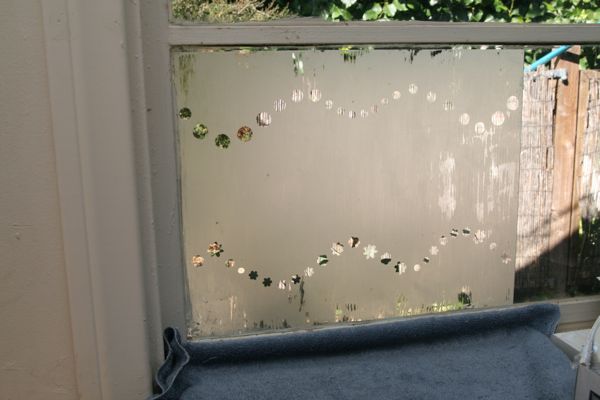
See those streaky spots? That’s where the etching didn’t really work. I’m baffled.
I do have to say, though, that the flowers really worked just as well as the hand-cut circles. The one caveat is that it works better if you have a plastic-y kind of sticker, instead of a paper one. Some of the paper ones kind of dissolved a bit, which wasn’t a surprise, I suppose. It sill worked, but the stencils with the plastic-y stickers were a little sharper.
I put the glass up to a window to see if it really would provide privacy. Here’s what it looked like:
So, yeah, I suppose, privacy.
TIME INVESTED
Cutting the circles took about 30 minutes for one row, while placing the stickers took about 5 minutes. I left the cream on for a good two hours.
Active time: 1 hour
Waiting time: 2 hours
About 3 hours
DIFFICULTY
Moderate
TOTAL COST
- Contact paper, $9.95
- stickers, $0.99 each (2 packs) = $1.98
- etching cream, $36.99
Total cost: $48.92
WAS IT WORTH IT?
No. Buy yourself a nice curtain instead.
Especially, y’all, since you are supposed to be working with this crazy, toxic, highly dangerous material on your window. You can’t just wash the stuff off your window. So you know what Martha wants you to do? Use a squeegee. Seriously? That does not seem adequate.
Thankfully, the etching is over, and we’re moving on to the much safer “fabric flowers.” Woot.






Okay, two things:
1) What is that nail polish?
2) What is with Martha and all the weird double work? It’s crazy!
And okay 3) You’ve got to read the long article about her in New York magazine. It’s about her “comeback that wasn’t” in the years after her jail time. And it contains the revelation that at the offices of MSLO, there are always women crying in the bathroom. Perhaps from an etching accident!