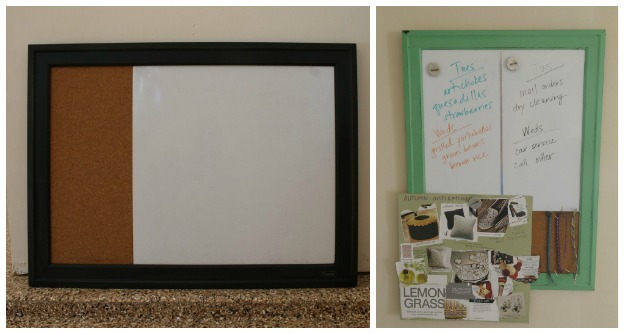
I’ve been wanting a whiteboard to organize myself for some time now, but I haven’t really found anything I liked. So I decided to take matters into my own hands.
I bought a simple, inexpensive one at Staples and personalized it with a little paint and inspiration. Here’s the before and after:
It’s really easy to do. Here’s what you’ll need:
- a whiteboard or bulletin board of your choice
- paint of your choice
- sandpaper
- metal foil tape
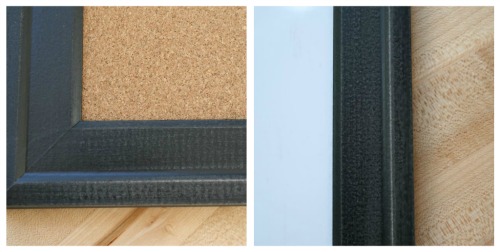
To start, I sanded down the frame of the board so that it would take the paint better. Then, I taped off the center to avoid painting on the boards.
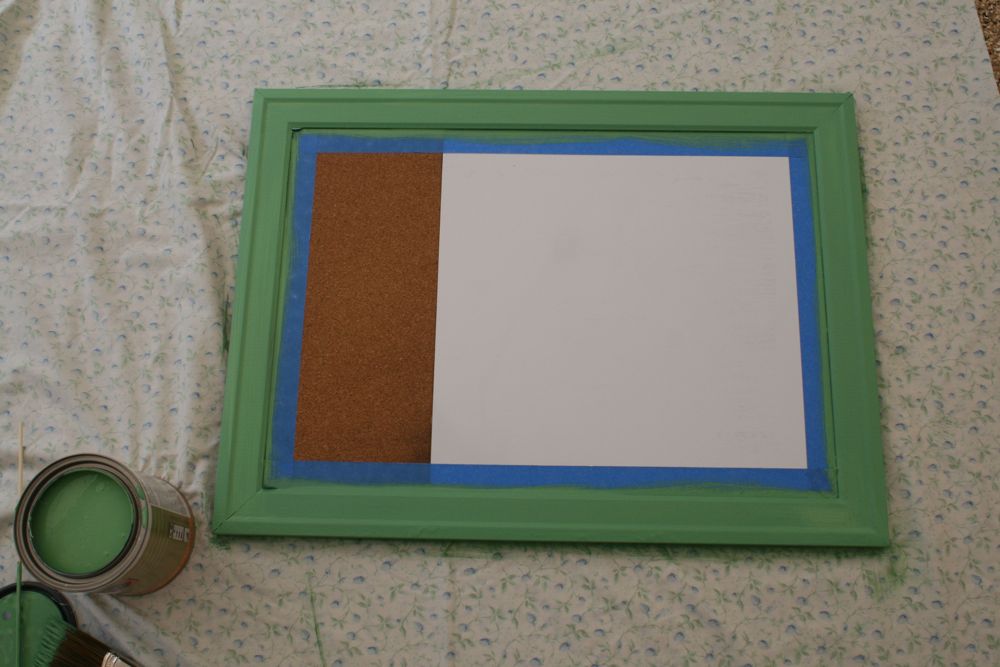
 Next, I painted two coats of this green paint that I love on the frame. I let it dry overnight.
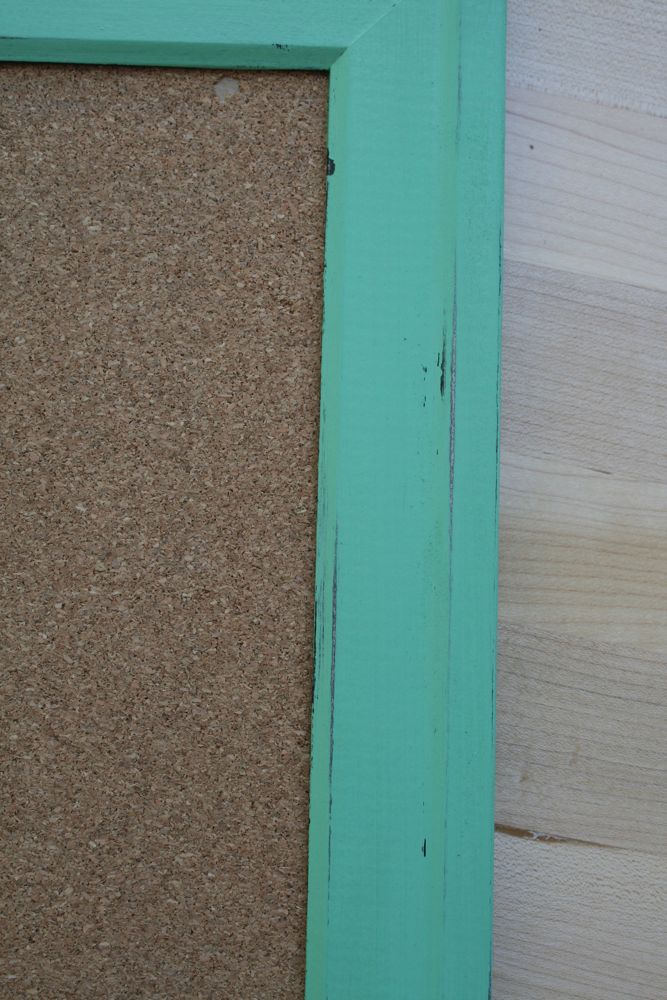
 Because I wanted a distressed look, I very lightly sanded the new paint with a fine sandpaper. With finer sandpaper, you can better control the amount of paint you are taking off. I wanted some of the original black to peek through.
 Once I got the frame the way I liked, I wanted to divide the whiteboard into two sections. I used some metal foil tape and a ruler and I placed the tape directly down the center, dividing the white part into two sides.

And that’s it! Here’s what it looks like in use!
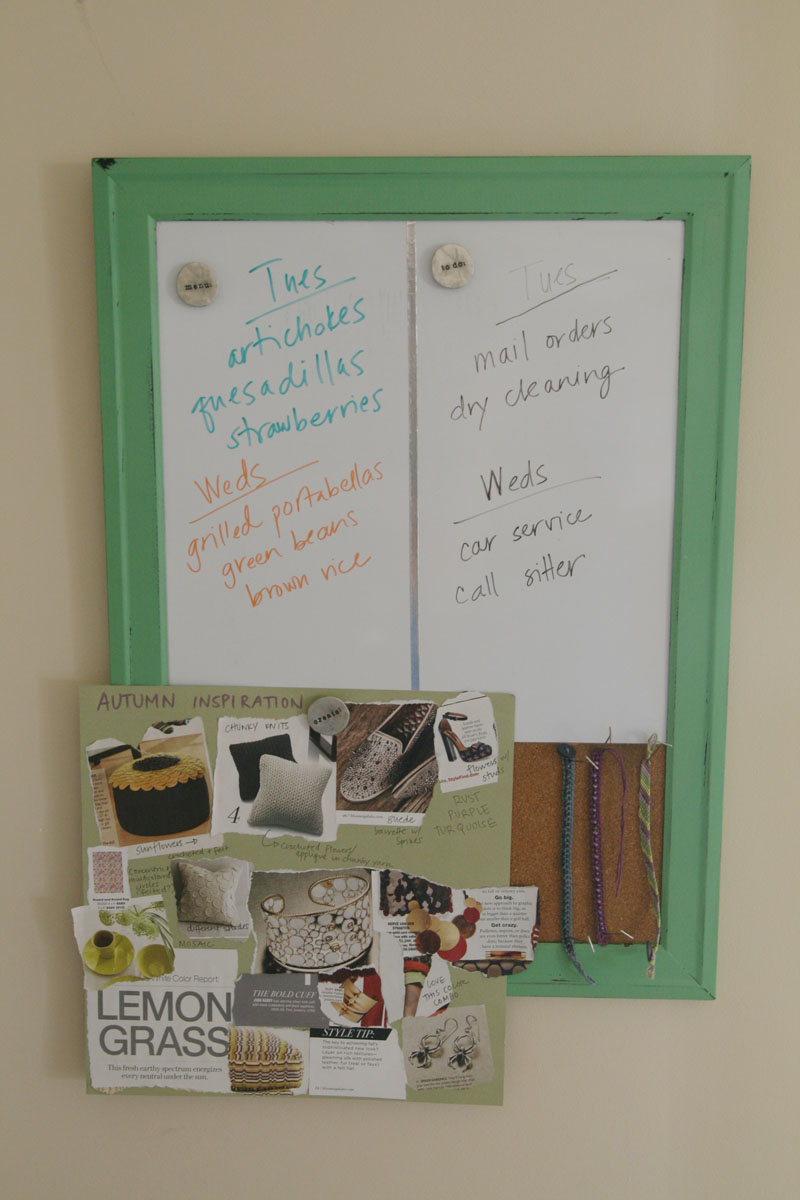
If you like the little magnets I have, I got them from Lisa Leonard, who makes amazing jewelry and other trinkets. You can find these magnets here.
And now, hopefully I will be über-organized. That’s all I need is a whiteboard, right?


