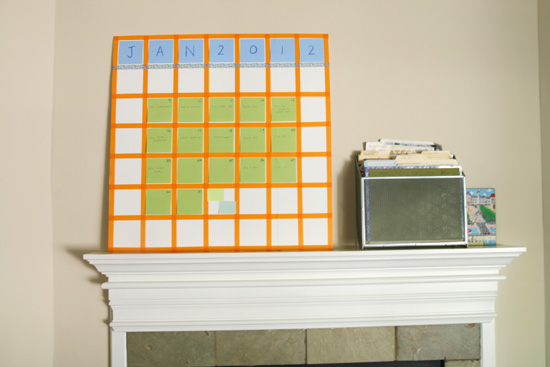
I recently saw this project over at Martha’s site, and it seemed like just the thing I needed to keep track of posts: a totally customizable and flexible calendar.
It’s a great idea, actually, that uses sticky notes to manage daily tasks. Here’s Martha’s version:
It’s perfect as an editorial calendar, a place where I can keep track of all the posts I’m writing on different sites, especially since you can move the sticky notes around if you decide to change a post from one day to another.
Will you be surprised if I tell you that Martha’s instructions are kind of off? No, you will not.
It’s actually super easy to do. Get a piece of foam core, cut it to the right dimensions (more on this in a second), use washi tape to make a grid, get some pretty Post Its. Done.
Now, Martha tells you to cut your foam core into a 26 1/2″ square. Which I did. And then you divide it up into 7 three-inch squares. Now, the washi tape is 1/2″ wide, and I was always good at math. So here’s my calcuation:
3″ squares x 7 = 21″
8 lines of washi tape (including a frame on the outside) x 1/2″ = 4″
21″ + 4″ = 25″
So, Martha, what up with 26 1/2″ square?!? If she used some other kind of washi tape, then it would have to be 11/16″, which seems like an awfully odd size of tape, no? I’ve never seen it in that size. In fact, all the tape I’ve seen is 1/2″.
Unfortunately, I listen to Martha, so then I had the wrong size board. I had to do some 3 1/8″-type of finagling, but I figured it out. But if you want to make it right, then use a 25″ square board.
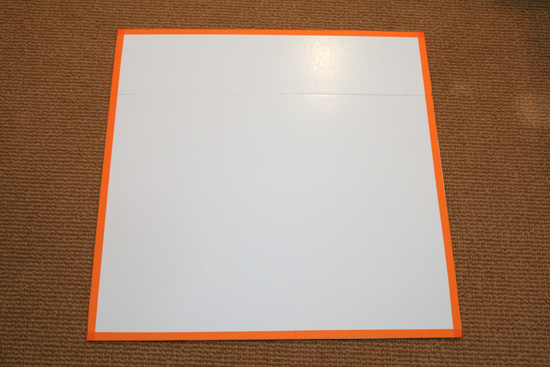
On another note, I bought foam core at Michaels, which is a 20″ x 30″ board. I bought two and cut off an extra 6 1/2″ from one and hot glued it to the other so I had the width I needed (or rather, the wrong width that Martha told me to use). I hot glued the edges together, which worked surprisingly well, and then I put some duct tape on the seam on the back for extra stability. But it works fine.
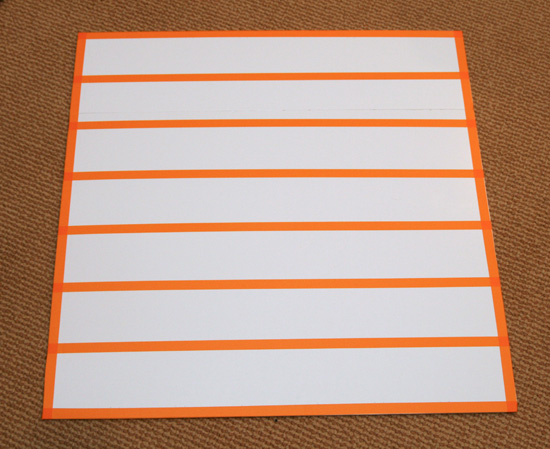
Some steps along the way:
My suggestion here is to mark out 3″, 3 1/2″, 6 1/2″, 7″, etc, on both the bottom and the top, so that you have a set of 1/2″ wide marks at the top and bottom that guide you where to put your washi tape. Attach it at the top, unroll a bunch without sticking it, and then, pulling it tight, line up the bottom guides. The tape in the middle will fall nicely into place.
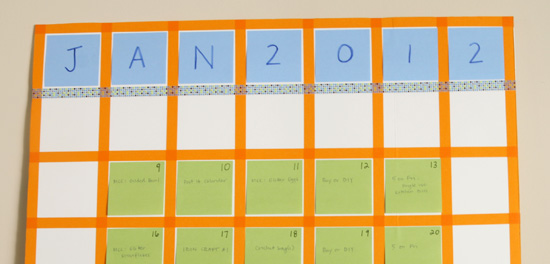
You’ll notice that I used a different pattern tape to divide the month and the year from the days. You know, just a little more fabulous than Martha.
Here’s a close up:
I’m still going to be tweaking a bit, since now if I move a post it moves the date with it, so I’ll have to figure out how to do separate dates. Maybe those little round price stickers or something, or something more reusable so I can use them every month. I’ll be sure to keep you posted.
Do you have a calendar system you love? I have tried many, many, and I still don’t feel like I’ve found a total winner. This might be fodder for another post, though.
RD out!


I really like this — it’s probably the most practical craft I’ve ever seen from Martha! Does anybody make post-it dots? If so, that could solve your date problem when individual pieces are moved.
I still haven’t found a calendar system that’s lovable. I use my phone when I need a reminder for something, and everything else goes on a big desk-blotter calendar. As a system, it’s meh.