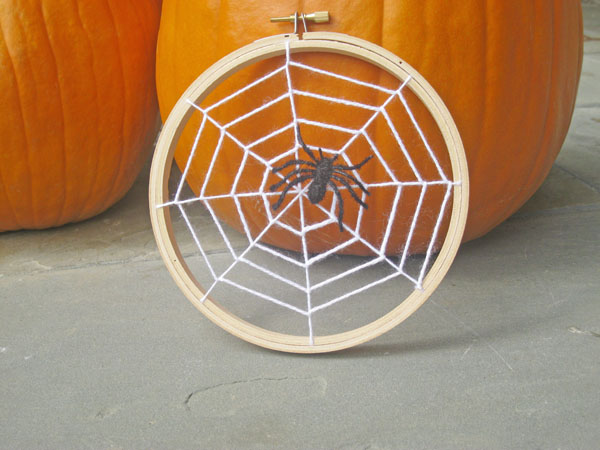
It’s almost Halloween! I’ve made virtually no progress on the costumes, except to purchase all the supplies. Shopping is easy.
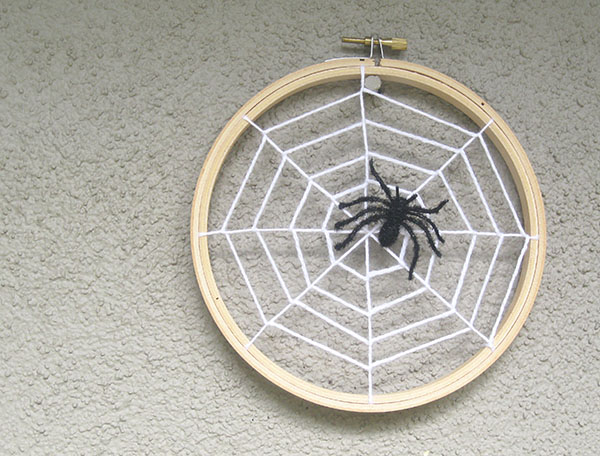
But I did make this cute Halloween decoration I saw in Parade magazine. I know, Parade magazine. I’m linking here to give the designer props, but there really wasn’t much of a tutorial to speak of, so I put my own together. In making it, I discovered a few tricks to make it turn out really well.
You’ll need:
- an embroidery hoop in the size of your choosing
- thin white yarn (I suggest baby yarn)
- double sided tape
- a bit of glue (I used a glue gun)
To start, cut 7 – 8 yards of the yarn and wrap it up into a ball. This much yarn will allow you to work with a large size hoop, so if you are using a smaller one, you can reduce your yarn a bit.
Open the embroidery hoop and set the outer ring aside.
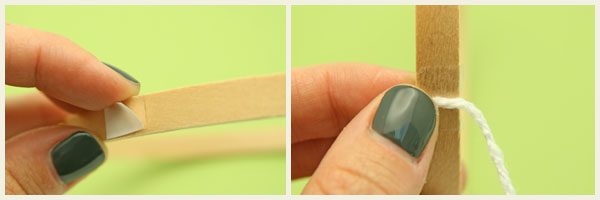
Take a small piece of double-sided tape and place it on the outside of the inner ring; using the full skein of yarn(that is, NOT the yarn you pre-cut), attach the yarn to the hoop using this tape.
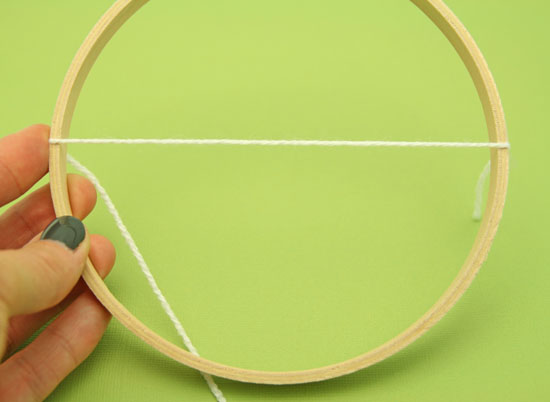
Place another piece of tape directly opposite the first on the opposite side of the ring, then stretch the yarn across and attach it to the hoop. Stretch it relatively tightly.
Snip off the yarn, leaving a tail a few inches long.
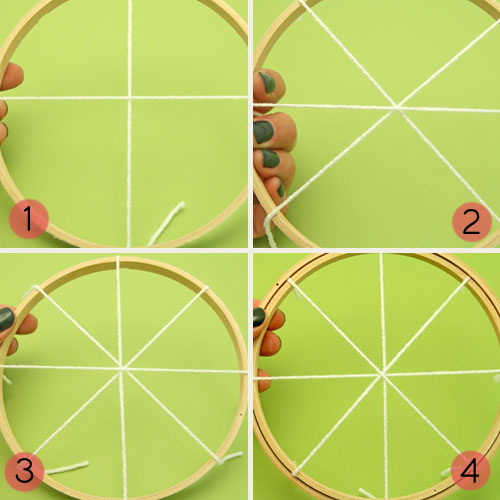
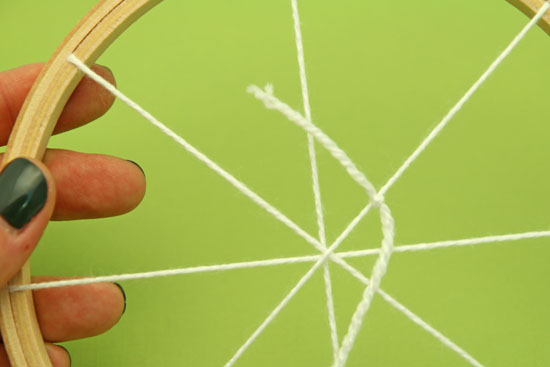
Continue to attach these single strands of yarn across the hoop as you see in the photo below (#s 1 – 3). Then, replace the outer ring (#4).
Once you’ve got the ring on, pull the strings tight; you want them to be relatively taut for the weaving of the web. This step is a bit of a dance; you’ll need to tighten the ring enough so you can still pull the yarn, but not so much that the yarn won’t move.
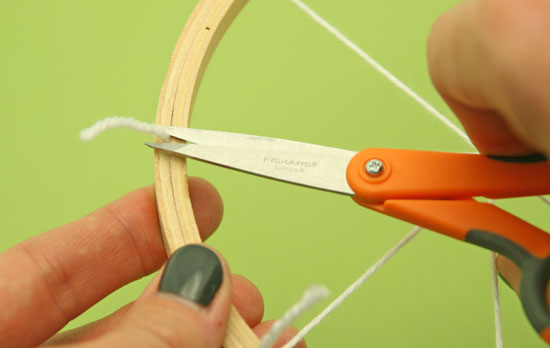
Once it’s secure, snip off all the loose ends.
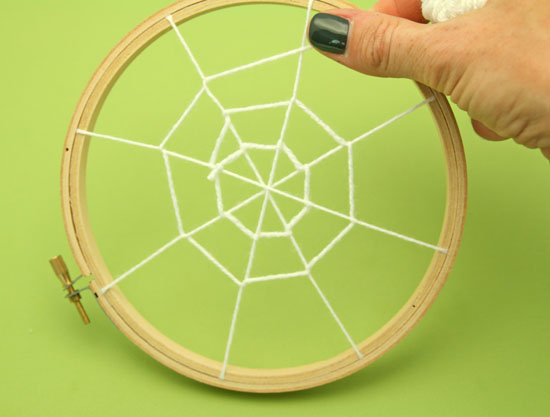
Now you can begin your weaving. Take the pre-cut yarn and tie it to one of the strings near the center of the web.
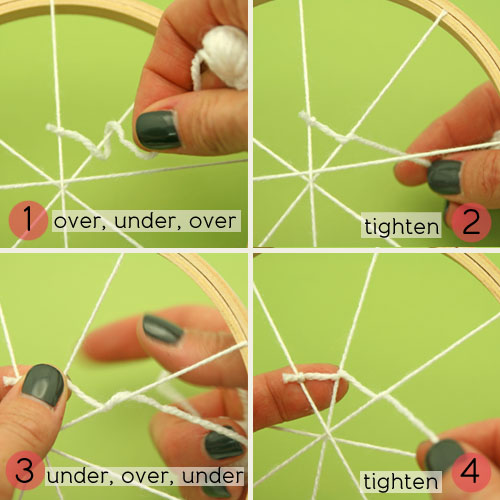
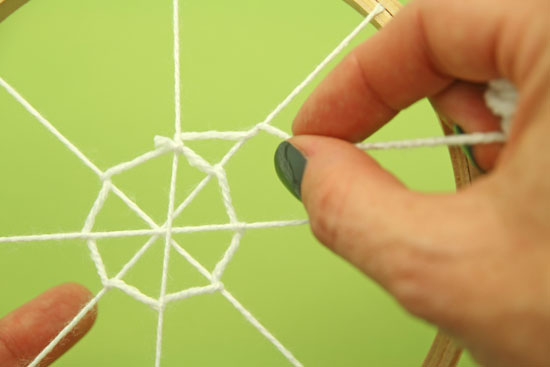
To weave tightly and evenly, start by bringing the long end of the yarn over the adjacent string, then under, and then back over again. Tighten it up by holding the initial knot while pulling the yarn tightly. (You want to hold the first knot so that you aren’t pulling the first string completely out of alignment.) See #s 1 and 2, below.
For the next weave, bring the yarn under the next string, then over, and then under again. Tighten. (See #s 3 and 4, above.)
By alternating the over/under/over and under/over/under pattern, your weaving is more consistent and it’s easier to tighten up.
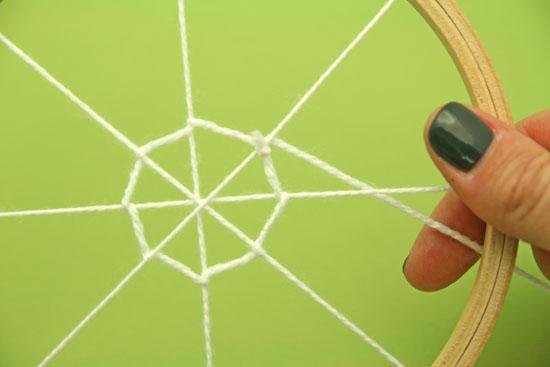
Continue weaving like this until you are back where you started.
Now, continue weaving by moving the next set of twists up a bit closer to the embroidery hoop.
Here you can personalized your web by making your concentric circles closer together or farther apart. Your choice!
Keep going around and around…
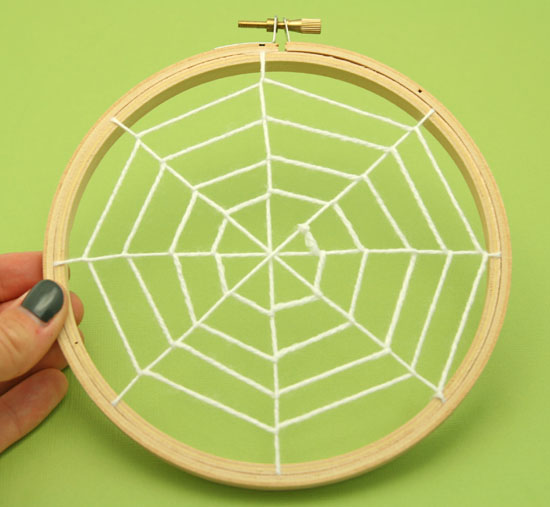
… until you’ve reached the embroidery hoop.
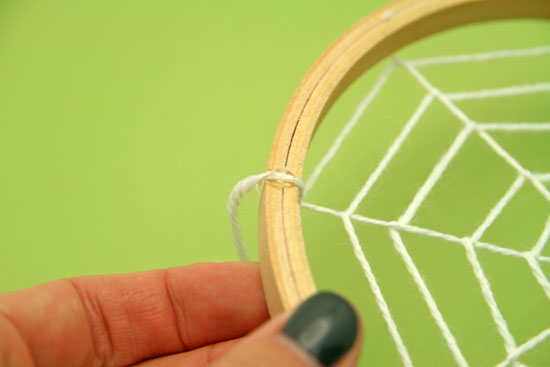
Bring the yarn around the outside of the hoop and secure it to the back with a bit of hot glue.
Once it’s dry, snip the end of the yarn off.
Then you can add a fun little spider or just leave it as it.
Fun, huh? And it takes no time at all.


