I’m a few days late on this posting, but I did make my crostata and had to share!

The 2010 November Daring Bakers’ challenge was hosted by Simona of briciole. She chose to challenge Daring Bakers’ to make pasta frolla for a crostata. She used her own experience as a source, as well as information from Pellegrino Artusi’s Science in the Kitchen and the Art of Eating Well.

I decided to make a kind of mash up of different kinds of crostata, so I did a layer of pastry cream on the bottom and then a layer of jam on top.

First, you make the dough.  Here’s my base with a well in it and then the egg added to it:

And once I mixed it all together and smashed it around, I got a pretty nice dough:

And it rolled out with minimal cracking.

I didn’t have a tart pan with removable bottom, so I just used a pie dish.  The result was a slightly wonky-looking dessert since the dough was higher than the fillings.  Kind of way higher.  Here’s with the pastry cream…

…which I then baked.

So, that looked yum, but I didn’t want it to be just cream (although I’d settle for just cream any day).  I wanted to put some jam on top, so I melted some raspberry jam and just poured it on top, so it would spread smoothly.

There you have my raspberry cream crostata.  It was pretty yummy, too– not too sweet.

{ 10 comments }

Thanksgiving Festivities

I hope you all had a fabulous Thanksgiving, and that you are continuing to gorge yourself on holiday food.

Thanksgiving is one of my favorite holidays, if not my all time fave.  As you might remember from last year, RD mom always makes a huge spread with all kinds of traditional foods in our family.  Then, the day after Thanksgiving, we get together with RD Husband’s family.  This year, I hosted again, which I love to do.  Since it’s the day after, and every one has already been turkeyed out, I usually make whatever I want.  Which I did.

But first: preschool festivities!  Every year, the boys’ preschool (where the seven year old went once upon a time and where the four year old now attends) has a fun feast with American Indian dancers.  This group called the Eagle Spirit Dancers comes and teaches the kids a little about Native American culture, dance, music and traditions.  It’s one of the highlights for me.

The kids lined up and got ready for the performance:

the boys wait anxiously with everyone for the show to begin

a traditional female dance


mesmerized

The male dancer did a few traditional dances.  First, the Eagle Dance:

Then, the Horse Dance, which was fun because he got close to the kids and whipped them in the face with his “tail,” which they all thought was hilarious.  And he played the reed flute, too.

Then, he played a bigger reed flute and explained its significance:

And finally, the hoop dance, which is way cooler than I can represent here with still photos.  He uses seven different hoops and makes all kinds of cool formations with them and his body.  Like this:

And this:

So, it was fun and cool and we all had a great time.

At RD Mom’s house, there was much eating and drinking and chatting.  And, since they just got a new Weimaraner puppy who is just about the cutest thing ever, there was much frolicking amongst the five dogs present and the kids.  Witness:

That’s the seven year old, laying in a dog bed and getting mauled by the Weimaraner (the feet on his head) and the previous addition, which RD Dad rescued and was sure was a Viszla but is really probably a Dachsund mix.  You can see Caesar the RD Dog’s little mug looking on on the left.

Do not be fooled by the look on the seven-year-old’s face; he LOVED it.  Even when the Weim was eating his hair.  Also, Caesar just got his schnoz in this photo.

So, back at the homestead on Friday, we ate post-Thanksgiving dinner.  I made Butternut Squash and Mushroom lasagna, which is to die for, as the main dish.  Sides were: roasted beets and red onion, spinach salad with persimmons and pecans, homemade bread (!), and green beans.

part of the spread

The boys were psyched because they got to sit at the “kids’” table, which consisted of them and four of their teenage cousins.  So they were in heaven.

sweet, sweet little boy smiles


the four-year-old and one of his cousins

Possibly the biggest culinary hit was, of course, the homemade bread.  I used my trusty Artisan Bread in Five Minutes a Day technique, and it was lovely.

Four of those loaves went in no time.

For dessert, I made Pumpkin Cheesecake with Brown Butter Pears and Brookies.  If you are unfamiliar with Brookies, what is wrong with you?  They are brownies on the outside with a chocolate chip cookie baked in the middle.  Get on it!

By the time I got to the Brookies to photograph them, they were almost gone.

pumpkin cheesecake

So, that’s what we did over here.  I hope you had a fantastic Thanksgiving!

{ 3 comments }

Now I Need a Potato Ricer

Sunday was supposed to be Family Movie Night, but the kids collectively decided they’d rather play one more level of Batman Lego Wii than watch the movie.  Looking back, we probably shouldn’t have provided that option.

But I had already planned a nice dinner for the evening, so I went ahead and made it.  I jettisoned the dessert, though, and will probably make it later this week.

One of my favorite chefs is Jamie Oliver.  He’s brilliantly British, with his easy peasies and bits and bobs and whahz it ups.  I loved his show Jamie At Home, which featured him picking fresh ingredients from his garden and cooking them up into amazing dishes.  Probably my favorite episode was Mushrooms, where he went into the forest to forage for mushrooms with Gennaro Contaldo, who is apparently the expert on wild mushrooms in the U.K.  They found gorgeous mushrooms and cooked them up right there in the middle of the forest and made a Mushroom Bruschetta that looked orgasmic.

What does this all have to do with Family Movie Night?  Nothing, really, I’m just rambling.  Well, kind of.  I was at the Farmer’s Market on Sunday morning, and there’s a new vendor there: LAFunghi.  They aren’t a new vendor in the general sense, but they are new to my market, so I was intrigued.  They have the most exotic mushrooms.  Check it:

How can you pass up Hedge Hogs, Blue Foot, Persimmon Noki, or Bunashineji?

So I bought a basket– one of those $15 jobs in the front that has a nice mix of mushrooms.  And I decided to make Jamie’s Gnocchi with Mushrooms and Sage from his Cook With Jamie book.

This required, of course, making my own gnocchi.  Gnocchi is my favorite pasta ever, and if you’ve never had it, you are MISSING OUT.

What I discovered, though, is in the title of this post: I really need a potato ricer.  Or at least, I needed one for five minutes on Sunday afternoon.  I used a plain hand-held masher to smash my potatoes up, and it really didn’t cut the mustard.  Or the potatoes.  So I ended up with chunky gnocchi which, as far as I know, is not a thing.


lumpy gnocchi dough


log of gnocchi dough-- you can see the little potato chunks
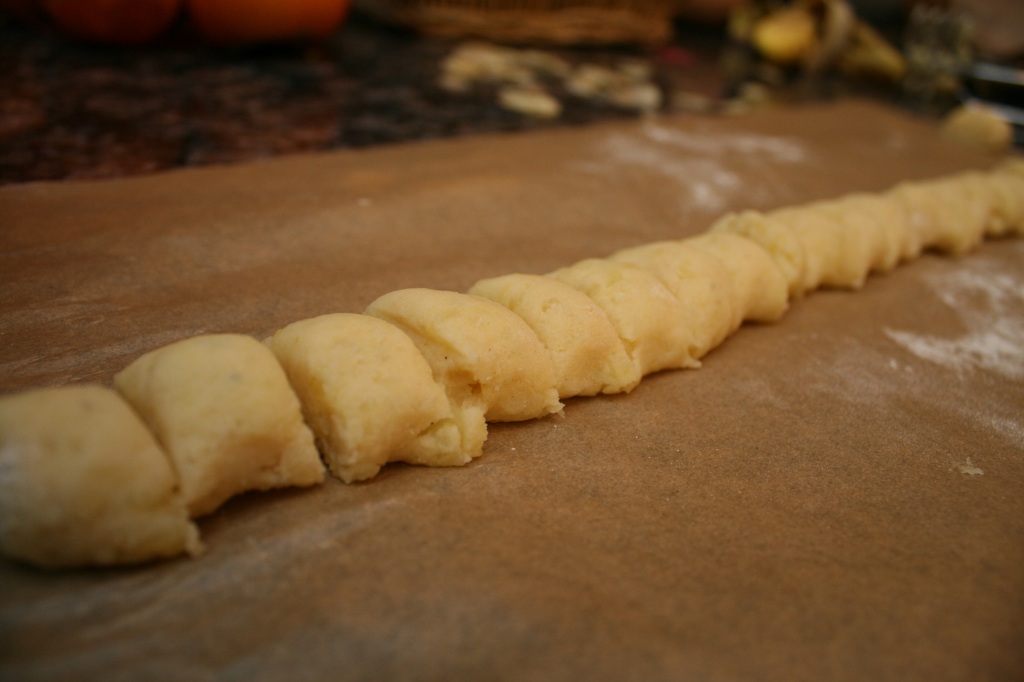


once you've rolled the log, you cut the gnocchi into little pillows


gnocchi ready for boiling


Once I had made the gnocchi, I started in on the mushroom sauce / topping.  It basically consists of frying up some mushrooms and adding garlic.  I didn’t add the sage because I wasn’t sure the kids would go for it, but I did add spinach to round out the dish.
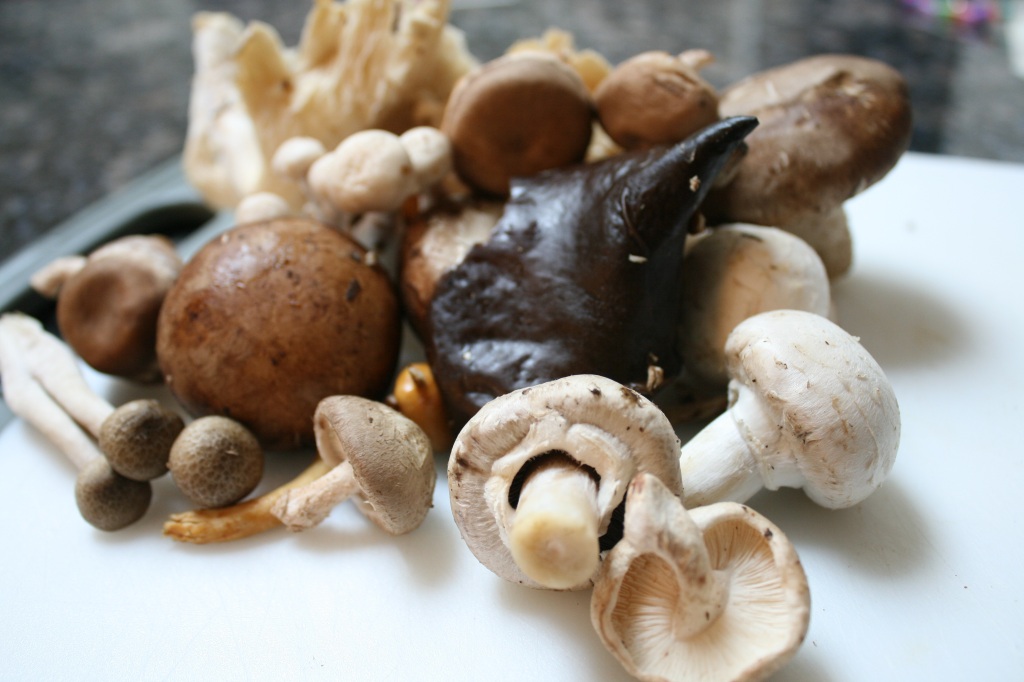
Look at those beauts.  And when they were sautéd, they were golden perfection.

All cooked up and mixed together, we got this:
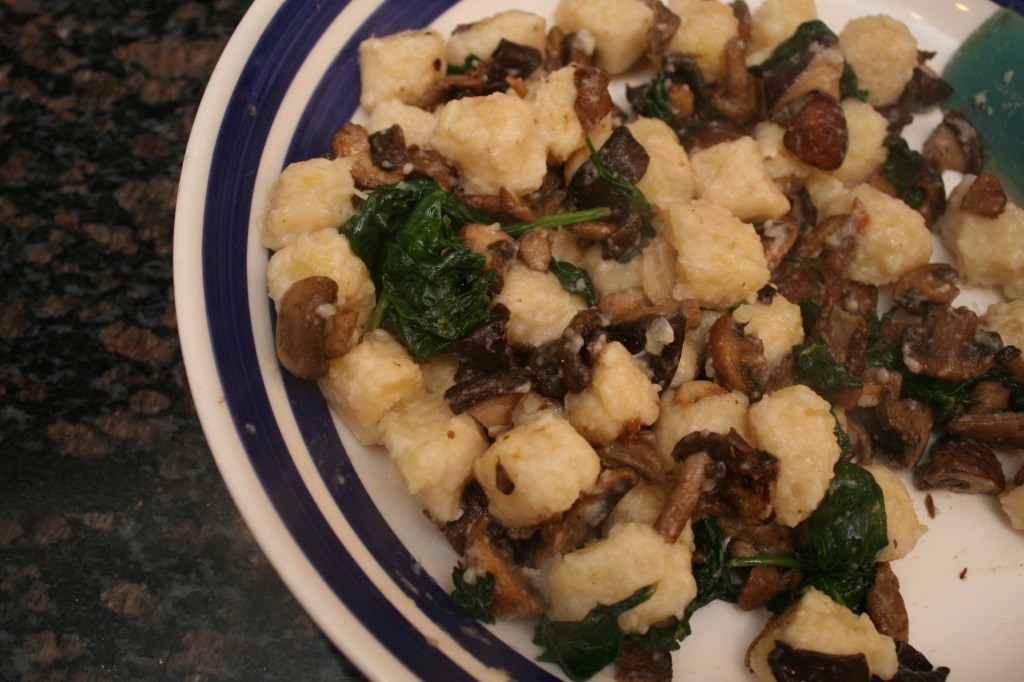
It was kind of delish.  I adapted Jamie’s recipe a bit to make the gnocchi whole wheat and to change up the mushroom thing a bit.

Gnocchi with Mushrooms and Spinach

for the gnocchi

  • 6 medium potatoes
  • 1 tbsp butter
  • olive oil
  • salt and pepper
  • 1 large egg yolk
  • 1/2 to 1 cup white whole wheat flour

Wash and peel your potatoes.  Bring a large pot of salted water to a boil.  Add your potatoes and boil until they are fork tender (the boiling time will depend on the size of your potatoes; mine took about 15 minutes).  Drain and mash the potatoes while they are still hot.  Add the butter and mix as it melts.  (If you have a potato ricer, you can run them through the ricer instead of mashing them.)  Allow your potatoes to cool slightly.

To the mashed potatoes add salt and pepper to taste and the egg yolk.  Once the egg is well-combined with the potatoes, add the flour a little at a time.  Start with 1/4 cup, and keep adding until you have a dough that is dry but not crumbly (it shouldn’t stick to your hands).

Divide the dough into 3 sections and roll each one out into a long tube about 1″ in diameter.  Cut each tube into 1/2 – 1″ pieces.  Sprinkle them with flour to prevent sticking.  Place them on a flour-covered cookie sheet and refrigerate for 20 minutes.

When you are ready to cook the pasta, bring a large pot of water to a boil, and add 1 tbsp of salt.  Add the gnocchi and cook until it floats to the top, about 4 minutes.  Strain and mix with mushroom sauce.

for the wild mushrooms and spinach

  • 1 tbsp olive oil
  • 6 oz (or more) wild mushrooms, mixed
  • 2 cloves of garlic, sliced
  • salt and pepper
  • 2 tbsp butter
  • 2 large handfuls of baby spinach (or more)
  • Parmesan cheese

Clean the mushrooms by brushing them off, and cut them into large, 1″ chunks.  Heat a sauté pan on medium high.  When it’s hot, add the olive oil and then mushrooms.  Toss them gently for 2 to 3 minutes, then add the garlic, butter, and salt and pepper to taste.  When the garlic is slightly golden, add 1/2 cup of water and cook on medium for 5 to 7 minutes, or until the water has reduced.  Add your spinach and toss until just wilted.  Remove from heat and mix with gnocchi.  Grate fresh Parmesan cheese over the top to taste.


{ 2 comments }

The September 2010 Daring Bakers’ challenge was hosted by Mandy of “What the Fruitcake?!” Mandy challenged everyone to make Decorated Sugar Cookies based on recipes from Peggy Porschen and The Joy of Baking.  She specifically wanted people to decorate their cookies with the theme “September,” whatever that means to you.

Well, September doesn’t really have a special meaning to me… although it is the four-year-old’s birth month, I had already made cookies for him, so I wanted to do something new.  I went with something pretty cliché for the theme and then added something fun that doesn’t really have anything to do with September.

For September, here’s what I came up with:

the standard fall leaves

slightly less common: fall hearts

That’s supposed to say “Sept.”

And my favorite:

SQUIRREL!

I was kind of proud of the way I made his belly look like fur.  And the sugar on the tail.  Secret confession: I think I had this cookie cutter from a make-your-own-dog-biscuits set.

So, once I had the September thing down, I went crazy with the cookies I really wanted to make, but that I couldn’t figure out how to link to September.

STAR WARS COOKIES!  Remember these:

The cookie cutters are “press” cutters, so that they cut the shape and imprint the faces on the dough.  So you get something like this:

cookies pre-frosting

Now, here’s where I’m going to call bullshit on the Williams Sonoma people.  These cutters are way, way cute, but there is one MAJOR problem with the leap from these cookies to the decorated ones on their site.

It is nearly impossible to make them.

Here’s the deal.  What you really need to do with a cookie is outline it, “flood” it with icing in the center to get a background color, and then pipe the details on top.  But if you flood the cookie, you can no longer see the design for the face, so how can you decorate it?  I tell you, I spent a lot of time thinking about this and figuring I was a moron for not being able to figure it out.  If there is a simple answer, peeps, and you know it, please tell me in the comments!

So, I tried two different techniques.  First, I actually did all the detailing and then tried to fill in the background around it.  That was ridiculously hard, and they didn’t even look that good.  Plus, it took me about twenty-five minutes to decorate ONE cookie.  Then I tried flooding and doing the design on top, which basically meant I had to do the design free-hand and so WHY do I even need the press imprint on my cookie?

Here’s what I got.

left: details then background; right: flooding then free-hand details

Neither of these looks like their stormtrooper.  Blast you, Williams Sonoma, how did you do it??!?

I did like my Yoda, which was mostly free-hand details just looking at the photos on the WS site.

Do, or do not. There is no try.

Darth Vader was a disaster.  First, how do you pipe details on a black cookie?  They used gray, but the last thing I was going to do was mix up ANOTHER color of frosting.  I already had these:

You can see I even ran out of pastry bags and resorted to Ziplocks.  But I wasn’t going to make another color.  So I used white.

We will now discuss the location of your hidden rebel base.

I did the same experiment with the Vaders, using the two decorating techniques:

left: flooding then free-hand; right: details then background

It seems to me that the free-hand detailing looks better, but it seems such a waste to hide all the imprinted details under the flooding.

Also, you’ll notice that the color on this last photo looks significantly worse– that’s because it took me SO LONG to do these cookies, the sun went down and I didn’t have any more natural light by which to photograph by the end.

SO, my conclusion about the Star Wars cutters?  They are not meant to be used with frosting.  They are super cute without, so I’m not even going to bother frosting them when I make them again.

Happy September!  Here comes October, so beware…

{ 8 comments }