For Martha, belts count as jewelry since making these chain belts falls in the “jewelry” chapter. I’m more of a belt-as-accessory kind of girl, but I suppose that’s all semantics.

Chains are easy, people. All you do is buy some chain and then add clasps. The biggest problem is finding the chain, which I mentioned before. There’s a good selection at M&J Trimming in NYC, and you can order them online, so that’s a good choice.

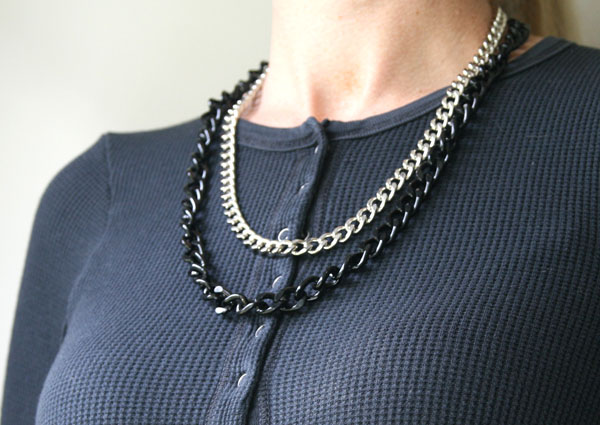
First up are the necklaces:

You know, easy breezy, I just used the leftover chain I had. If I had more, I probably would’ve made these a little longer.

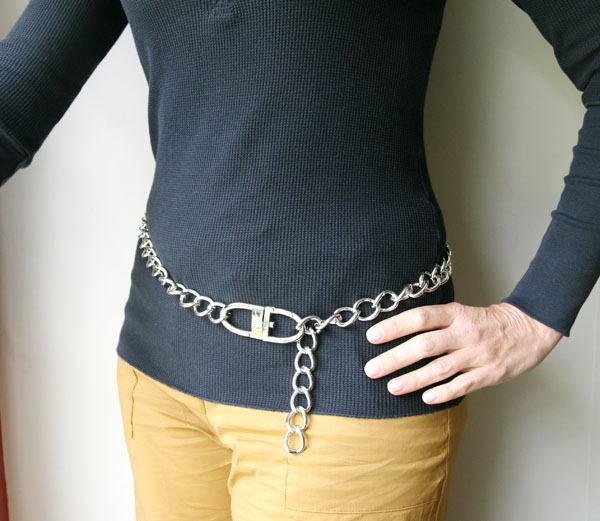
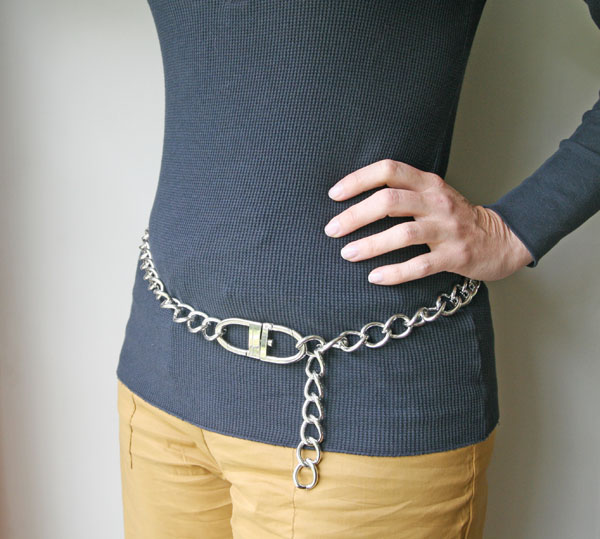
And then, the belt:

At first I was all, “meh,” but now I kind of like it. I’m not really much of a belt wearer. But it’s cute. All you need to buy in addition to the chain is a belt buckle. This one I bought is actually a purse clasp thing, but I liked the aesthetic of it better than the other buckles they had at the fabric store. It’s also nice because it’s easily adjustable by hooking into whatever link works best.

TIME INVESTED

Virtually none.

Necklaces: About 10 minutes

Belt: About 5 minutes

I mean, not even. With the belt, I just had them give me exactly the length I wanted at the store, so all I had to do was hook on the buckle.

DIFFICULTY

So easy you cannot even believe it

TOTAL COST

Cheap!

  • chain, between $3 – $10 a yard depending on size and material
  • belt buckle, $7.95
  • clasps, $1.99

Necklace total cost = between $5 – $10

Belt total cost = between $13 – $20

WAS IT WORTH IT?

Definitely. If you are looking for a chain belt, it almost doesn’t make sense to buy one. For example, here’s a simple chain belt from CAbi, which is like Tupperware for clothes (you go to parties to buy their stuff; my SIL just had one and I bought a few things).

Cute, right? It’s $59. And I made mine for $16.

The necklaces can be cute, too; I think they work best layered.


{ 3 comments }

Hi there! What’ve you been up to? I’ve been making chain bracelets with Martha. Kinda.

I will say that these are not my favorite of the jewelry projects. The good news is that they are easy to do. The bad news is that they are kind of “meh.”

The hardest part of this project, actually, is finding the chains. I went to the garment district in LA; it’s not really something that you can find in a Jo Anns, it seems. Although everything’s available on the web these days, I suppose.

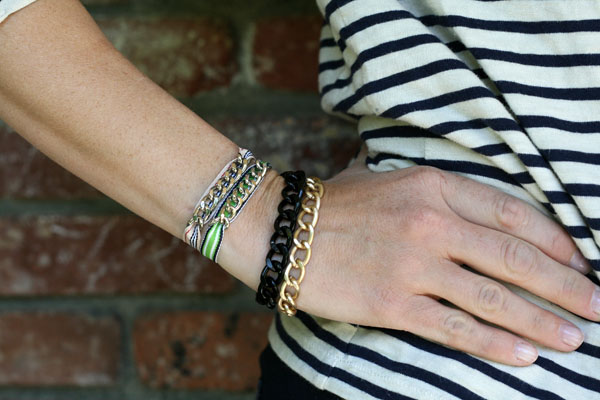
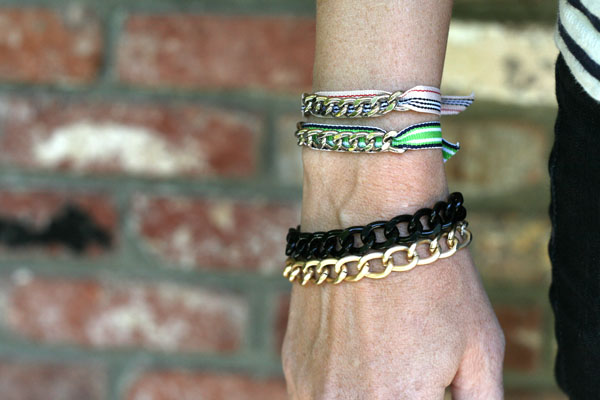
Two versions, here: chain with ribbon and chain alone. Here’s a fancy photo of me wearing all four I made:

Martha Stewart chain bracelet

I’m wondering if you noticed how sassy I am, with my hand sitting jauntily on my hip?

To make these, you either take some chain and thread it through some ribbon and tie it on, or you take some chain and add a clasp. Like I said, really easy.

The only problem I encountered was with the ribbon ones. It’s quite difficult to get the chain to sit flat as you want it without securing it in place. I ended up using a little jewelry cement to secure the ends of the chain to the back of the ribbon. I tried sewing, but that didn’t really work well. Once I had glued the chain at the ends, it laid a little better. Another bonus was that it didn’t slide along the ribbon, either.

Practically, the ribbon bracelets pose a problem, too, which is that you will pretty much always need someone to put them on for you. I had RD husband put mine on, but I had him tie a knot instead of a bow (he was an Eagle Scout, so he’s well-versed in knot-tying). I hate being beholden to people, though. I want a bracelet I can put on myself.

ribbon & chain bracelets

So, cute idea in theory, not so much in practice, I think.

TIME INVESTED

Ribbon bracelets: About 15 minutes each

Chain bracelets: About 10 minutes each

DIFFICULTY

Easy

TOTAL COST

Ribbon bracelets:

Total cost = $12.90

Chain necklace:

  • chain $4.00/yd
  • clasps, $1.99

Total cost = $5.99

WAS IT WORTH IT?

Well, I don’t necessarily love them, but that might just be a taste thing. The chain-only ones I think are cuter, but depending on the chain you use they can look really cheap, like Claire’s Accessories-cheap. So I’m going to vote no on this one.


{ 3 comments }

This is the third jewelry project in this chapter of the Encyclopedia, and, hilariously, this is the blurb you find at the beginning of the project:

The necklaces and earrings shown here were made using slightly different (and easier) techniques than the ones described on the previous pages.

Oh, Martha. Of course you would put the hard projects first.

In spite of this description, I didn’t find these projects particularly easy compared to the last. Probably because many of them didn’t really work.

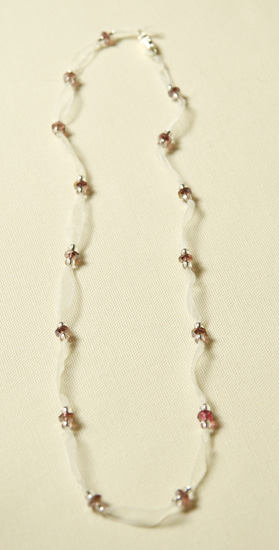
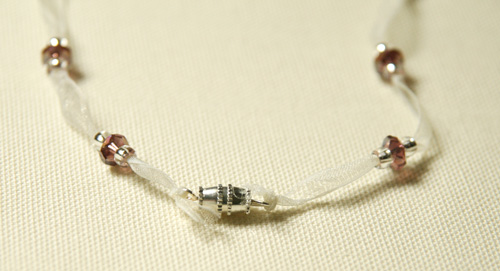
First up: ribbon necklace. Using a kind of gauzy ribbon, you string beads onto it, using the ribbon as part of the design.

That’s the one I made. And I have to say, it was really difficult because stuff didn’t work the way the Encyclopedia said it should.

What you are supposed to do here is use seed beads, which are tiny, to anchor the bigger beads. Using a beading needle, you string the beads onto the ribbon.

Except the seed beads TOTALLY don’t fit onto this ribbon.

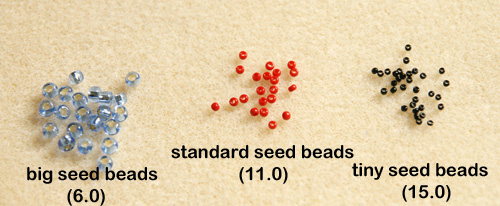
If you aren’t familiar with seed beads, here’s a little primer. They come in different sizes, but really, what everyone thinks of as seed beads are the 11.0 size. For reference:

I assume that Martha means standard seed beads, since she doesn’t specify. And I tried every different which way, and there was NO way those little beads were going to fit on that big ribbon, in spite of its gauziness. So I had to go up to the 6.0 size. Which worked ok, but please TELL US THIS, Martha. It looks like her team might have used the 11.0 size, and I have no idea how they did that. It seems to go against the laws of physics.

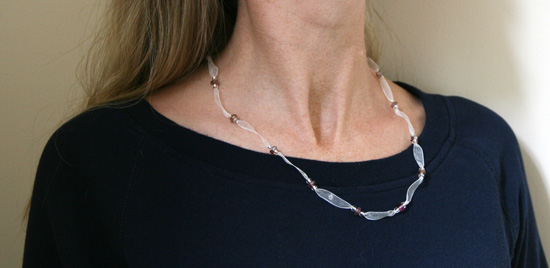
So I used the bigger size beads and came up with this.

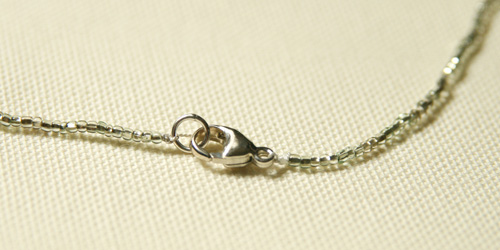
The other issue was the clasp. You are supposed to “tie on clasps and connectors at ribbon ends using a simple knot.”

Problems here are that a) it doesn’t look great, and b) I’m not convinced this is going to stay connected. It’s just knots in slippery ribbon. How secure is that?

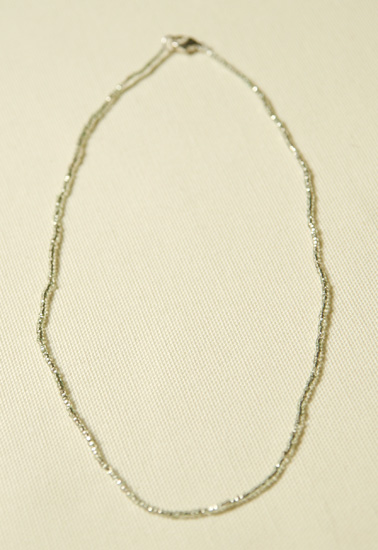
The other necklace is called a “bead-cord necklace.” Using the beading cord from the previous projects, you string a bunch of beads on. Done.

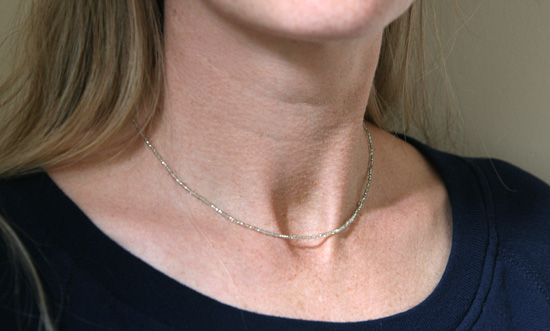
I used very tiny seed beads for this one; it’s kind of a layering necklace.

I had the same issue with the clasps, though. I tied at least 4 knots on each end, and I could actually see the knots unraveling after I tied them.

I’m not sure why, having already introduced the bead tip thing, they didn’t just tell you to use bead tips, which seem much more secure.

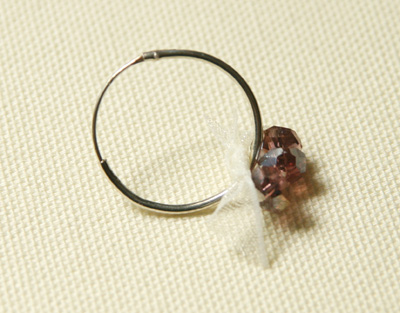
There were also some earring projects in this section. You are supposed to put beads on ribbon and then tie them on an earring finding. Um, yeah. That didn’t seem to work so well.

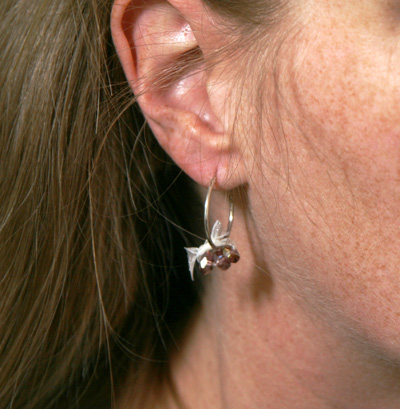
I mean, what is that? Here’s what it looked like on:

I didn’t even bother making the other one because this is… WHAT IS THIS? The ones in Martha’s book look kind of ok, but even still, not anything I’d want to spend time on.

TIME INVESTED

Ribbon necklace: About 1 hour

Bead cord necklace: About 1 hour

DIFFICULTY

Moderate

TOTAL COST

Ribbon necklace:

  • ribbon, $0.50 a roll
  • seed beads, $3.49
  • larger beads, $4.99
  • clasps, $1.99

Total cost = $10.97

Bead cord necklace:

  • bead cord, $1.55
  • seed beads, $3.49
  • clasps, $1.99

Total cost = $7.03

WAS IT WORTH IT?

Not really. I’d use the techniques from the other projects instead to make something more substantial. If you are looking for inexpensive gifts, these might work, but you can also use inexpensive beads, like seed beads, and use the more substantial techniques for attaching them to necklaces.

{ 3 comments }

Very similar to the necklaces, these bracelets. But shorter.

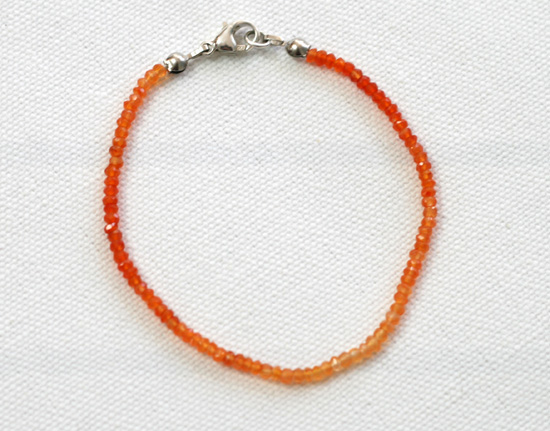
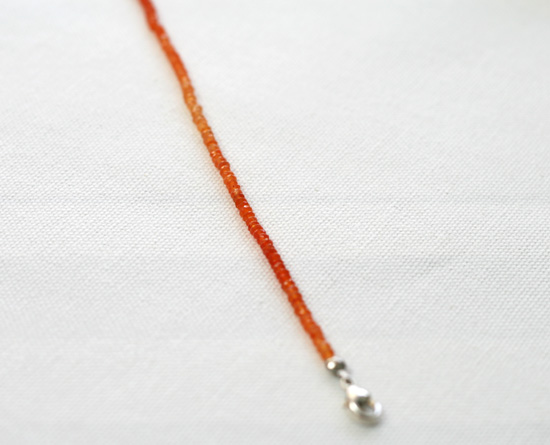
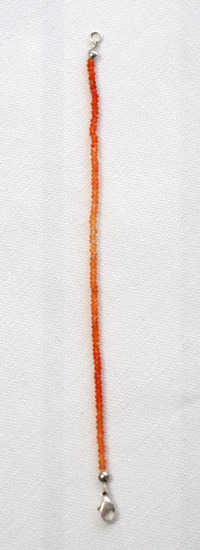
I made two here, trying out two techniques. The first is quite simple: just string a bunch of beads onto the silk cord, add clasps, and you are done. I really wanted to do something ombré, and thankfully I found some gorgeous, tiny carnelian beads that were gradated.

So, I strung them on a tiny silk string and ended up with this!


This first bracelet would’ve been really easy had it not been for too short cord. Martha suggests cutting the cord off before you start; I recommend just stringing right onto a full cord because I had to do it several times since I cut the cord too short to adequately tie knots. The other tricky part was the gradations; the beads came already ombréd, so to speak, on a thread, so I had to keep them in the exact order when I put them on the silk cord. You would think there would be an easy way to transfer them, but if there was I never discovered it. I’d slide 5 – 7 beads off at a time, carefully keeping them in order, and then add them to the silk cord.

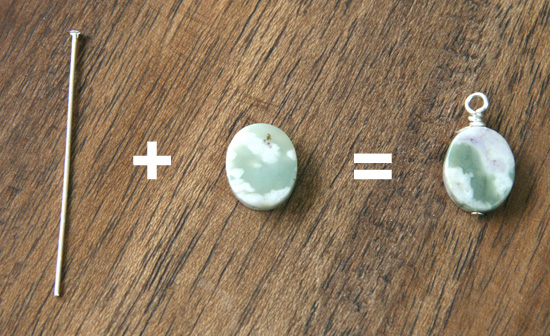
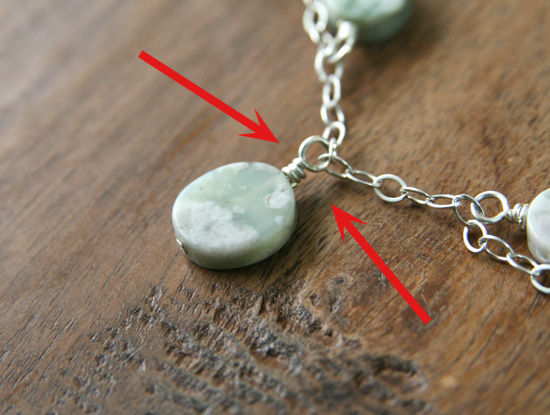
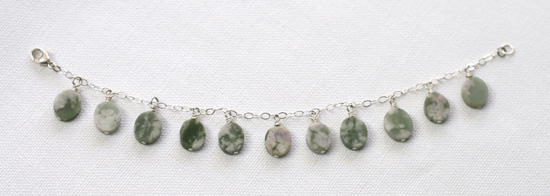
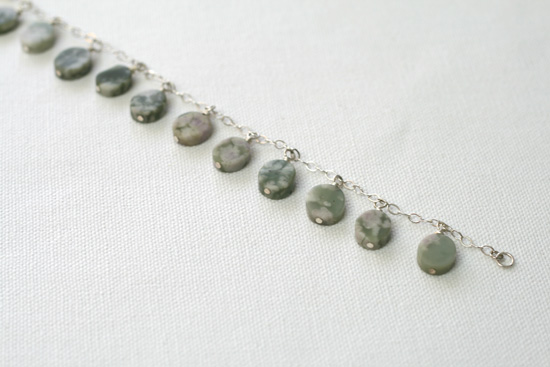
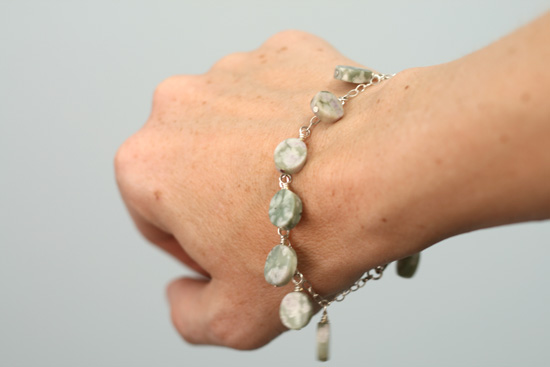
The other bracelet I made required both chain and wire wrapping. Wire wrapping is a PAIN. It’s very delicate; it’s difficult to get the wire to wrap in a perfect circle. For this bracelet, I took some beads that I got at Michaels, inserted a “head pin” (essentially a pin with a head on it to stop it from going all the way through the bead), created a little circle and attached it to the chain, then finished wrapping the wire around itself. To illustrate:

This was one of my crappier wire wraps that didn’t end up on the bracelet.

This is what you are trying to achieve with the wire wrapping. This photo looks pretty good; it looks wonkier in real life. Like, the circle at the top is never quite round.

And I could never get the end of the wire to wrap perfectly into itself, so that you can’t really see the end.

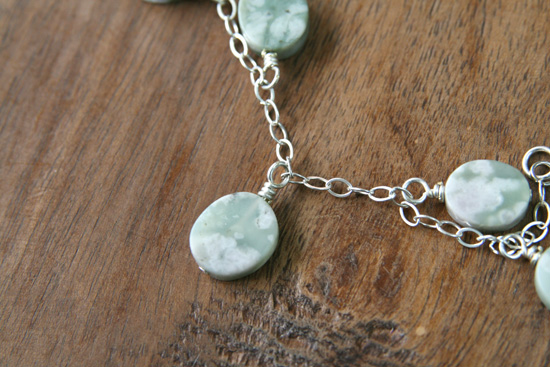
Anyhoo! Here’s the finished result:

TIME INVESTED

For the carnelian bracelet: About 1 1/2 hours

For the wire wrap bracelet: About 3 hours

DIFFICULTY

Moderate

TOTAL COST

For the carnelian bracelet:

  • silk beading cord, $1.55
  • carnelian beads, $28
  • bead tips, $0.75
  • clasp: $3.99 (a package of base metal clasps)

Total cost = $34.29

For the wire wrapped bracelet:

  • sterling silver chain, $8.99 (per foot)
  • beads, $6.99 (at Michaels)
  • base metal head pins, $3.99 (at Michaels)
  • clasp: $3.99 (a package of base metal clasps)

Total cost = $23.96

WAS IT WORTH IT?

Definitely. Making jewelry is one of those crafts that really pays, I think. You can make great gifts and custom stuff for yourself. It takes a little time to master a few skills, but once you have, it opens up a whole world. Honestly, this chapter in itself might be reason enough to buy the Encyclopedia (although you can get lots of jewelry making books that would give you more info, too).

{ 1 comment }