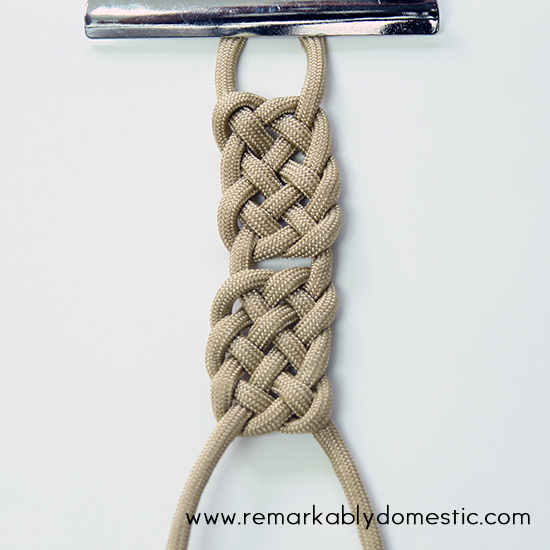
basketweave1

More knotting, y’all!

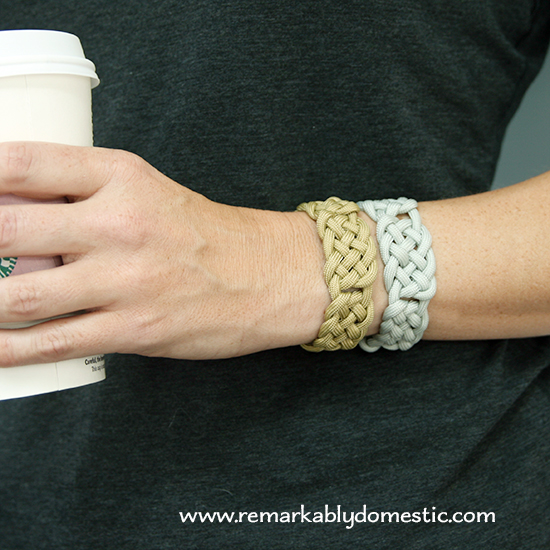
This is one I’ve been working on for a while. The basket weave knot seems tricky to tie at first, but once you’ve done it, it’s pretty simple. I learned it from JD at TIAT, so if you want to see a video of how to tie this knot, check it out here.

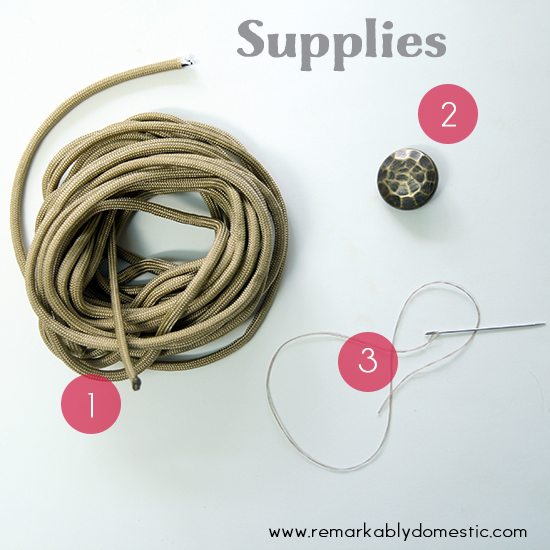
Here’s what you’ll need:

basketweavesupplies

  1. 2 ½ yards of 550 paracord, in a color of your choice
  2. a button of your choice
  3. needle and thread

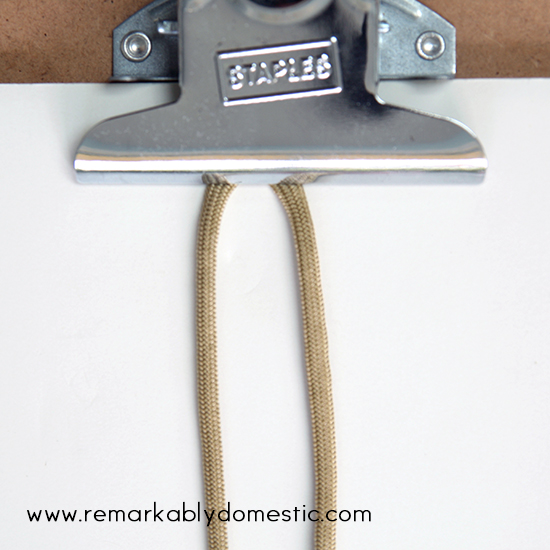
You’ll also want something to hold the cords while you are tying. I usually use a clipboard, but you can also tape it to a table.

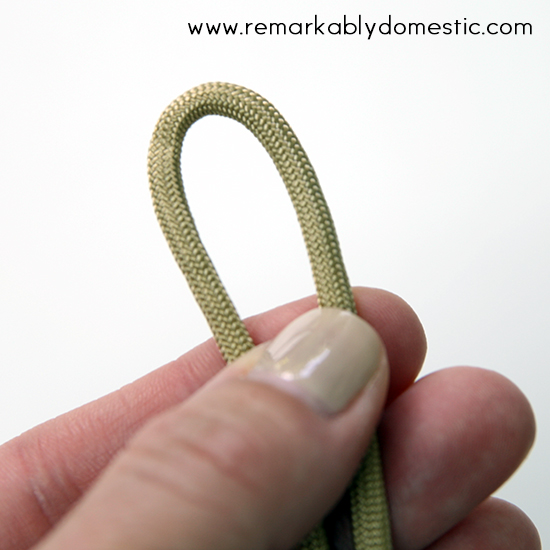
To start, fold your cords in half. This bend will be your clasp loop.

basketweave3

Attach this loop to the table or your clipboard.

basketweave4

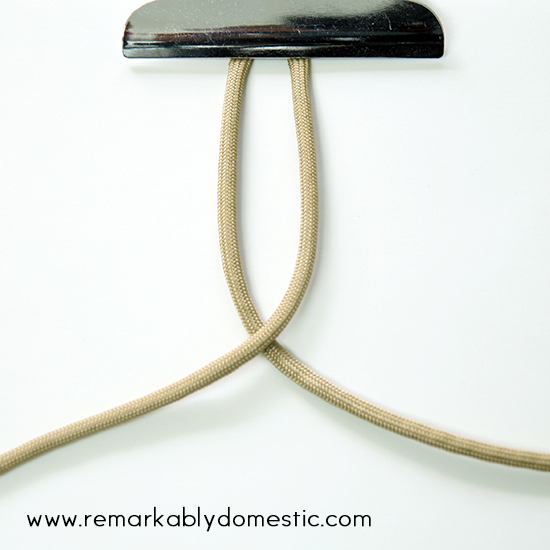
Start by laying the right-hand cord over the left-hand cord.

basketweave5

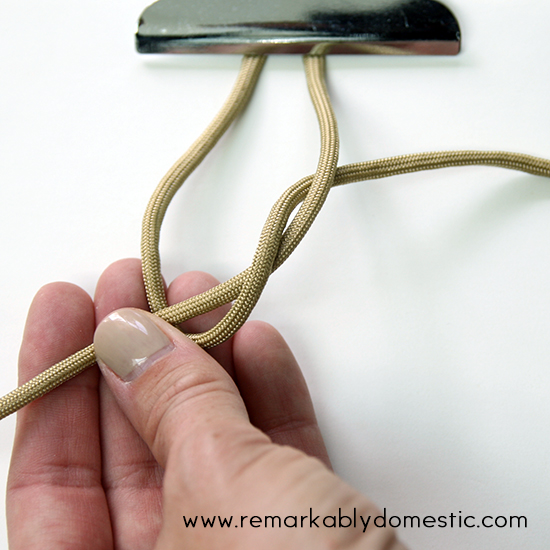
Now the cords have switched places. Take what is now the right-hand cord and bring it up and through the loop, and out to the right.

basketweave6

This is the base from which you’ll weave. Straighten it out a bit.

basketweave9

Now, loosen the knot up a lot, putting the ends pointing upwards.

basketweave8

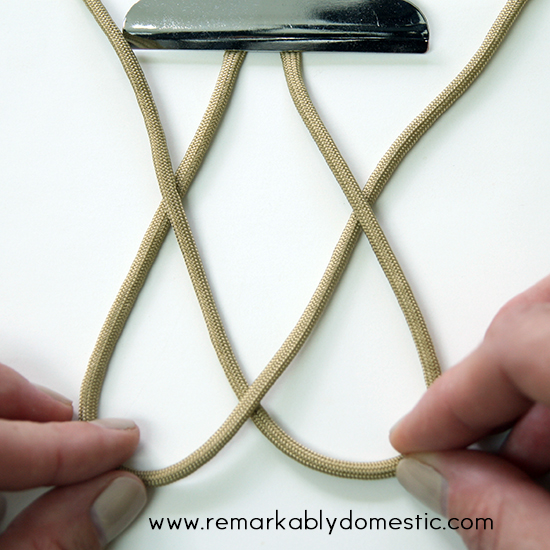
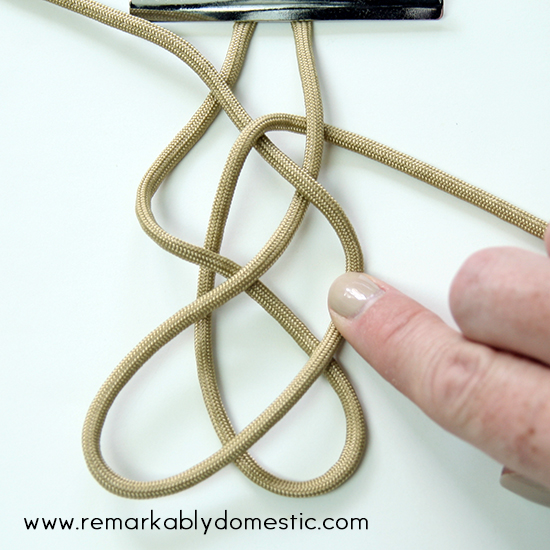
Next you are going to take each of these large loops and twist each one to the right. Do the right side first, and then the left side.

basketweavemosaic1

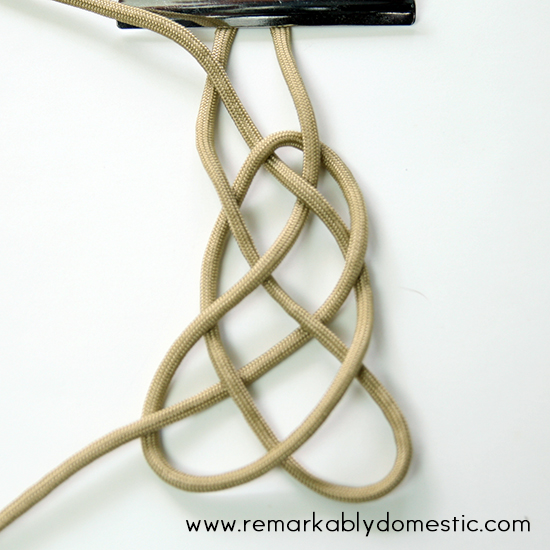
Now you’ve got two twisted loops. Place the right-side loop over the left-side loop like this:

basketweave11

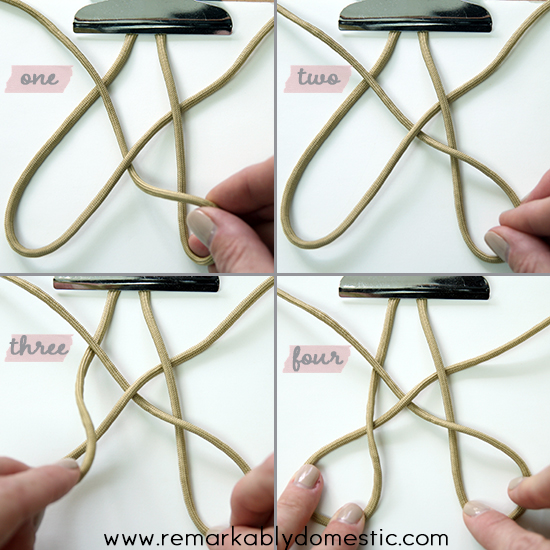
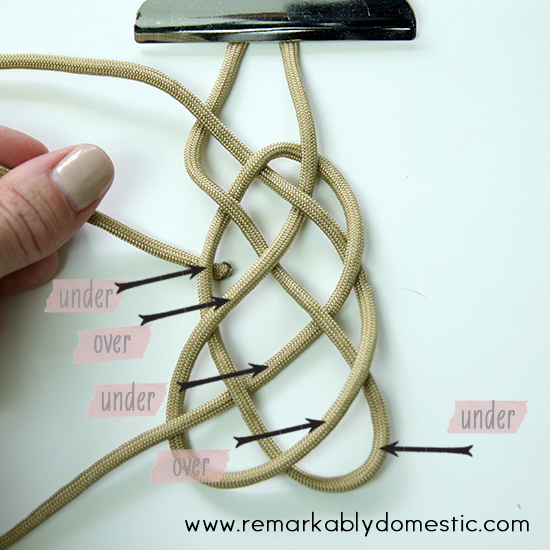
Take the end of the cord on the right and feed it through the loops like so:
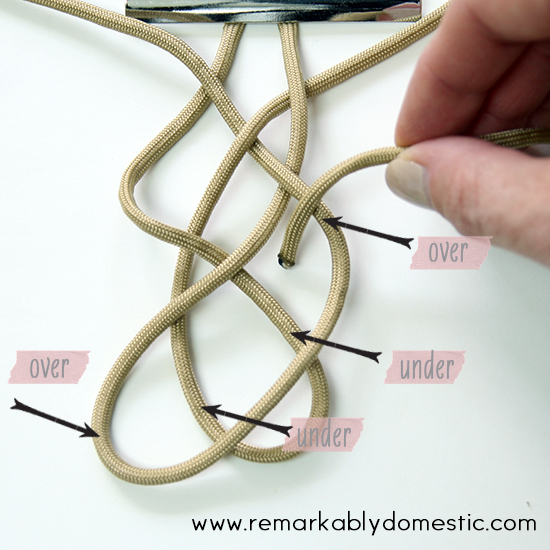
basketweave13 You’re going over the first loop, under the two middle loops, and over the last loop.

Pull it through.

basketweave15

Next, take the end of the cord on the left side and feed it through in a similar fashion, like so:
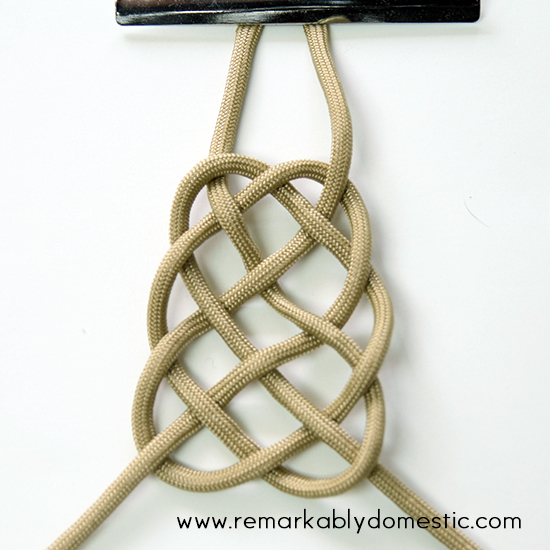
basketweave16And pull it through.

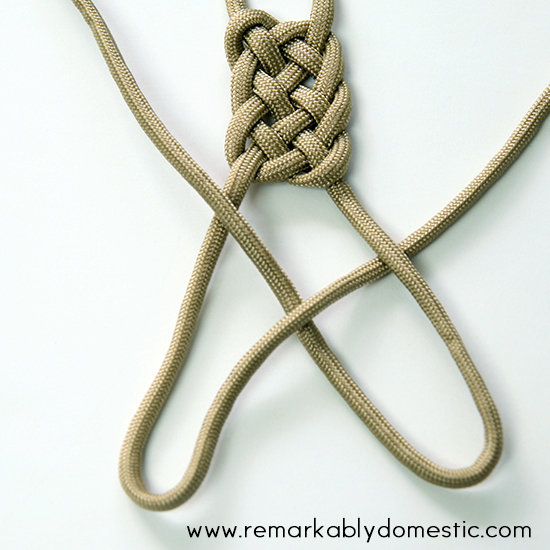
basketweave18Tighten up this knot by gently pulling the threads through, starting at the top.
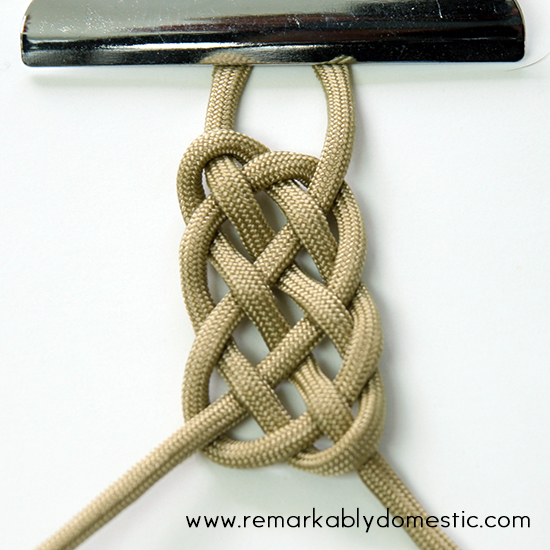
basketweave19You can tighten to whatever size you want. I usually like a smaller knot, so I tighten quite a bit.
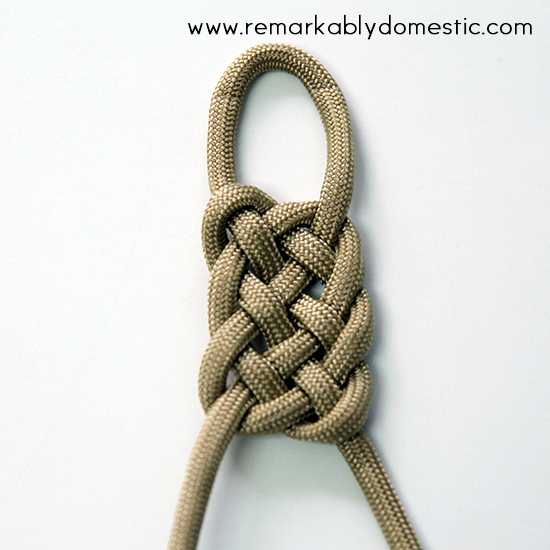
basketweave20Now you can see what the knots will look like when finished. From here, simply start another knot.

basketweave21

Follow the exact same procedure as the above for the second knot. Once you’re done, tighten it up so it looks the same as your previous knot.

basketweave22

Continue knotting like this until the bracelet is the right length for your wrist. You could also leave more space between knots if you want a more open look.

Add the button to the end by sewing it on. See my previous paracord tutorial for sewing a button with a shank on; if your button has holes, you can simply sew up through the cords and into the button holes.

basketweave23

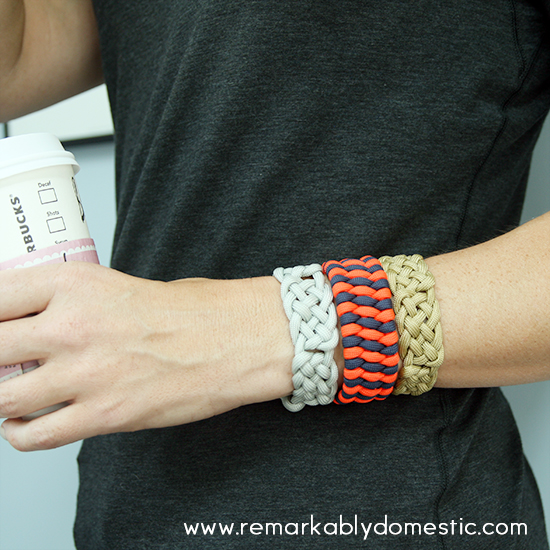
And stack them up!

basketweave1You can even stack them with other paracord bracelets, like the ones I made here.

basketweave24

Share!

{ 13 comments }

It’s one of those days where I have a lot of little tidbits that I can’t figure out how to share. So I’m going to make this a random things that I’ve been thinking of and laughing at and pinning on Pinterest.

Speaking of Pinterest, let’s start there. I recently was looking for some DIYs for kids’ rooms. I went to Pinterest and I searched “kids’ room hacks.” Here’s the result I got:
randoms1LOLOL. Holidays, Corgis, Sneakers or Pasta? I’m dying to know what algorithm pulled those out of its hat. What I then realized is that I accidentally had the “Pinners” tab checked, so it was looking for a person named “Kids Room Hack.” Which is also LOLOL.

~~~

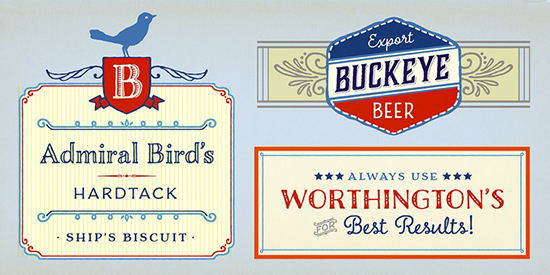
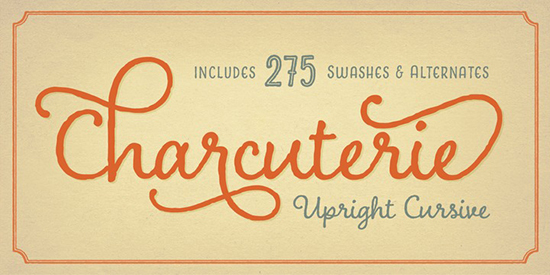
I am in love with this new font family from Laura Worthington called Charcuterie.

charcuterie3

First of all, THE NAME! It’s too cute. And then, the variety! It’s 10 different fonts that are all distinct but related. I’m splurging on it so you might be seeing a lot of it in the next weeks on this blog!

charcuterie2

Charcuterie1

~~~

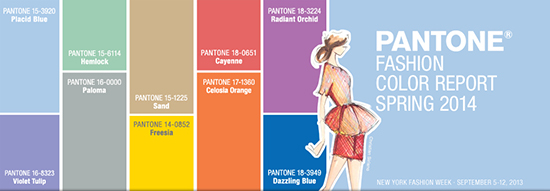
Have you seen the new Pantone palette for spring 2014?

pantonespring2014

I’m kind of digging Dazzling Blue with Celosia Orange. But Cayenne is pretty nice, too. What’s your fave?

~~~

I had to order new checks recently. I hardly ever write checks any more, so it’s honestly been years and years since I ordered checks. The variety of check designs out there is astonishing. Like this one:

randoms2

SRSLY?

~~~

What’s new in your neck of the woods?


Share!

{ 1 comment }

By now, I think we’re all back to school. And what better way to celebrate being kidless during the day than with alcohol?

coffeetini

In the past year or two, this drink has become my signature. I learned how to make it at family camp, and I loved it so much that I didn’t stop. I made coffeetinis for anyone who was breathing and walked past the bar.
It’s a great transition to fall drink, though. Nice and chilled, with a delicious creamy coffee flavor. It feels like summer and fall all wrapped into one.
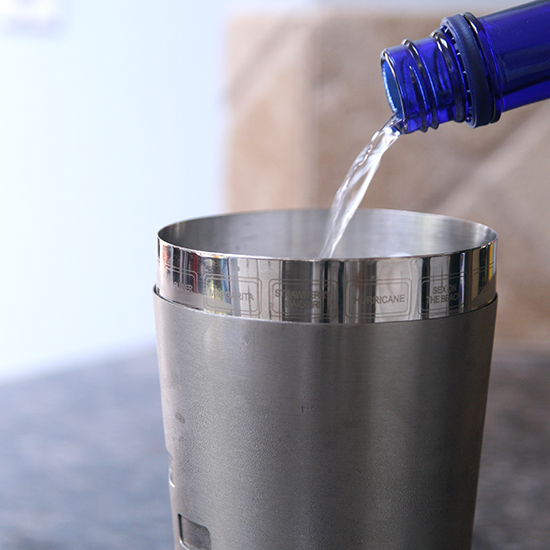
So here’s how I make mine. You’ll need:
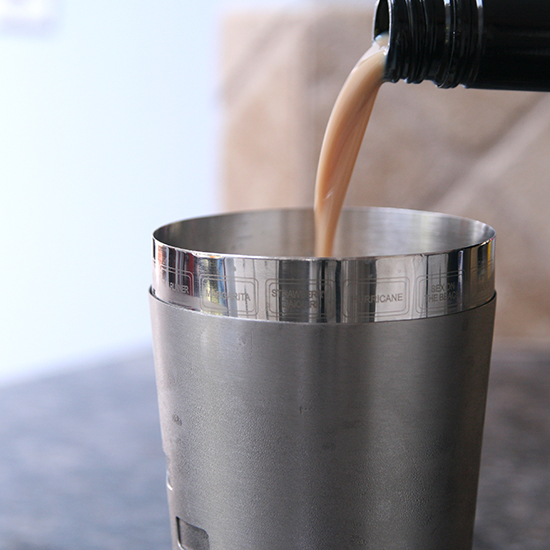
coffeetini supplies

  • Kahlua
  • Vodka
  • Bailey’s Irish Cream
  • a cocktail shaker (optional)
  • a shot of regular or decaf espresso (optional)

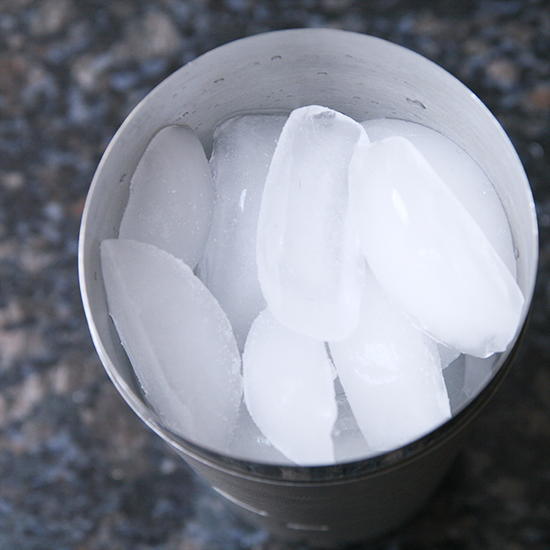
To start, fill your shaker (or glass) with ice. I’m not kidding, FILL IT. All the way to the top.

iceThe recipe is simple; it’s simply equal parts of vodka, Bailey’s, and Kahlua. I always start with the vodka, although I’m not sure why.

vodkaFill your shaker 1/3 of the way with vodka. Then I move on to the Bailey’s.

coffeetini4Good grief, I love Bailey’s. Again, another third of the way with the Bailey’s.

Now, the Kahlua:

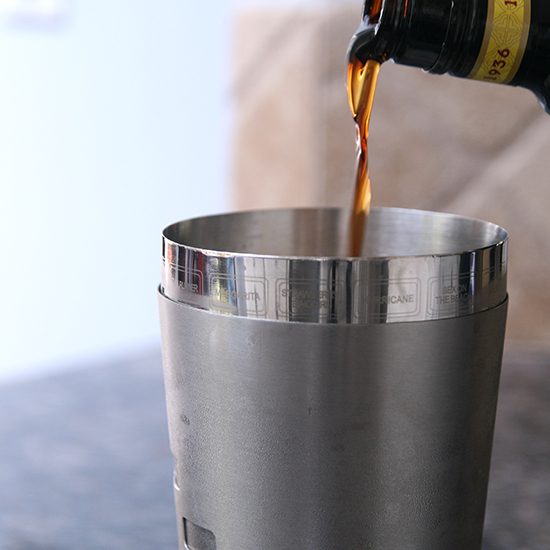
kahluaOne more third! Now comes the optional part. If you want to get wired while you are drunk, then add a shot of regular espresso. If you love a stronger coffee taste but don’t want the jitters, then add a shot of decaf espresso. If you are really crazy, as one of my family camp comrades is, you can even add a little chocolate milkshake. Whaaaat?

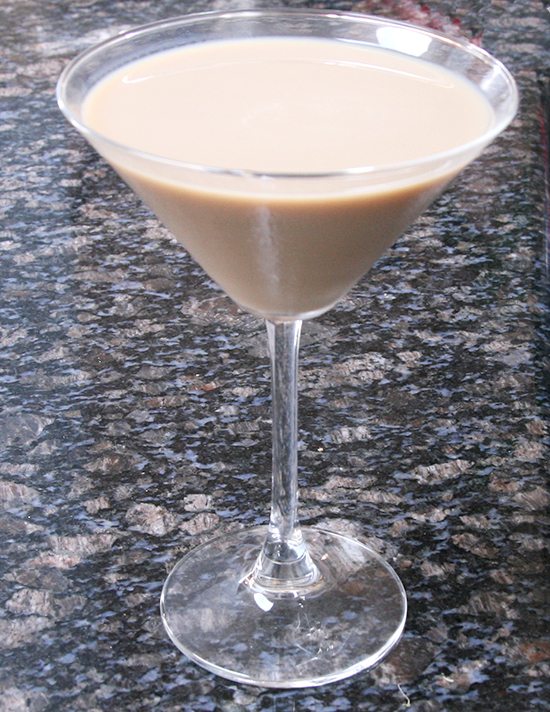
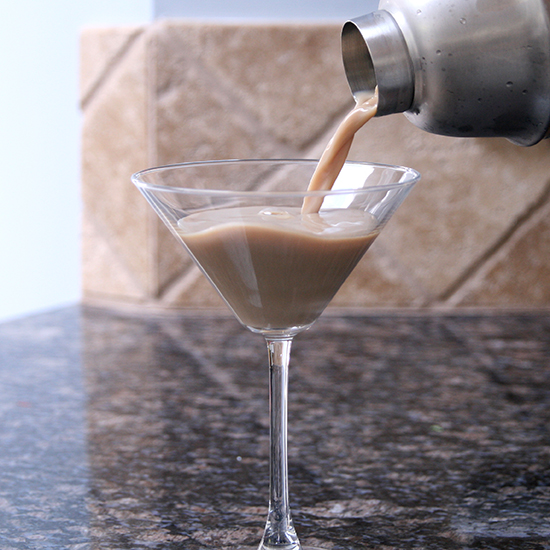
Shake it up real good, and pour it into your chilled martini glass.

coffeetiniThat is pure, creamy, cocktail goodness. Drink one of these every time you have to help with math homework, and you’re golden.

coffeetini yum

Share!

{ 0 comments }

As you may already know, I love my Sally Hansen Gel Nail Polish System. One question that comes up often with gel nails is whether you can use regular polish with the base and top gel coats. I was wondering about it, too, so I decided to do some experimenting.

To cut to the chase, you can use regular polish if you do it correctly, but it’s not quite as awesome as using a gel polish. Let me explain.

First, I tried using the gel base coat, then 2 coats of regular polish, and then the gel top coat. News flash: THIS DID NOT WORK AT ALL. The LED light doesn’t dry the regular polish, and then once the top coat cures and you wipe it, it ends up a crazy mess.

It does work, though, as a reader suggested, if you put on your regular polish and let it dry completely, and then put a base and top coat of gel over the regular polish. It’s kind of like protecting your regular manicure with a layer of secure gel. Paint your nails and let them dry THOROUGHLY before you start in on the gel. I actually let mine dry overnight before I did the gel. And even so, my results weren’t completely as I wanted.

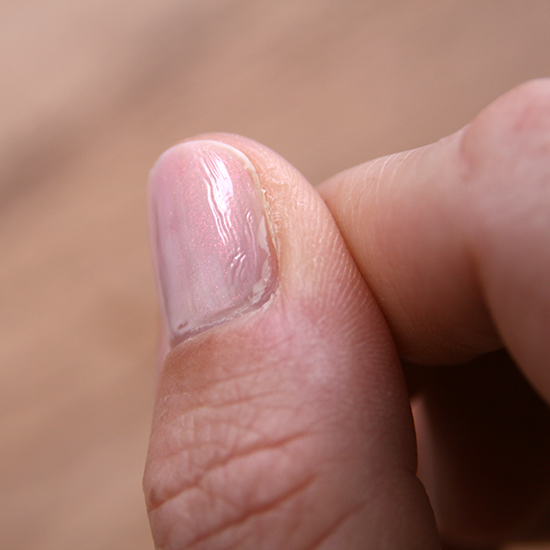
I got some of the wrinkling that we’ve seen before on both my thumbs. I’m not sure why it was localized to my thumbs or if that was just a coincidence. It’s really hard to show the wrinkling in a photo, but here’s my best shot:

gelregpolishSee how there’s that wrinkle in there? It’s small and relatively subtle but not perfect, so it bugged.

This pic was taken about a week into the manicure. It held pretty well but you can see in the corner that I am getting some lifting that I don’t usually get with the gel color (unless I peel it, of course!).

The other part of using the regular polish is that the removal is slightly more difficult. Or perhaps not difficult, just not as clean. It worked better than I expected, but when I removed the polish the traditional gel way (by wrapping my fingers with the acetone and foil), I ended up with a kind of sticky film from the regular polish. I was able to brush it away carefully but sometimes it stuck to my finger and it took some fussing to get it off. The trick is to really let the acetone sit a full 12 – 15 minutes, because if you take it off before the dissolving is completely done it’s an even bigger mess.

So, my final word on this is: you can do a gel manicure with regular colored polish, but it’s not recommended. I probably won’t do it again unless I find some FABULOUS color that I can’t get in the gel polish that I must have.

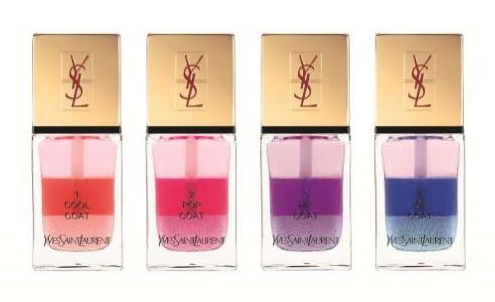
As a side note, I wanted to try this new YSL regular polish that I saw, so I bought some and used it for this experiment. It was disappointing! The polish is the Tie & Dye Polish:

ysl


It looks so cool, and the name is awesome. I thought it was going to be kind of like tie dye or something similarly cool. The look of the product, too, made me think that maybe you could use the middle color layer as a base and then shake it up to get the sparkly-ness. Not so much.

It’s basically a really light, sheer, sparkle coat. Using it alone isn’t really advised because it’s so sheer. I used it with a light pink (something like Essie’s Ballet Slippers, I think), and I wasn’t all that impressed. I bought Pop Coat, which is the pink one, and it was so subtle that it wasn’t worth the $25 or whatever ridiculous amount I shelled out for it.

So, there you go… an impromptu review of the YSL product along with my thoughts on using the gel system with regular polish. Let us know in the comments if you’ve had other experiences using the gel system with a regular color polish!

Share!

{ 9 comments }